Heated Build Platform (Take 3)
23 September 2012 at 9:22 pm

Some months ago I added a Heated Build Surface / Platform to my Ultimaker and after getting the power supply right it’s been a great addition to a already good printer. I can now switch between ABS and PLA print materials without any problems but overall the setup has felt a little “flimsy”. I didn’t know what to do with it until recently.
A couple weeks ago, I organized (what I think is) Norways first 3D Printer meetup and it was great fun to see all the different printers present. Mendel, Prusa, Huxley, Makerbot TOM, MB Cupcacke, a huge BFB Touch as well as two Ultimakers was on display and about 38 ppl came to watch. The initial idea was to just meet up with a few ppl from reprap.no, but given the general interest and this being set up through Bitraf/Meetup a lot more ppl came to see.
Looking at the printers and talking to others I started thinking about swapping out the glass surface for an aluminium surface. My architect friend Jim commented “why do you use glass? It basically resists heat?” and then William (that also has an Ultimaker) said that he had access to cutting aluminium at his school… A week later he had it ready. This weekend I set it up and I can totally reccomend using Alu over glass as a surface!
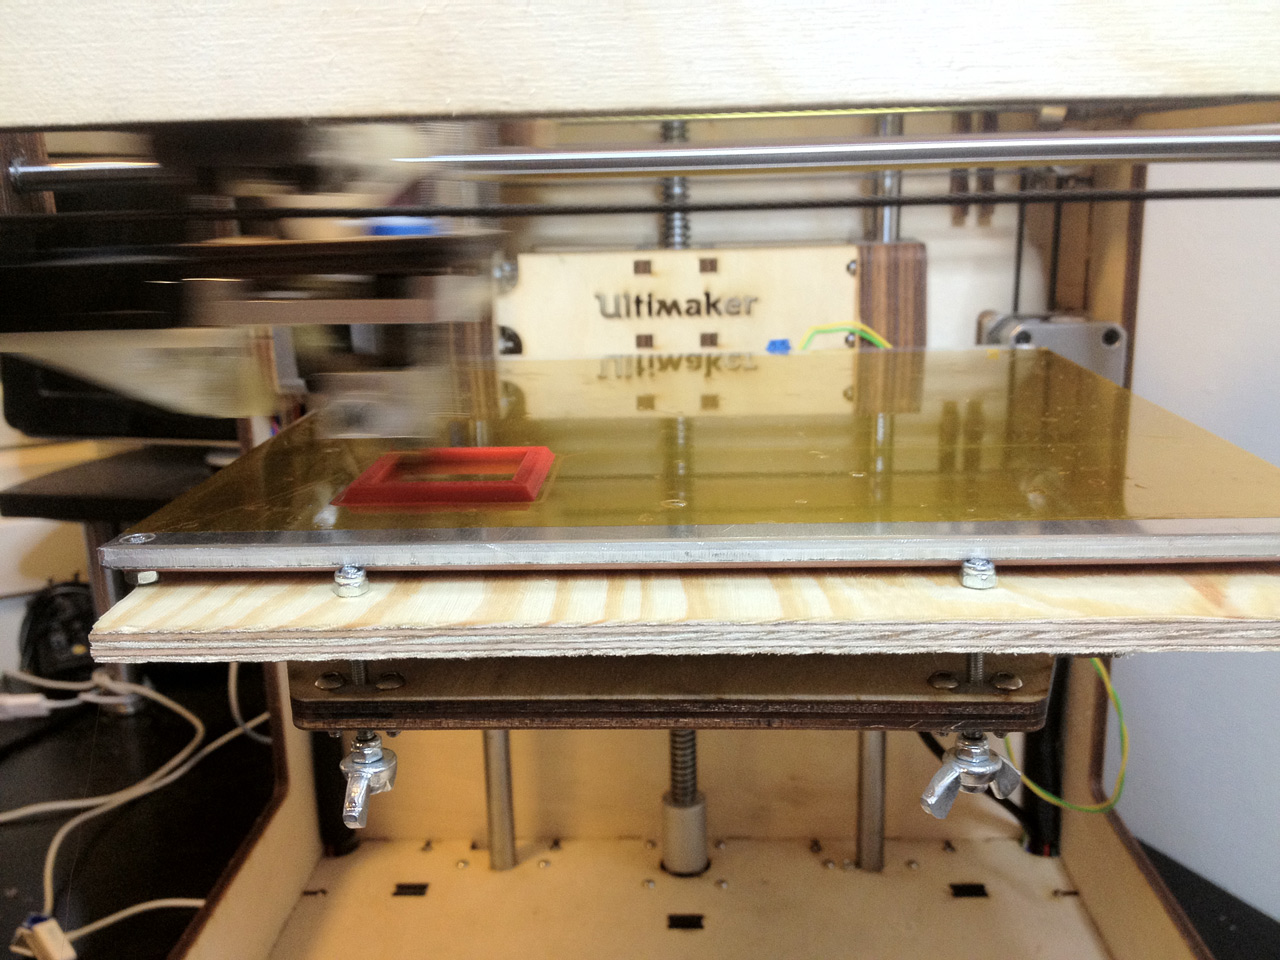
My new aluminium surface heats up faster and distributes heat much more evenly. Wheras glass would shatter from thermal stress if it was bigger than the (20 x 20 cm) MK1 PCP heater, the aluminium surface distributes the heat MUCH more evenly. This allows me to use the full 21 x 21 cm of the Ultimaker - a very nice bonus.
Below are a few images of the new setup and how I did it. Click any image to zoom.
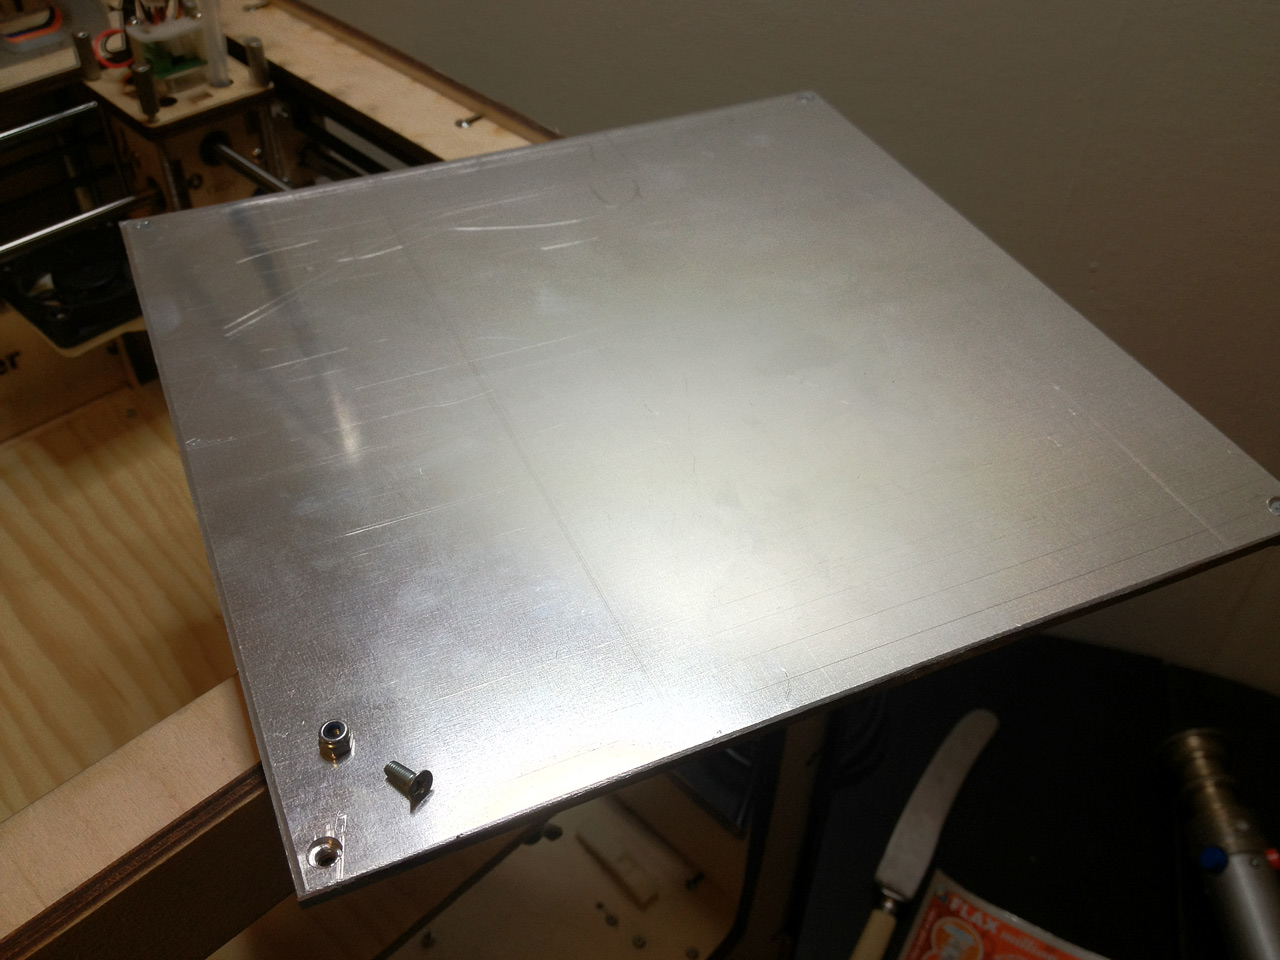
The 22 x 22 cm aluminium plate is 5 mm thick. I first taped the MK1 PCB on top, marked the holes and then drilled the four 3mm holes. I also counterbored with 5.5 mm so that the top of the screws would be flush with the surface.
I use four 16 x 3mm screws and a nut to hold the PCB tightly against the aluminium sheet. I then stick these four screws into matching holes in the plywood surface that I use to adjust the height/levelling.
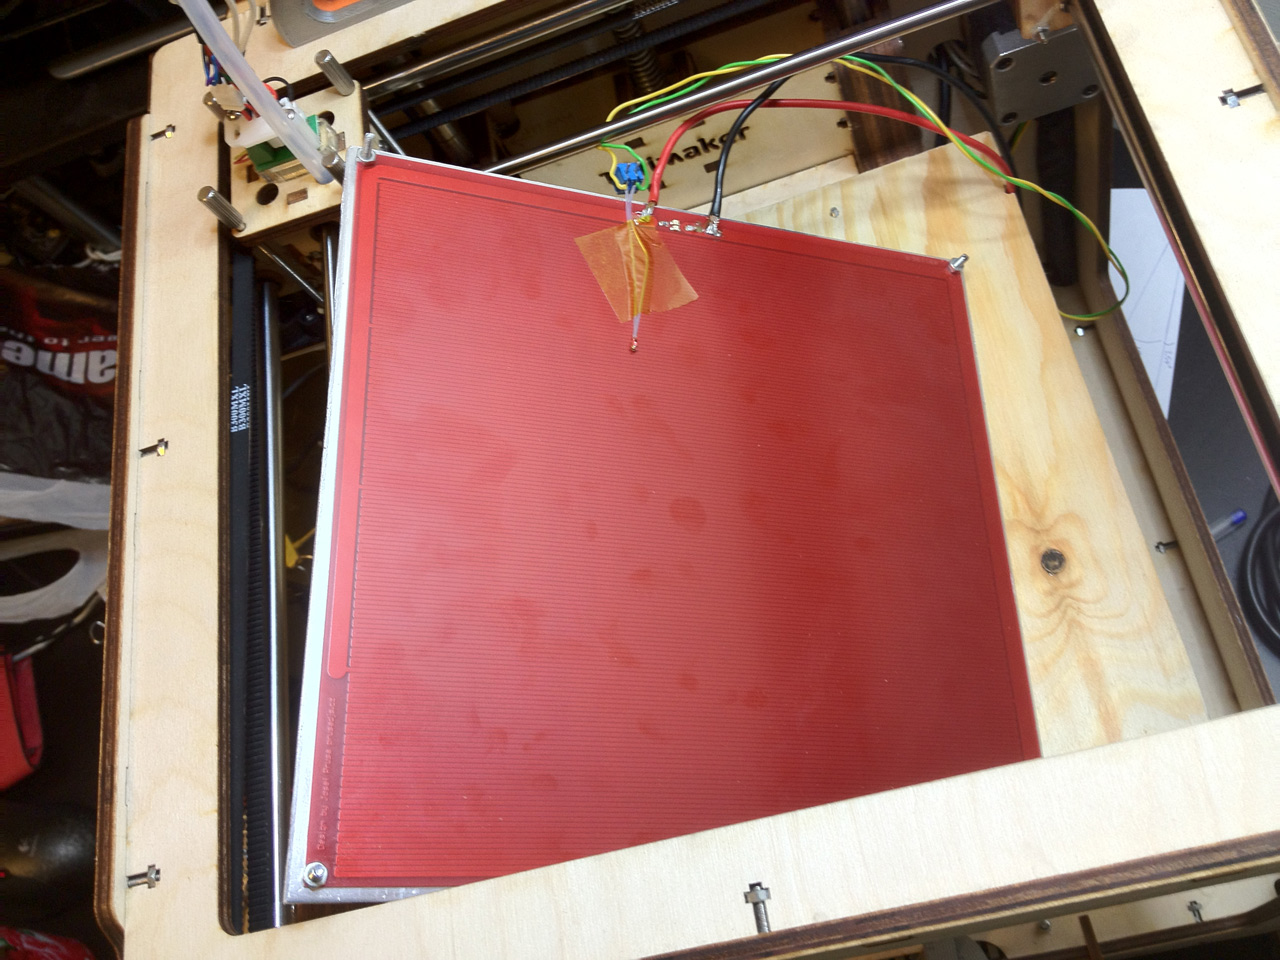
Here you can see the screws that I use for the levelling. They go through the “stock” Delrin pieces, but I’ve swapped the direction so I adjust them from below. this makes it much easier to tweak on the fly once the print has started. After applying a fresh coat of kapton to the bed, I printed the hollow pyramid that use for calibration and it turned out great. The price for such a sheet of 5mm aluminium is also not very scary. I’m paying something like $35 for mine, excuding the cutting. In other words - I now have both retraction and the build surface pretty much under control and a V2 nozzle is on it’s way too.
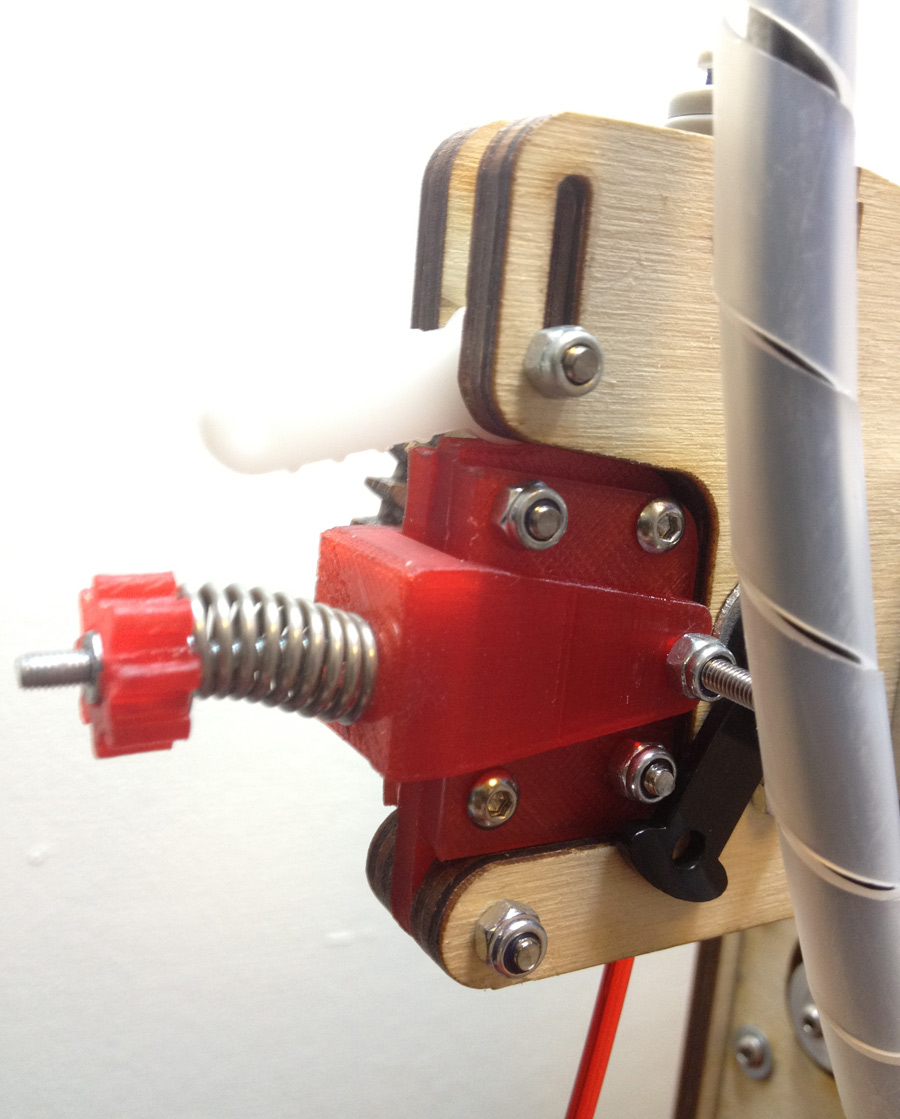
Below is a picture of my extruder-drive designed by Bertho It’s a really great mod that does wonders for retraction, but I still have some issues with filament grinding and I need to solve this 100%. I this I’ll look into some Wades extruder-feeders next to see if that can help the ever annoying problem of material grinding…