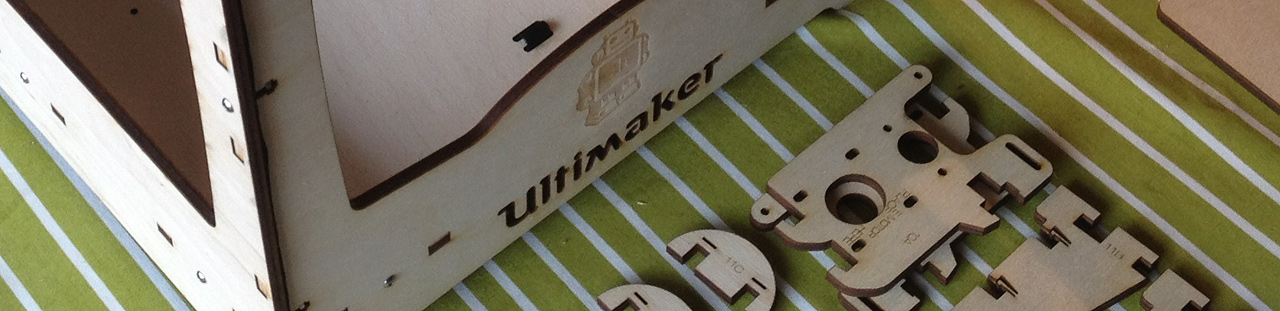
My new Ultimaker 3D printer
28 April 2012 at 8:02 pm
After playing with my friend Jim’s Makerbot for some time, I realized that I simply had to have one of these. However - having a moving build platform really limits the speed and usefulness. I researched what machines were available and they all had similar limitations. Either they were too flimsy or had a moving build platform. Then I found the Ultimaker. It has a build platform that only moves up/down. The X/Y axis is moved by double belts pulled by the same axis and it can run at crazy speeds. The material feeding system also looked a lot better than on the Thing-o-Matic. I hit the buy-button and got the printer only 20 days later - not bad given that others have more than 6 weeks lead time.
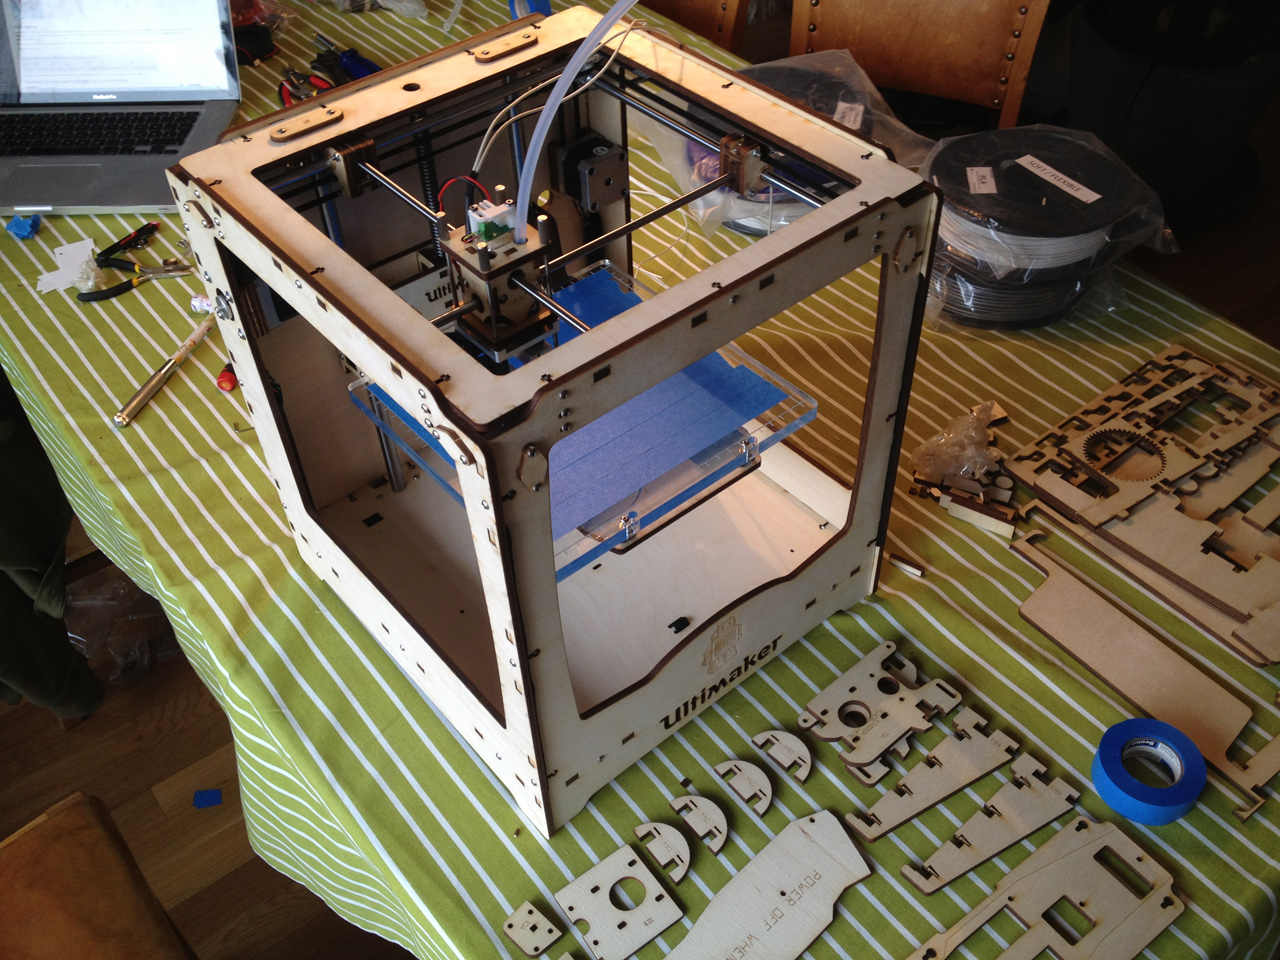
I read that it would take a full day to assemble it, so I prepared my family that I was going to be somewhat busy one of the days ahead. The package stood idle while I waited for an opening in my work schedule. It’s not that often that I buy “toys” that cost €1200 so I figured that I wanted to combine the build experience with another hobby. While building the printer this friday, I did a timelapse (still to be edited) of the whole build process (like many others).
Building it
It really took a full day. I started at 9:00 and ended at 23:30 - without having printed a single thing. I could have done it in 3-4 hours less, but there were some issues while putting it together. I’m also a family man so I also set aside some time (not much) for dinner and playtime with the kids. Putting together the case and endstop switches took about an hour. I then moved on to the X/Y motors, belts and pulleys (about 2 hrs). The most elaborate part is the print head and X/Y axis. This took almost 3 hrs. The build platform came next and that took about one hour. Next was the material feeding system and that was my first problem.
Incorrect parts
Before complaining, I should add that the people at Ultimaker are hobbyists that put together a good machine and now sells it commercially - with a BETA-tag on the name. The machine sells with a disclaimer that says that this really is a kit and you must be sure that you have the skills required to assemble it yourself. Interest has been crazy and they’re working hard to scale up their operation to handle the interest. The problem is that the product is still very much under development and it’s nowhere as polished as Makerbot Industries that has been in business for quite some time (Last number I saw for Makerbot was 80 fulltime employees). The Ultimaker team surely has growing pains and getting the logistics right is probably a solid learning experience.
So - what went wrong? Apparently they didn’t have the correct Hex nut’s and washers available and someone made up a quick solution. However - they didn’t test this and there is no way one could mount the supplied washers/nuts with the special hobbed bolt so that it would move the print material forward. The washers supplied were simply too big, so they prevented the ball bearings from rotating. After some testing and thinking, I popped off to a local hardware store and picked up some washers with the same 8mm inner dimension, but with a narrower outer dimension. Worked like a charm!
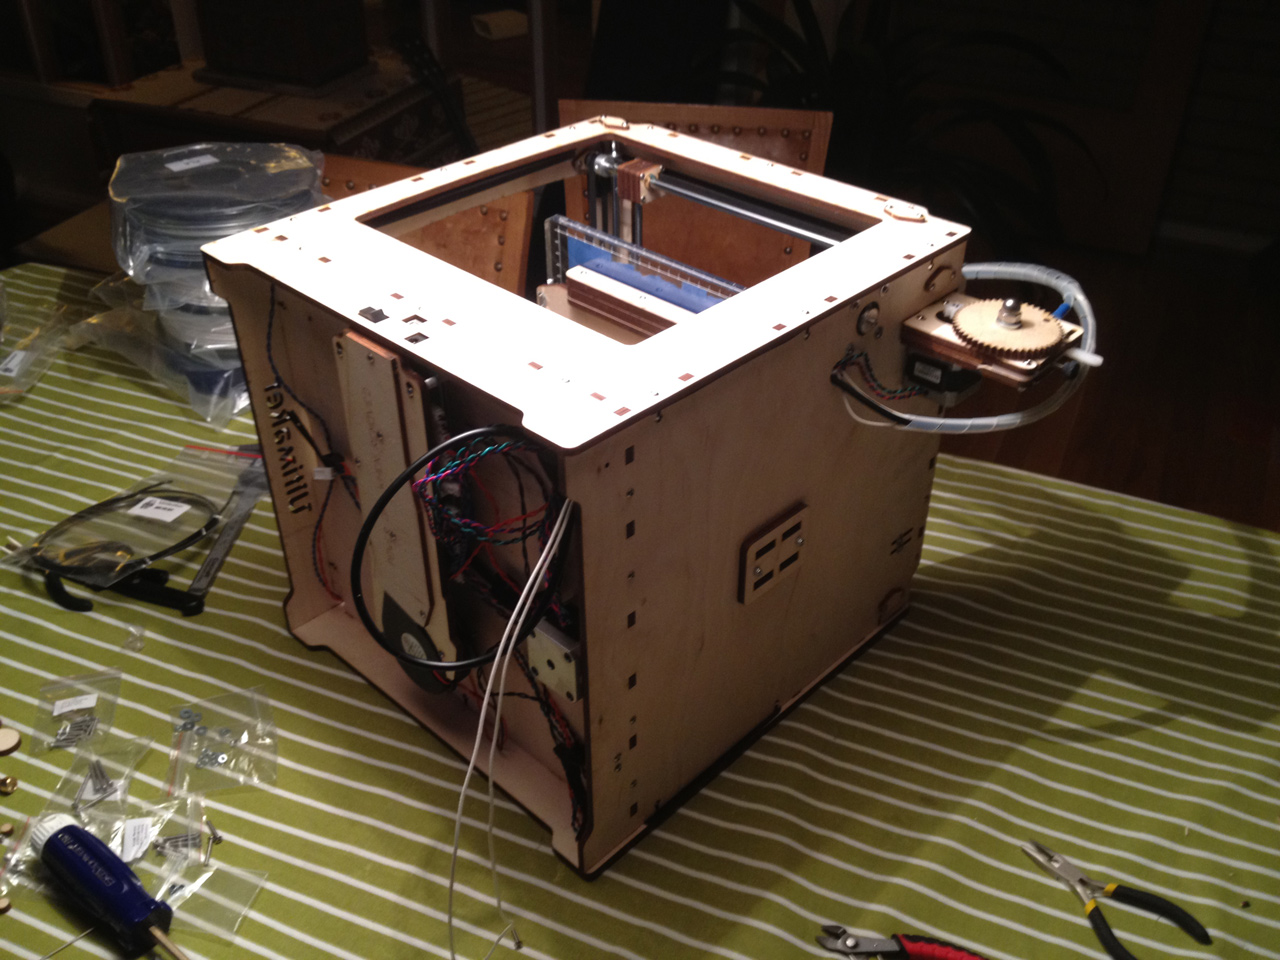
Mounting the electronics was easy and at around 22 I was ready to print and then…
Nooooo!
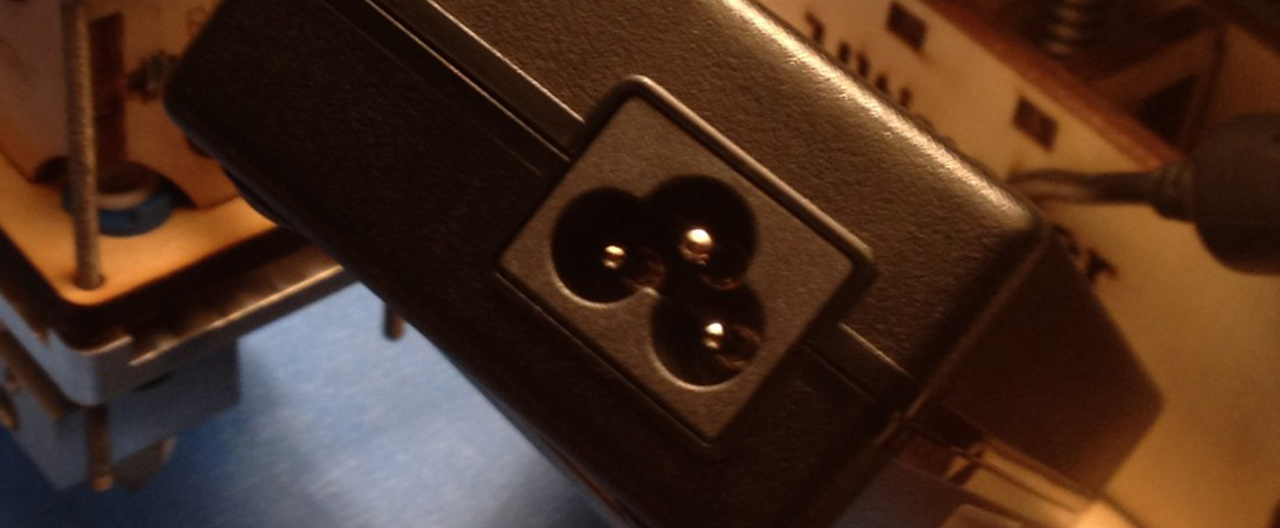
I could not believe it when I saw it - they had forgotten to add the stupid cable with my power supply? Normally that wouldn’t be an issue, but they use this stupid kind of grounded plug that is shaped like a clover. After some searching, I called around and went off to my dad to pick one up.
I plugged it in and was told that I had to update the Ultimaker firmware from version 0.1 to 1.0. It’s easy-peasy it said - just select it in the menu. That didn’t work but I still wanted to try printing… I loaded up a model in ReplicatorG and BRRRRRRRR - the steppers slammed the print head into the edge with no sign of stopping. Ok. That’s enough for one day I thought and went to bed.
What a difference a day makes
The next day I realized that they have swapped the markings for where to connect the X-axis endstops, so that solved the problem ending the day before. I then tried uploading the firmware to an Arduino Mega I had lying around and that failed too. Maybe it was because I used a Mac? I installed ReplicatorG 034 on the PC as well and had the same problem. Hmmm… Maybe I shouldn’t use the bleeding edge version and rather try the older 025 build? That worked, so now update using old software and print using the newer version. Ok. I can live with that, but it surely would be great if the Ultimaker Wiki told me in the first place…
Today I’ve been printing all morning and eve, but I’m not really at a point where I have something solid to show. I can’t really bend ReplicatorG to print anything other than the test-cube and it can only print it at 1x speed. If I try to print it at 200% speed, the build just stops after a relatively short time. No warning, no nothing. It just stops? (Update: this is a bug in USB/serial comms on my Mac. It works flawlessly on a PC so now I’m using that) Loading other models defaults them to the front, left corner no matter where I place it in the program. I’m currently experimenting with using Slic3r to make the GCode instead. It looks MUCH more solid but on all bigger models I have a problem with the build just stopping? I think I need to try another firmware.
Overall, I’m incredibly impressed by how well the machine is built. Every little detail like the build surface leveling, the nice cable ducts, how all moving parts are really solid, the material feeding, the precision laser cut parts and certainly the speed and resolution that the printer can produce compared to the Makerbot Thing-o-matic. I’m working on a short post highlighting the differences between these two.
Some lessons learned
So - I’m almost up and printing after 1,5 days. Not too shabby (given how much time others have used for simpler printers) and it was a great experience despite the hurdles. Here’s some things I picked up along the way:
- You’ll need a wrench, a stanley knife (or similar), tweezers, a tiny screwdriver and some plumbers tape. Luckily I had that last one around, but I think the Teflon-version is probably better as I have a small leakage around my nozzle.
- Improvisation is required - just as the disclaimer says “in some cases you can get better results if you have some improvisation skills”
- Don’t touch the Hot-end -> it is VERY hot so don’t touch it (really!)
- Makerbot really is more user friendly. With Ultimaker you’ll be learning a lot you didn’t know you needed to learn
- Most Ultimaker users are PC people. While the Mac software exists, it’s probably not too well tested so if you have a PC - use it rather than the Mac.
- If you need help - the Ultimaker Google Group is your best friend, filled with good advice from nice people
Looking forward to further explorations in the days to come!