Xmas cleaning and new workspace
31 December 2018 at 10:05 pm
The last couple years I’ve done less 3D printing and more electronics, so I took the time to redo my home office over christmas. I got a motorised raise/lower desk for my computer and custom built an electronics desk that turned out really well.
Ending my 3D Printer project
My BAM 3D printer has been a great learning project! I’ve built a really advanced machine that have solved my wish for a large format printer that can print any material I throw at it. It’s been super solid and I’m happy with the quality I get out of it, but I keep having bad concience for not doing more updates to it. One major upgrade I’ve wanted to do is to add a multi-material capability. Due to the design, I’d be limited to just two materials but that would be sufficient in most cases. I have had a hard time prioritising this over other things, so I guess it’s not really something I need - more something that “would be nice” to have.
Since I mostly use the printer for prototypes, it’s been annoying that many of the new filaments I’ve wanted to test only were available as 1.75mm. The 2.85mm standard was based on what was available when Reprap started back in the days. Now it’s basically only Ultimaker and Lulzbot that use it apart from Reprap machines like mine, so I took a leap. I sold all my 2.85mm filament and ordered a Prusa MK3. These are rock solid, print beautifully, has official multi-material upgrades and I don’t need to do anything to it. I’ll do a proper post-project video on the printer before I disassemble it.
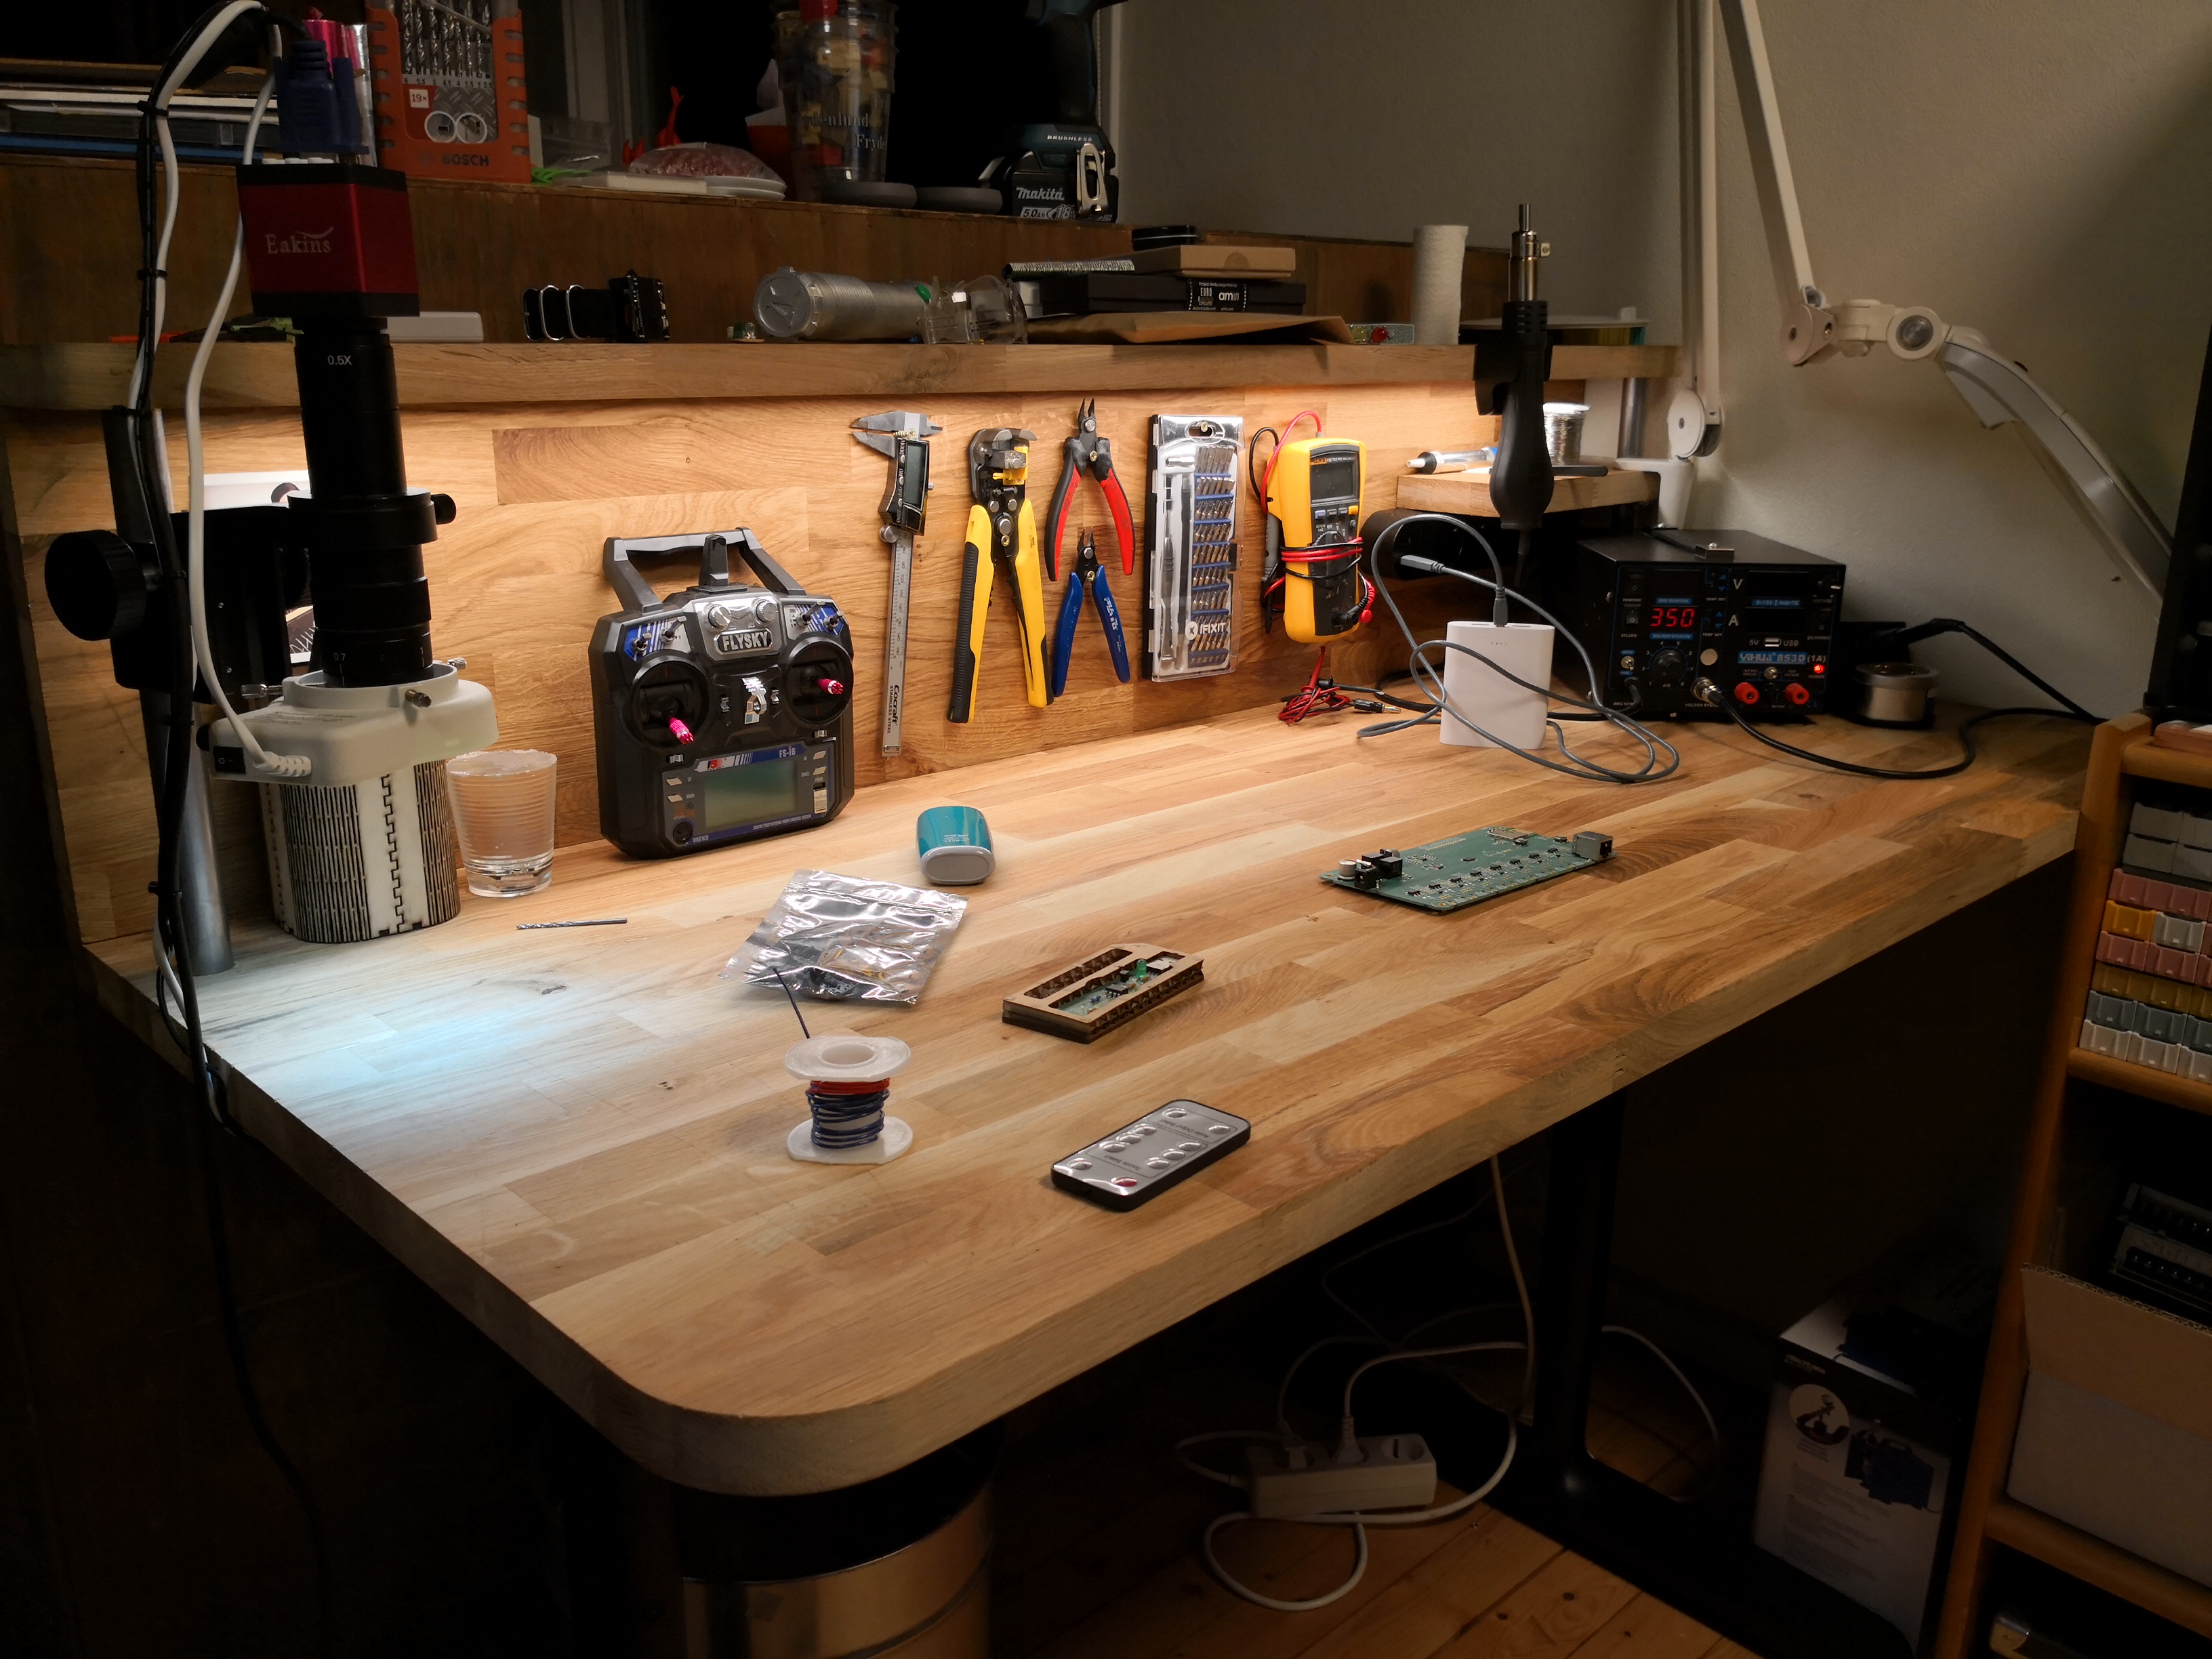
Electronics desk
I work from home about 2 out of 5 days in a typical week. The lighting conditions in my home office have not been idea for electronics and I kept needing to clean my desk to do code at daytime after playing with electronics in the eve. A separate desk seemed like the best plan!
IKEA has these really nice 2.48 meter whole wood plates that are ment as kitchen countertops and similar things. They’re also a perfect material for builing other things from and I wanted an integrated light that would not disturb others in the room (where our projector and gaming setup is located). By having an overhanging shelf with builtin light, I get:
- Convenient storage on the shelf above the desk
- A wall to hang my tools on
- Lighting that lights the entire desk without coming into my eyes
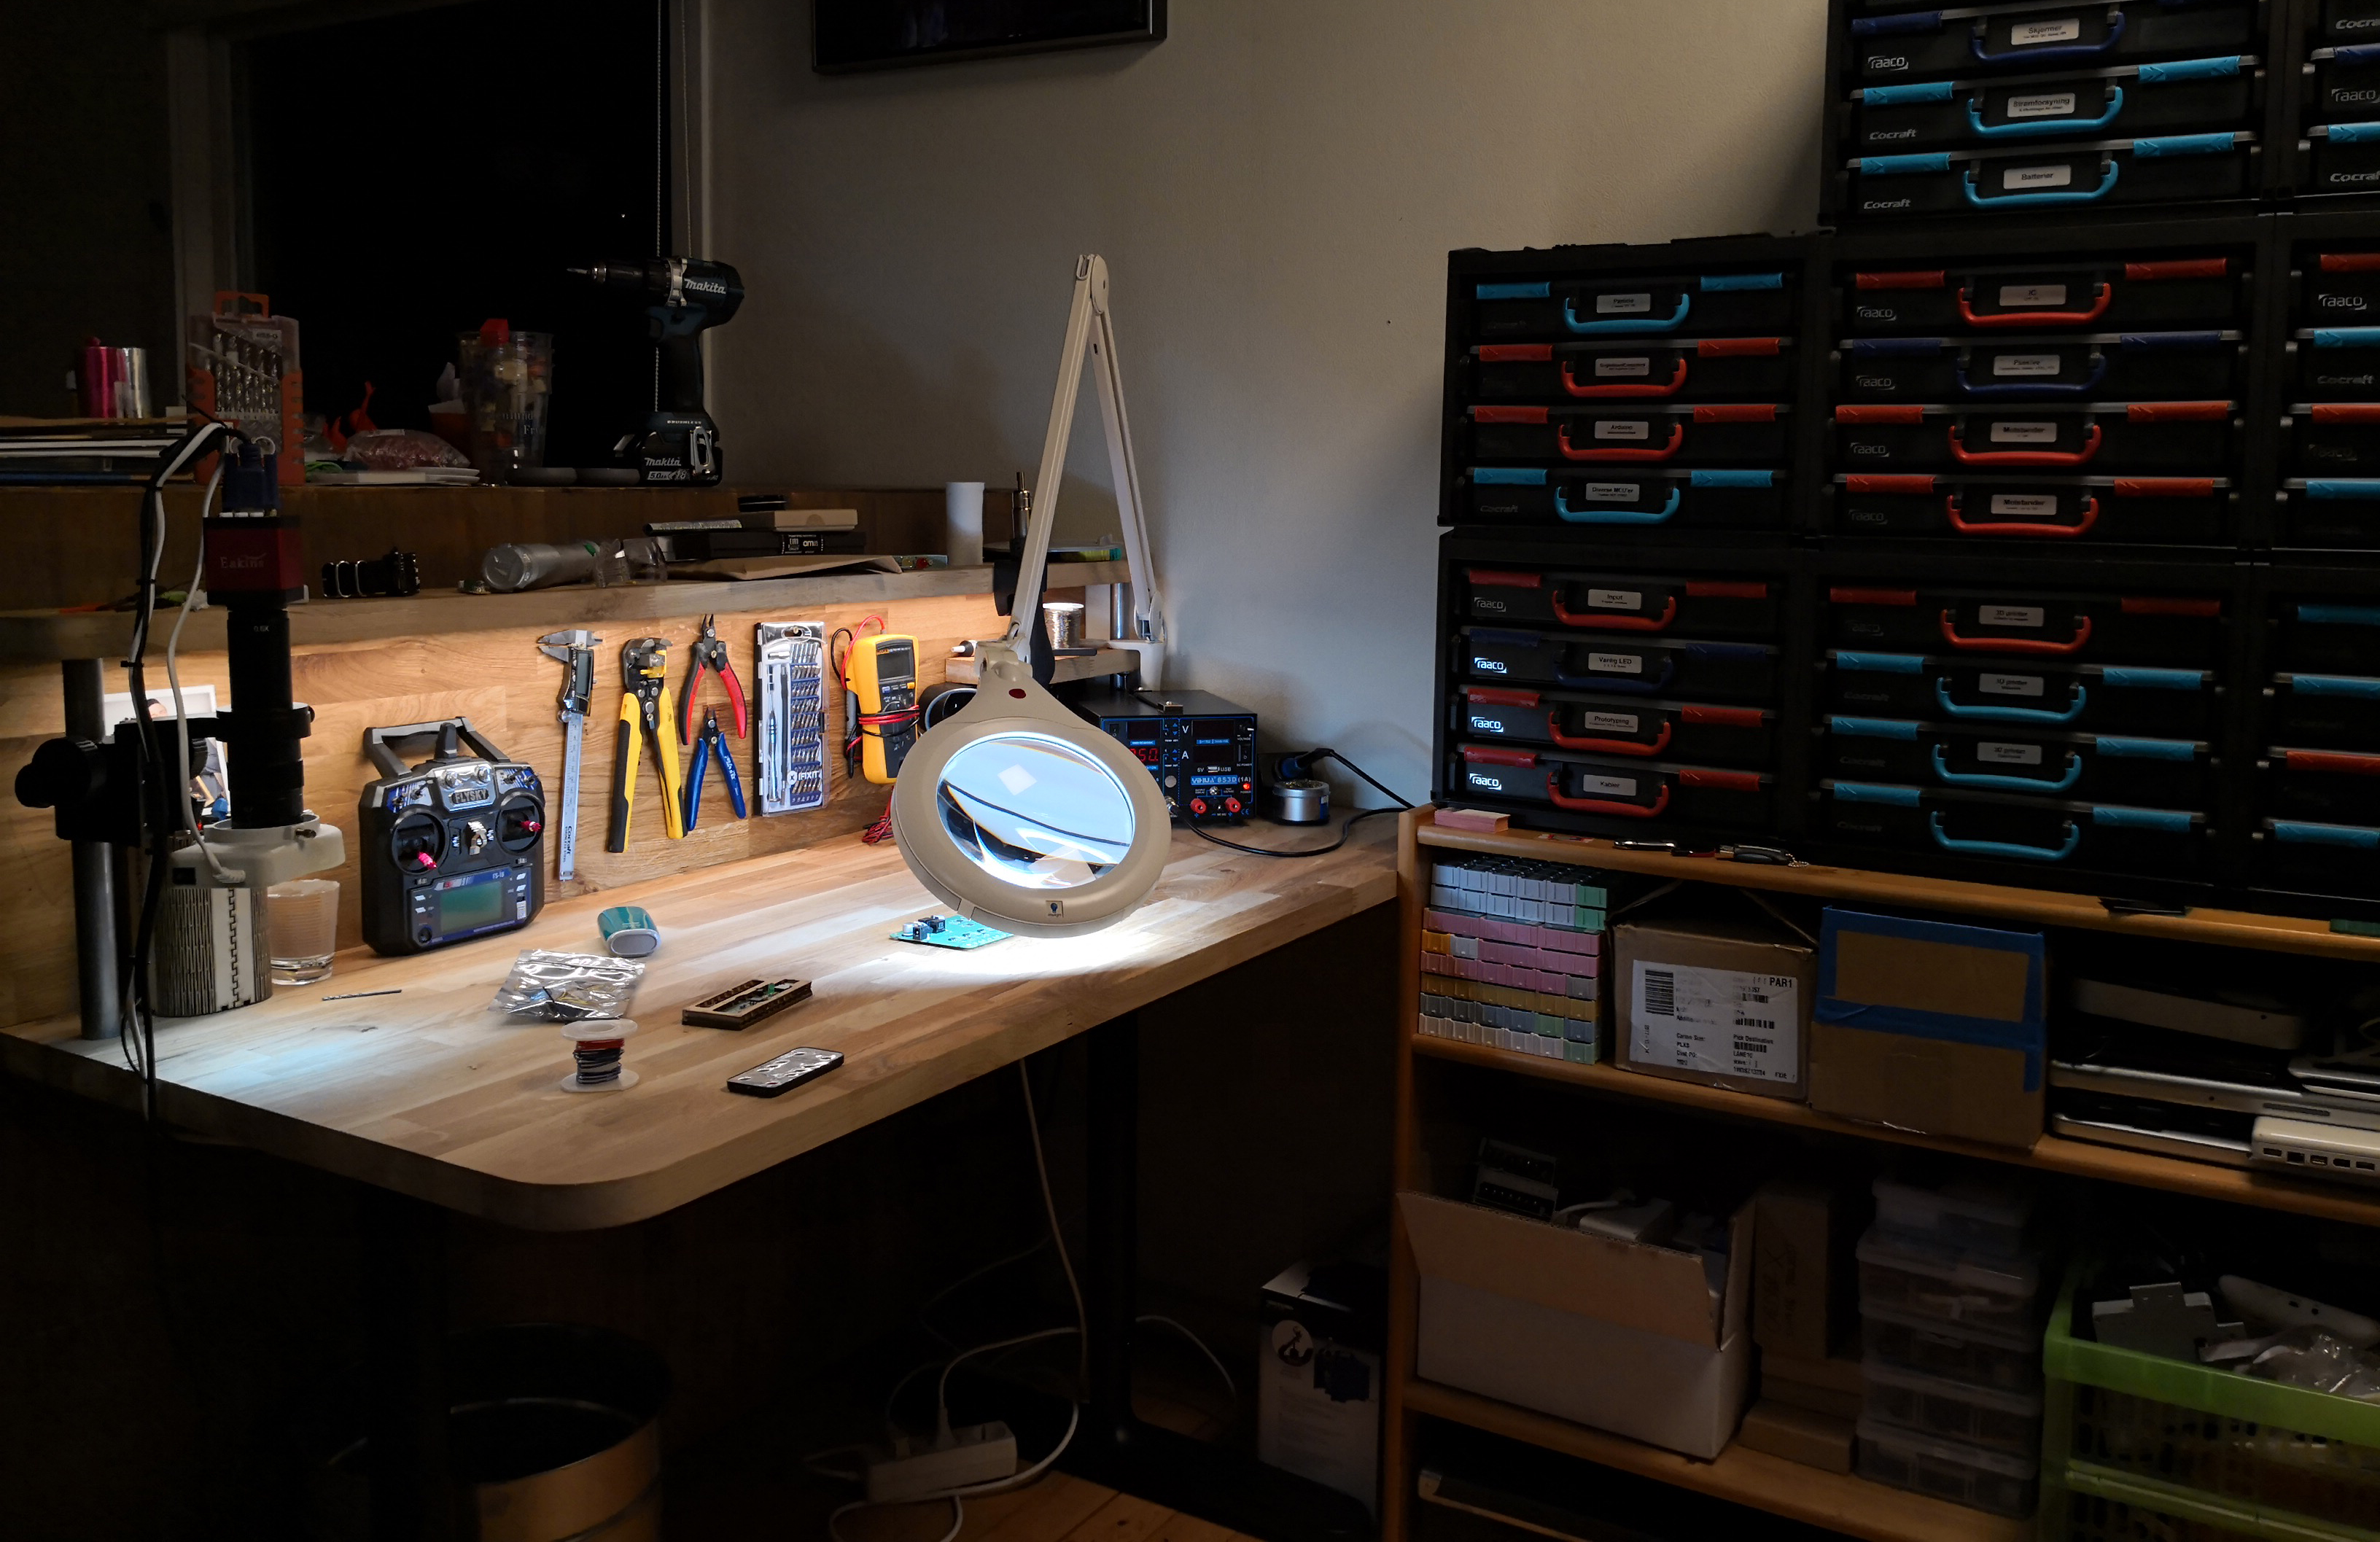
- Support poles that I can mount things to (like my electronic microscope)
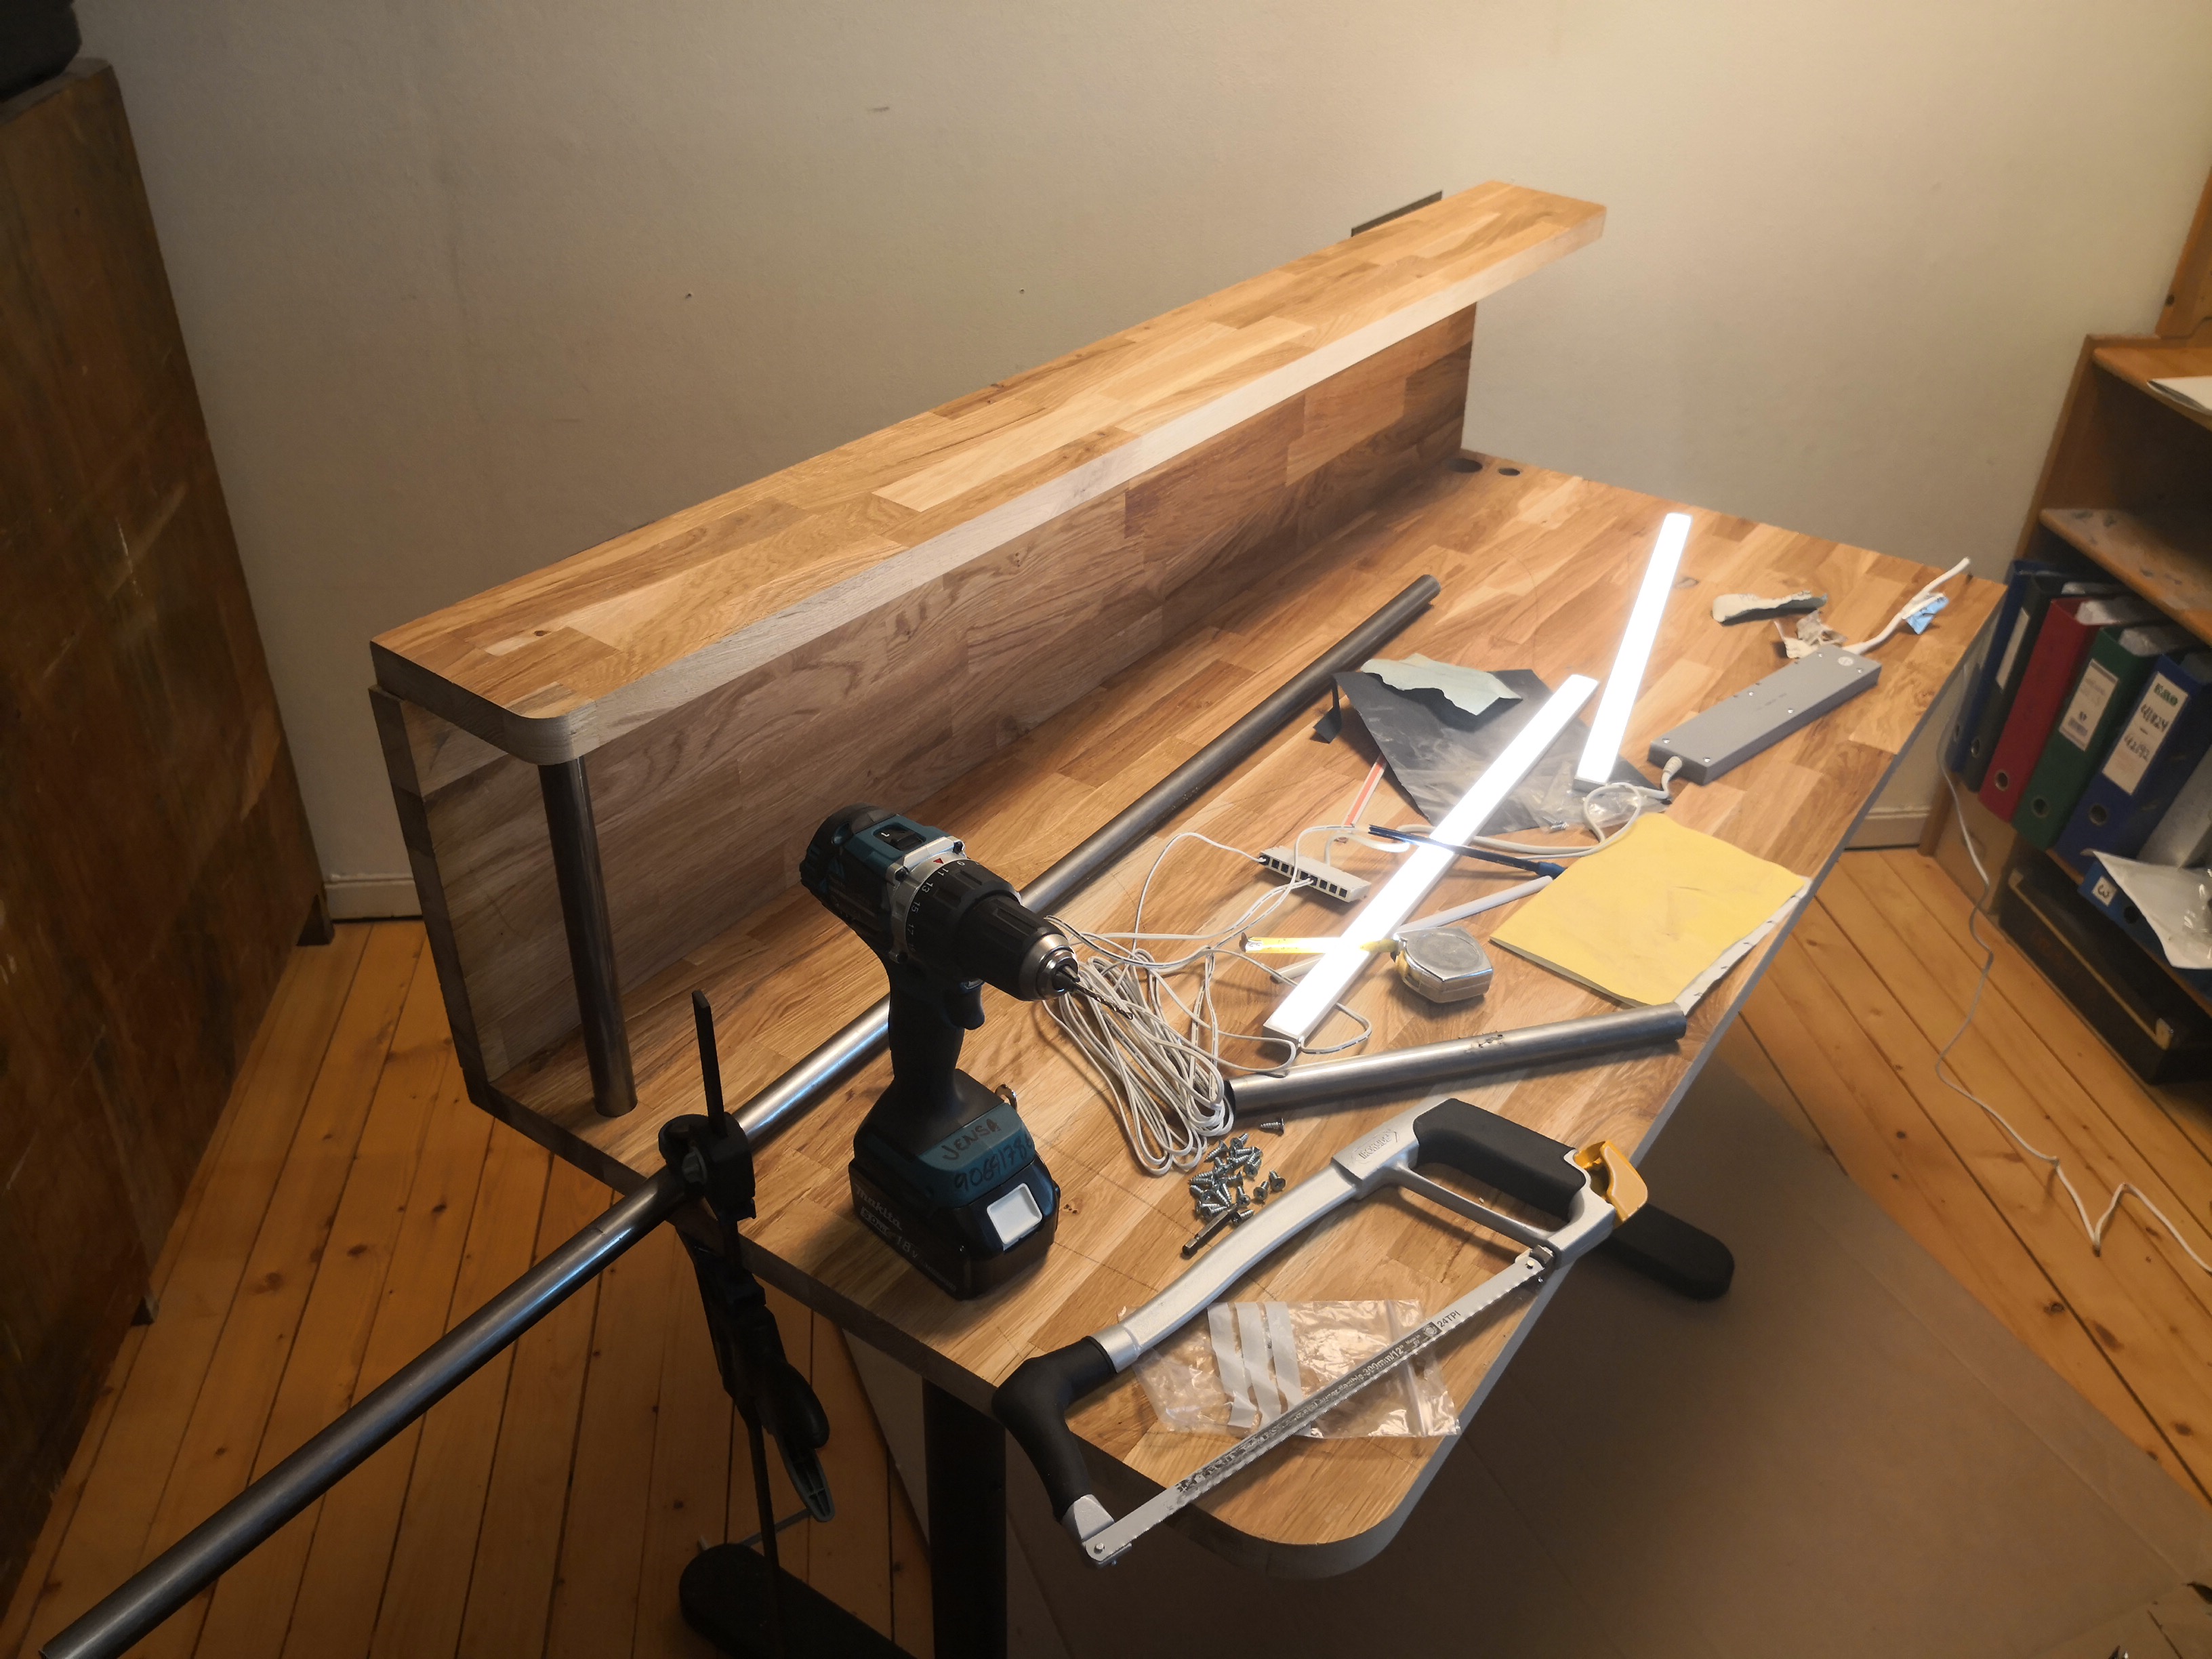
I used standard office table legs from IKEA so I could swap this with another raise/lower solution if I wanted it. It also comes with a decent solution for cables. For the support poles I used 25mm steel tubing that allowed me to completely hide the cabling for the lights. The lights fit into pockets that I made using the CNC @bitraf. The lights are also from IKEA. They’re kitchen cabinet lights that work with the Trådfri system that I have in my house, so I can turn it all on/off from an app or Google Home. I added holes in smart places to get a smooth solution to the cable salad I used to have on my desk.
All the tools I use on a regular basis has it’s own place and I love having them at hand rather than having to dig for them in a drawer that I used to.
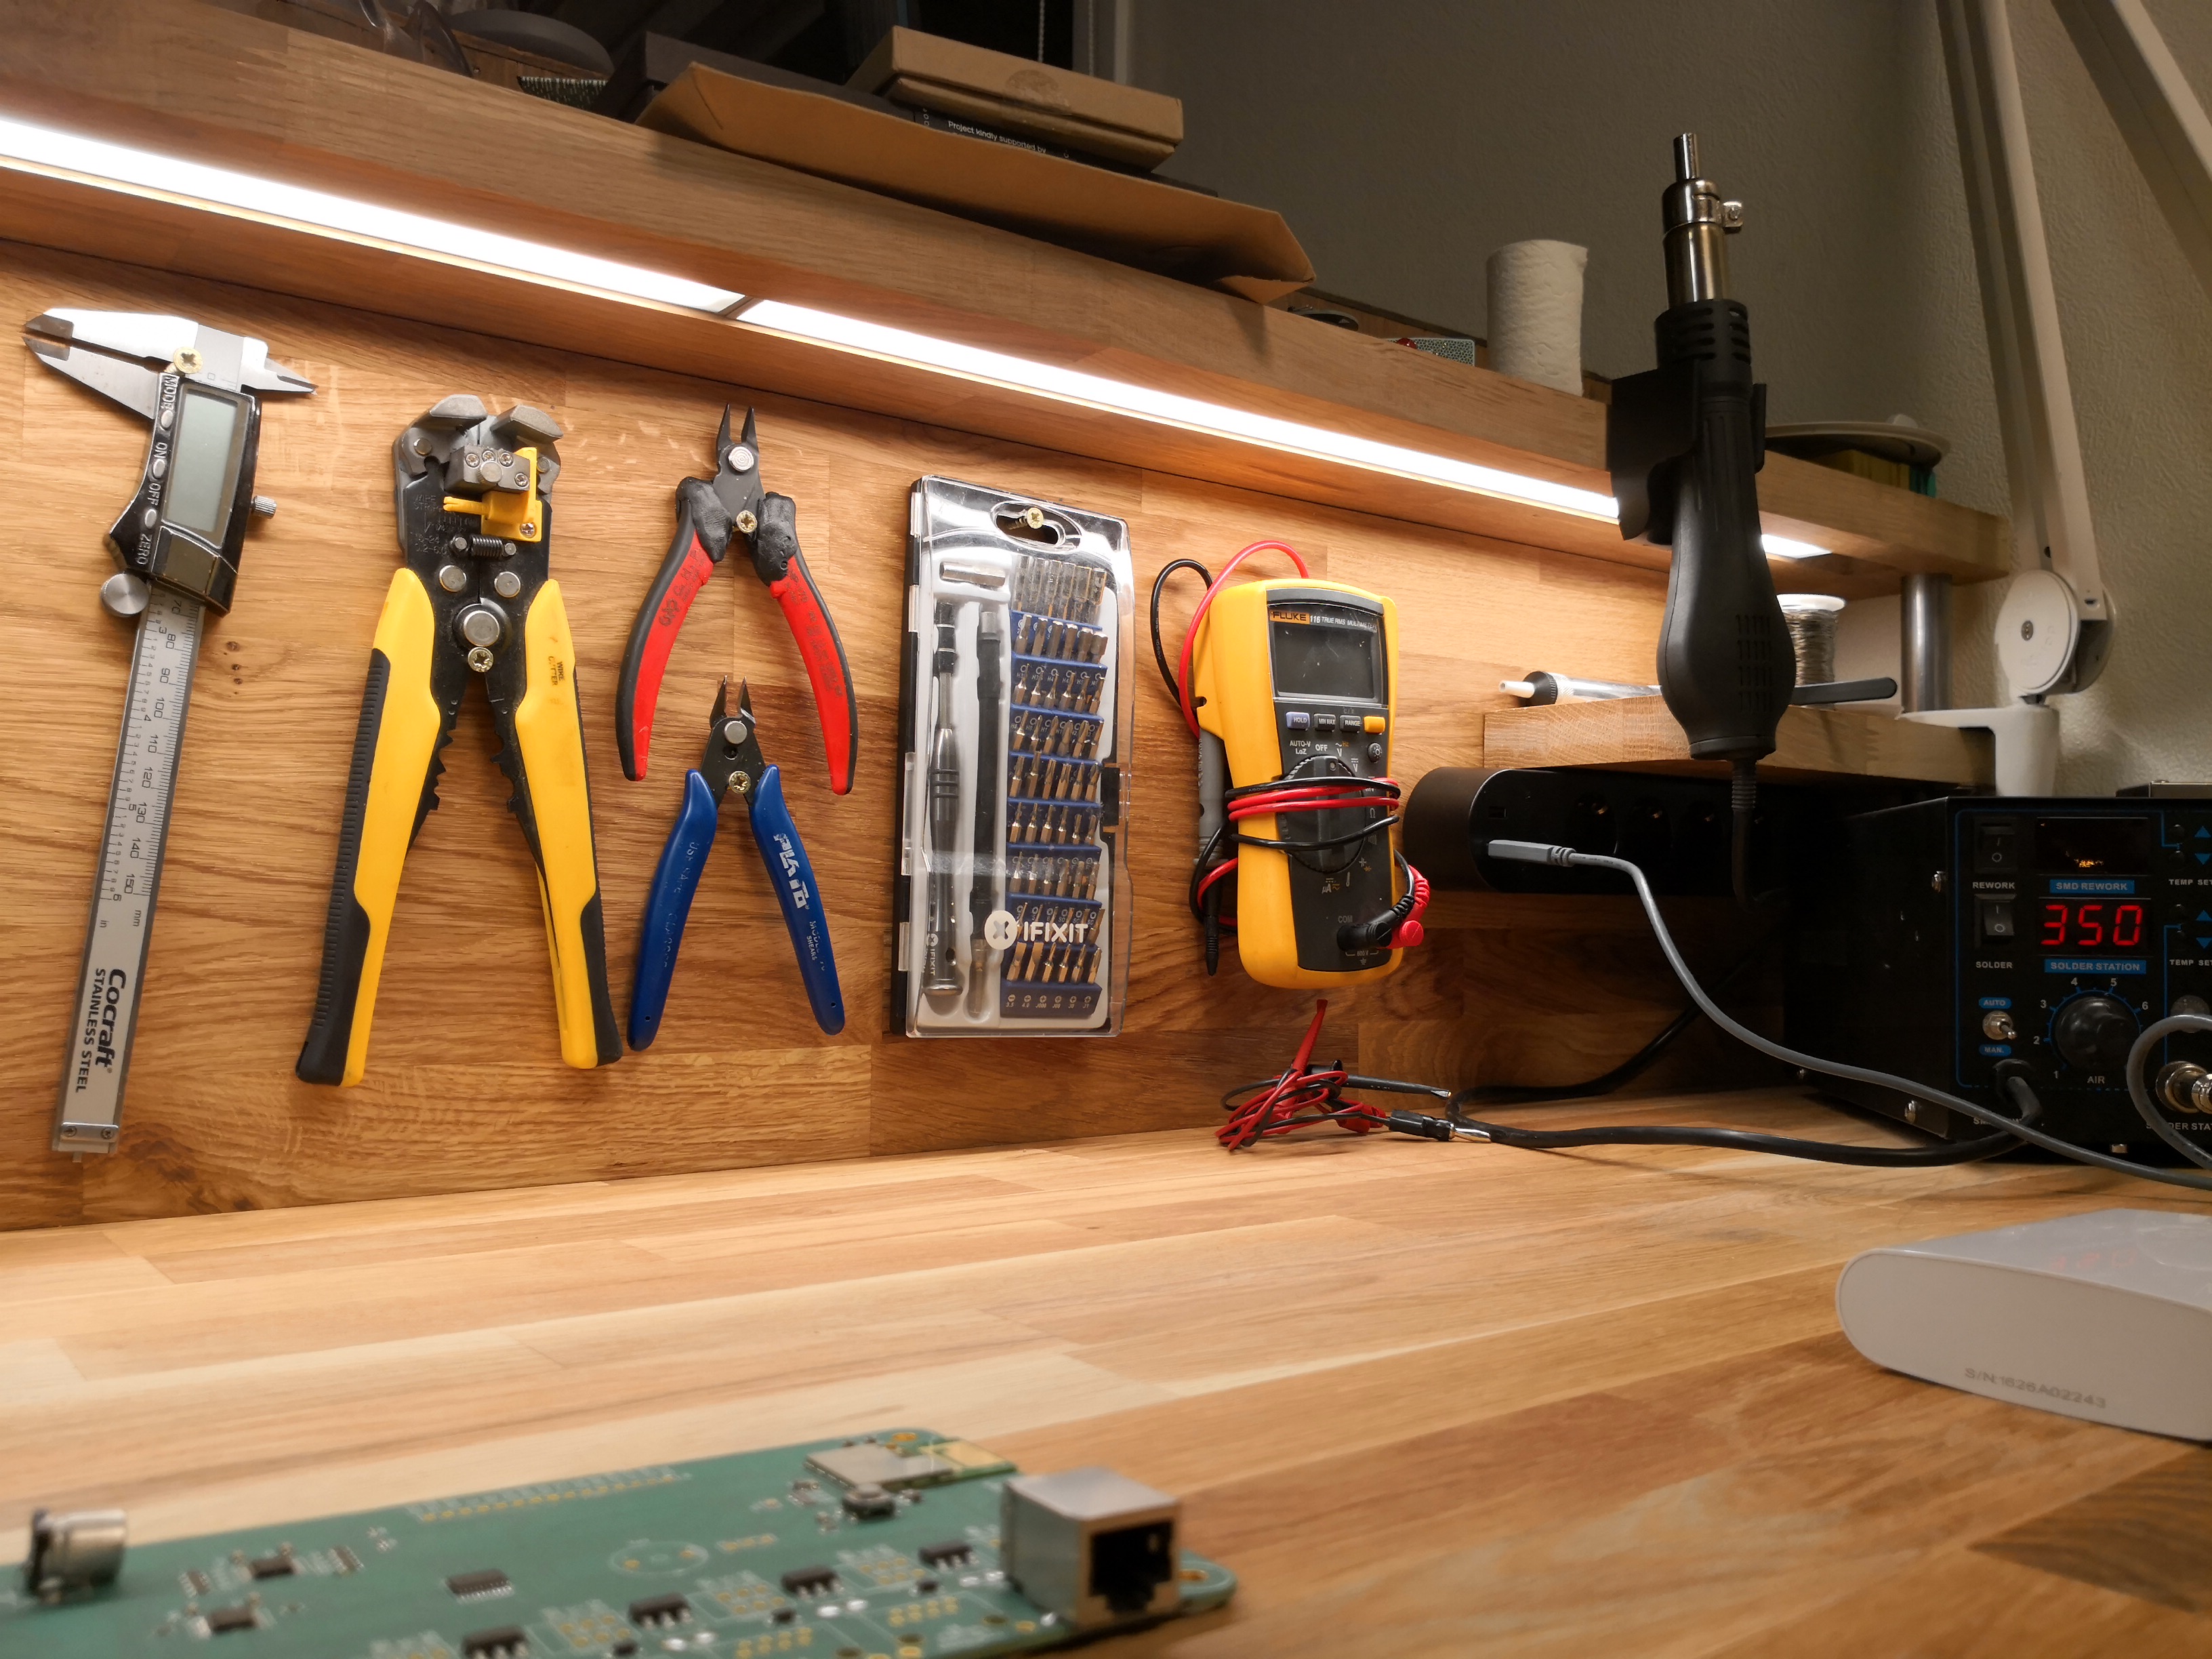
All my electronic parts were also placed at the other side of the room, so moving them closer was another important part of the solution. Just above the soldering station I have a small shelf with core tools such as soldering wire, pump, flux and tweezers. My magnifying desk lamp also fit well in in that corner and can be moved completely out of the way when not in use.
On the other side, I have the electronic microscope. After I purchased one of these for Bitraf, I just had to have one at home also. It’s such an invaluable tool when you work with surface mount parts that are less than a millimetre squared. The stand that it came with made it impossible to have it permanently on the desk, so integrating it directly into the desk was just brilliant. All that was required to do it was to use the same steel pole diameter that was used for the microscope.
Very happy with the result and as usual, there’s more pictures on my Tumblr.