Making a good cube
19 March 2012 at 11:46 pm
It's fascinating how hard it is to make a good cube. It's such a simple task, but as soon as you introduce features it all gets more complicated:
- Easy to open and close for changing batteries
- Walls must have an even distribution of material so light from inside shines uniformly
For every iteration there is a process consisting of modeling in Rhino, generating toolpath with ReplicatorG, checking toolpath with Pleaseant3D, export a .s3g file from ReplicatorG, move to memory card and put into Jim's Makerbot Thing-o-matic, sit by the Makerbot while it's printing the first few layers, drop by to check that the printing goes well and then take the final product out of the machine. So - it takes a bit of time with each iteration but hey! I can think of something and have a working prototype in plastic less than 2 days later? That's just rad!
Here's a rundown of my experiences designing the cube and outputting it on a Makerbot Thing-o-matic. It's harder than it sounds and if you want to check out any of the images in very high resolution, check my flickr account.
Cube 1
I had been thinking a lot about how to make the first cube and everything worked like a charm! This cube only had one problem - the 5mm walls made the light really dim and that won't do. This cube is on Thingiverse as it really works. It's super solid and you could probably drive a huge truck over it without damaging the contents. You can see it in the pic above, or here to see it blinking away.
Cube 2
This was pretty much a complete failure. High on the success of the first cube, I didn't really think through the design of this one. The result was that the locking mechanism worked alright, but the lid could slide off sideways…. Bummer. However - this model showed that you could make really nice looking cubes with just 1.2mm walls. This is only two strands of plastic on the Makerbot and it'll actually print nicely, no matter the height of the object.
Cube 3
The biggest failure yet. It practically fell apart when I took it out of the printer… This cube used twice the thickness of the previous version (4 shells). I couldn't really see it when inspecting the model in Pleasant3D, but the outer two shells didn't connect to the inner two? I now inspect the toolpath much more carefully, but this really isn't an exact science.
Cube 4
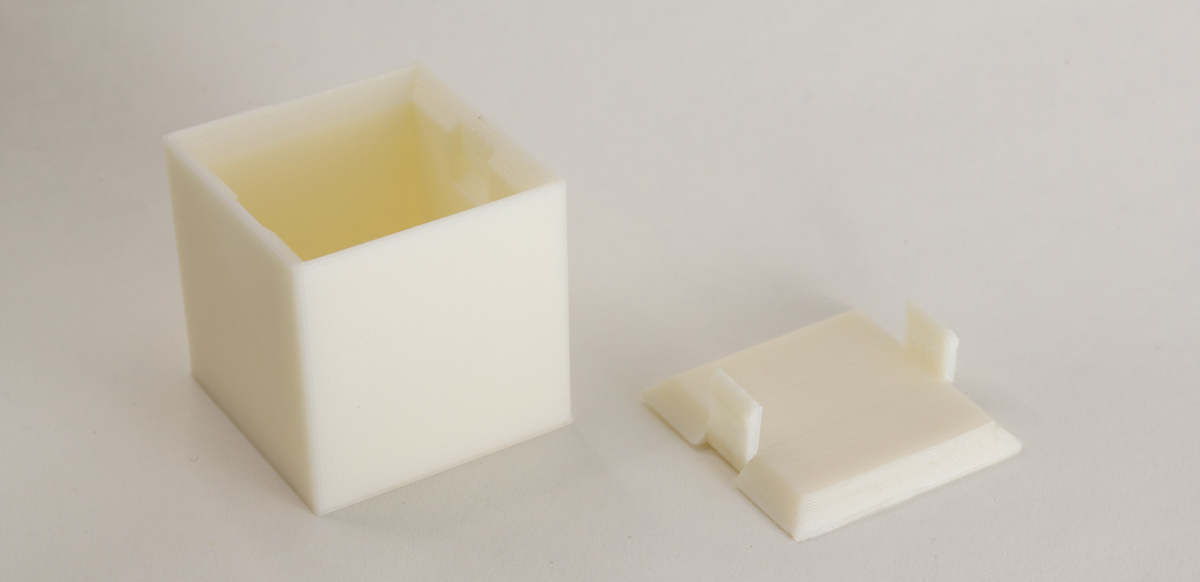
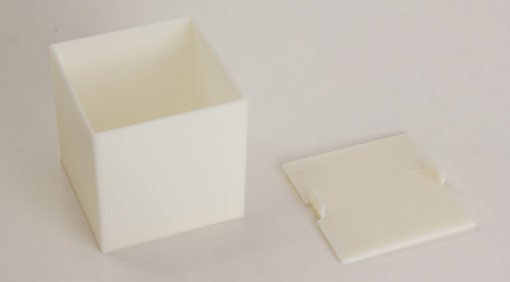
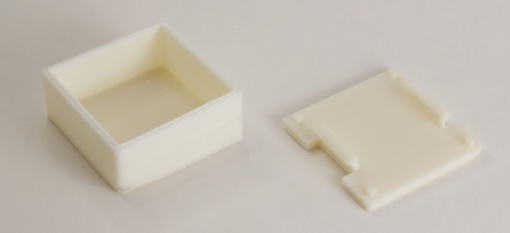
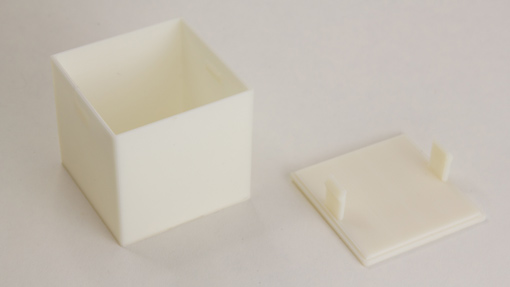
In the previous version I had solved the lid nicely, but I didn't really like the look of it. It looked clumsy. I started thinking about how I would make such a cube from Plexiglass and it dawned on me - what if the lid has an inner square that fits into the main cube? That'll add rigidity as well as make the lid "snap" in place. I also started to get annoyed with the "slits" in the lid that this design required for opening. What if I ignored the slits and rather made the lid sort of "loose" so you could just rip it open without any tools?
The only thing that failed for me with this cube is that the things that hold the cube closed (the snaps?) are visible when you apply light inside the cube. Unless you do this, it can serve as a nice, little storage container so it's on Thingiverse for others to download.
Cube 5
This is the version I'm working on now, but I had some issues with the Makerbot. Will have to solve that, but the lid came out well and as you can see, I've sized up the design to 7x7 centimeters so I can fit batteries in the lid.
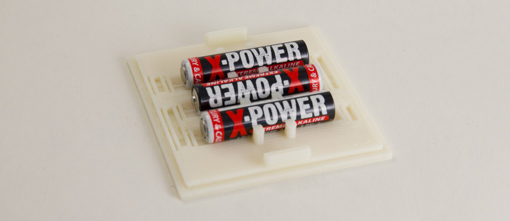
The initial idea was to use coin cell batteries, but there's actually three reasons for going with AAA batteries instead:
- Battery life is much better
- It's easier to get hold of and replace standard AAA batteries
- I actually couldn't fit the required components onto the space available in a 5x5 cm cube…
The batteries slot in nicely and are held in place, but the holes/slits for the metal bits that'll be at the ends of the batteries didn't come out as intended. I know how to fix them though, so when I have some time I'll redesign that and print a new lid. Below you can see the sample fitting of the components for the 5x5 cube. It's tight so a little extra room will help.

Also used this post as a way to test my new light-box-thingie for taking high quality shots with diffuse lighting. Will use this for the upcoming hardware reference in my Arduino Companion app.