X/Y robot with MakeBlock (Part 3)
13 February 2014 at 1:25 am
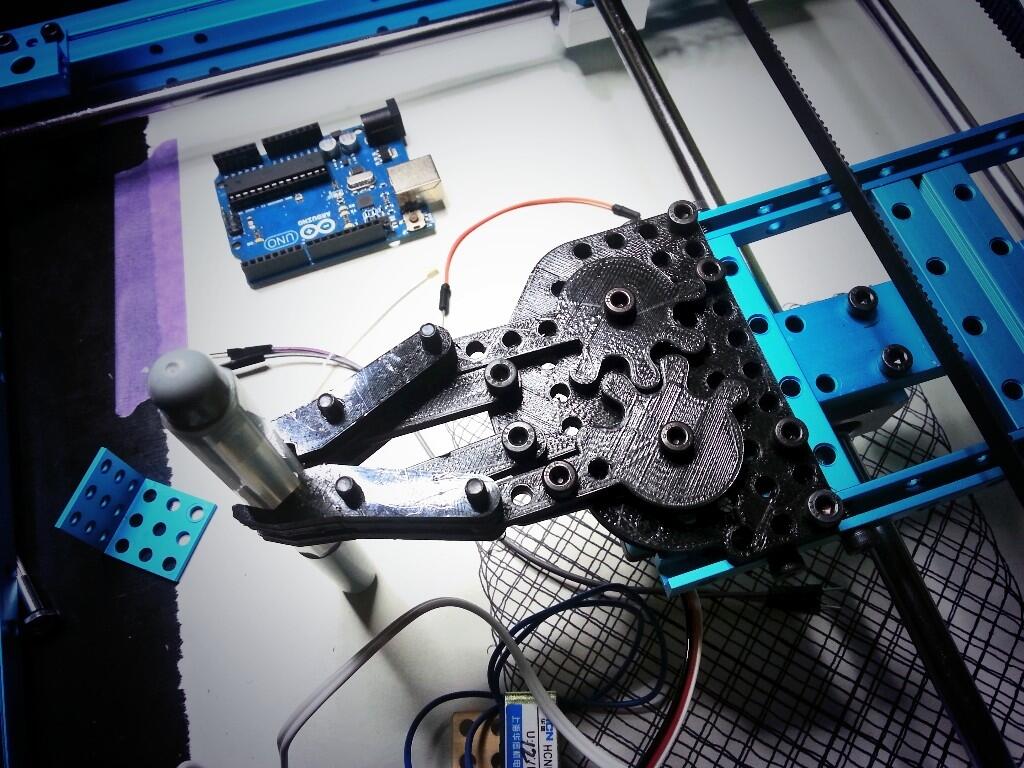
Servo arm now works, but I'll need a few iterations until it's perfect. I''ve used this CC'ed design by jjshortcut as a basis. I'll publish the design on my YouMagine page when I have something good, but this isn't too bad. Oh wait... I'll need to not only grab the pen, but also lift it up...
Back to the drawing board. Take two is below. A two-servo setup and a slimmer servo-mount. These MakeBlock servos are almost a little scary in how fast and strong they are so I'll need to code some speed regulation for them.
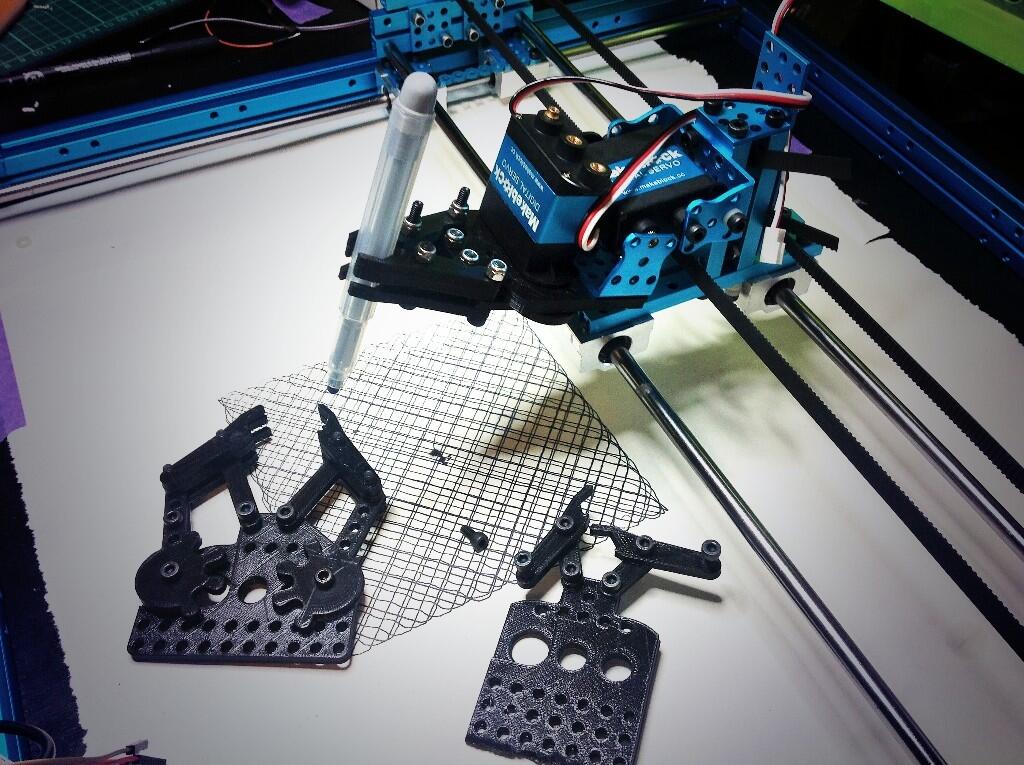
I put the design iterations in front so you can see how it went from wide to narrow. No need to go that big.
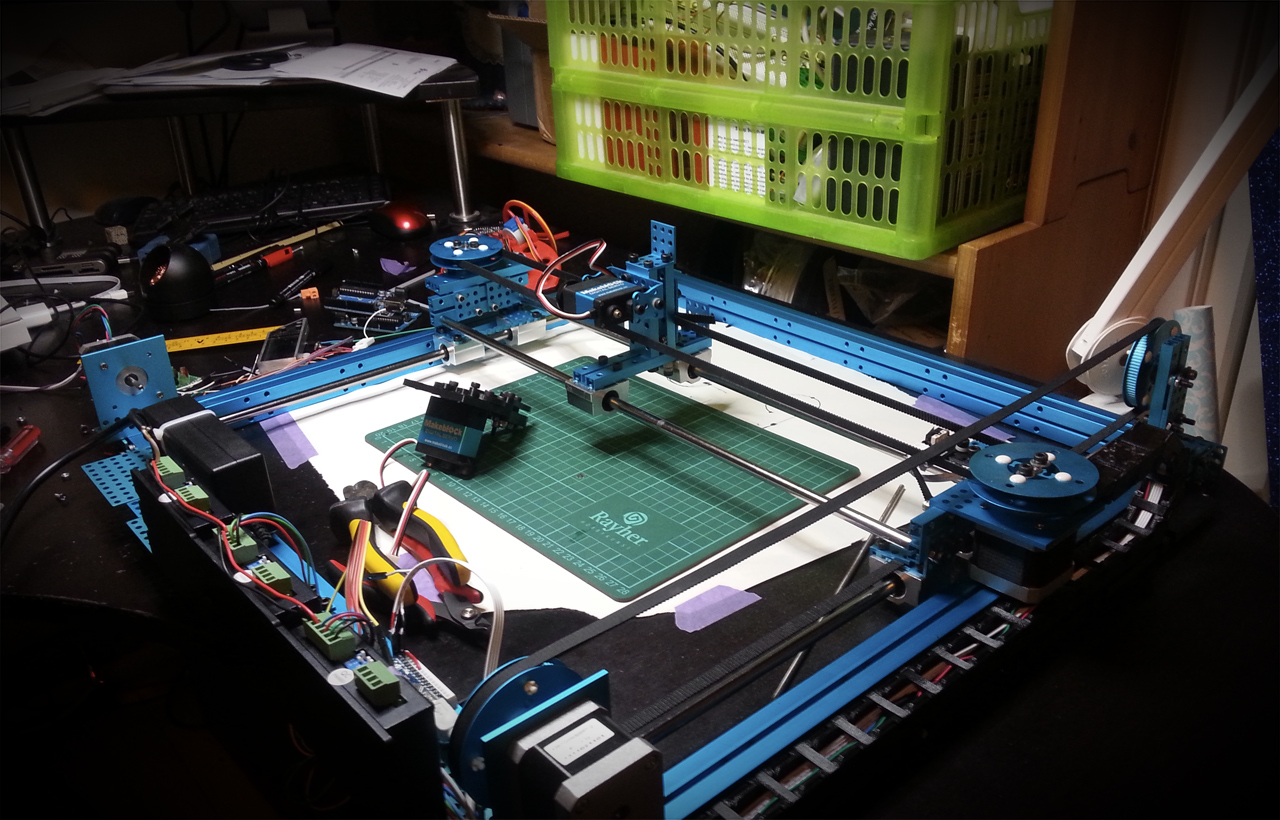
I also found that the placement of the stepper drivers and other electronics were far from perfectly placed, so I did another rebuild of that entire part of the gantry. The idea is to mount all the stepper drivers with the back towards the far back of the machine. The black backside of these make up a nice "wall" that protects the other electronics. I'll eventually use four of these drivers: two for the Y-axis (pulls the X-axis), one for the X-axis (pulling the toolhead) and one for the Z-axis (moves the tool up/down).
Why two steppers on the Y-axis? The weight of the servo/toolhead makes the side that is not being pulled by the belt lag behind. This reduces precision quite a bit, so I'll solve this by driving this axis with a motor on each side, just like many 3D printers do. The pens will also be placed at the front of the printer, making it easier to see changing of pens and also what is being drawn. This new placement makes it much easier to work on the machine as well, since I can just tip the machine over and rest it on the back of the steppers. Works well and this is how it looks now: