Meetup Pocket Sign
08 March 2013 at 10:55 pm
My brother is thinking about going back into the signage business and as he would start up his own company, he’ll need to build himself a network. My favorite way to connect with people and communities these days is Meetup.com - a website that help you host meetings with ease. So - I set out on a mission to help people remember my brother and what his company delivers.
I’ve long wanted to do something with the neat little 1.8” LCD screen I picked up from Adafruit some months back and looking through their site I found that they also have this neat Lipo charger as well as slim, matching batteries. What if I made a small LCD-sign that he could drop in his pocket? I ordered the components and started modeling.
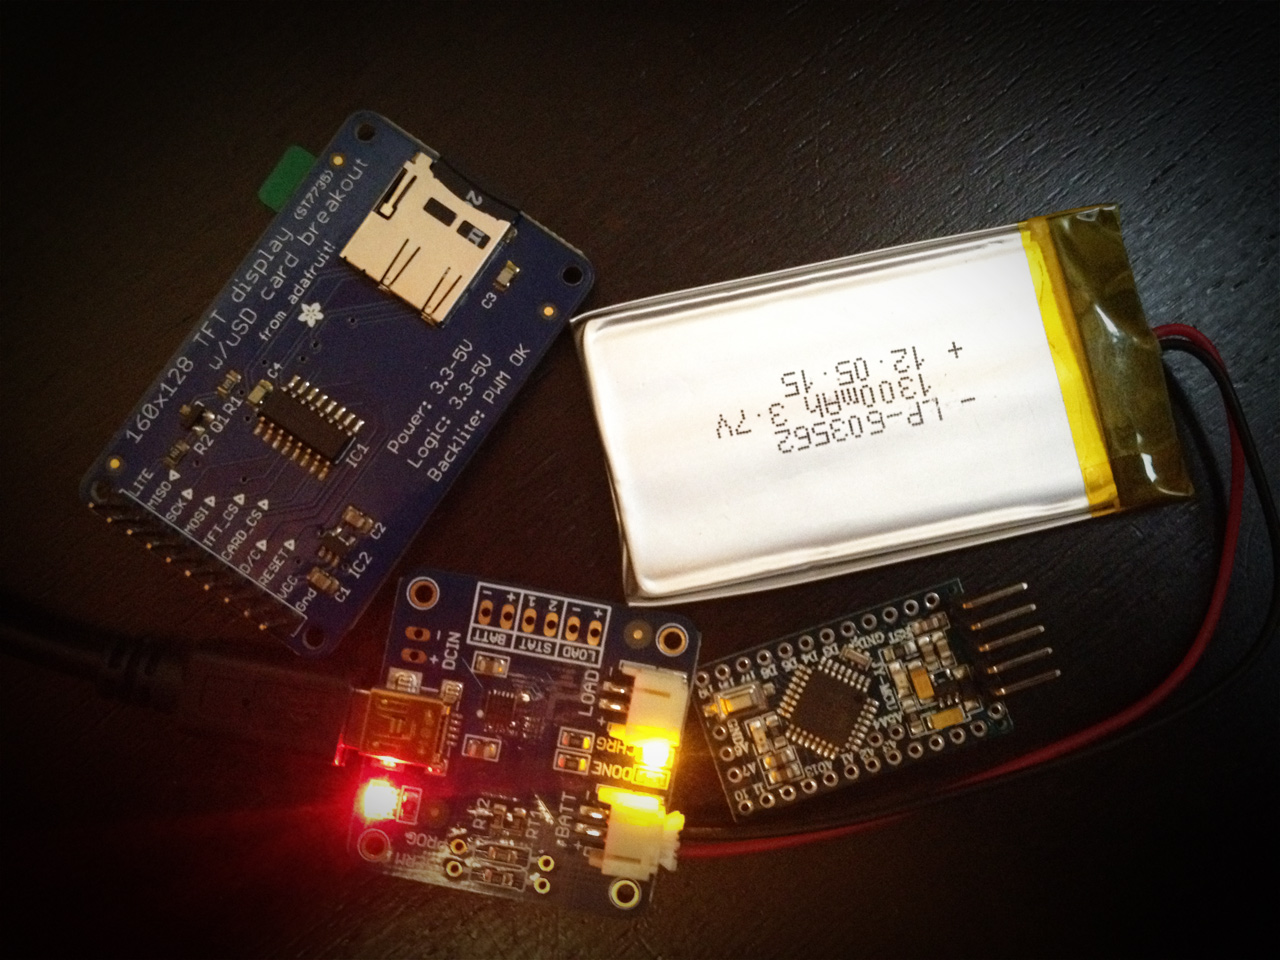
About a week later, the parts arrived and I modified Adafruit’s example file a bit to load images one by one from the SD card beneath the screen. That gave me a simple, but effective slideshow. All my brother needs to do is to to change the contents is to make some BMP images and dump them onto the SD card. Easy!
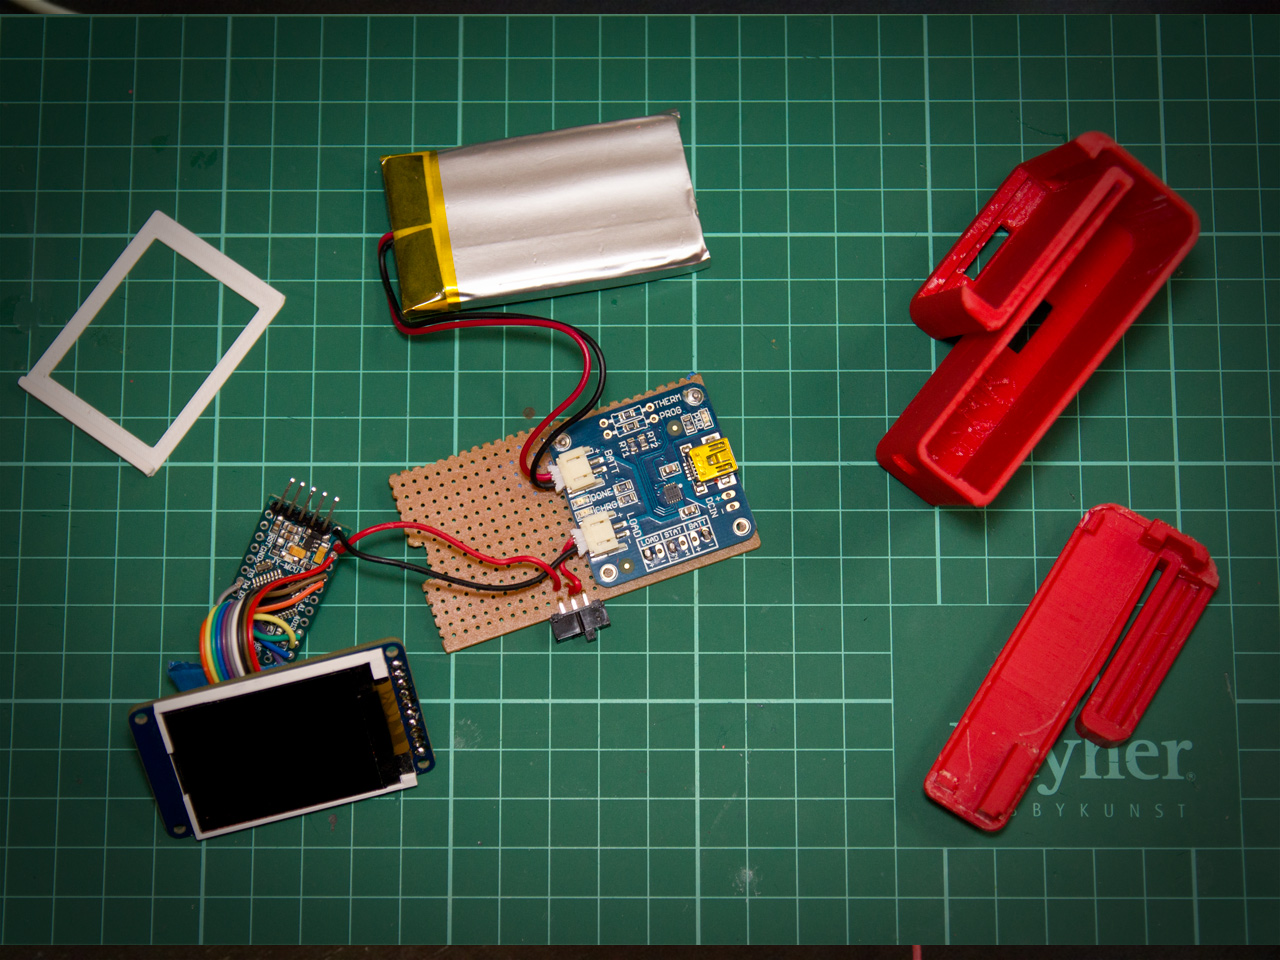
After a few iterations I came up with this case. The part containing the battery is not the slimmest, but it’s also meant to go inside your shirt pocket. I could have made it slimmer, but then I would have to sacrifice battery time. With it’s 1300mhA battery pack, it lasts 2 hours on one charge and charging it takes a little less than an hour. I could have saved a little space by skipping the proto-board that lies in between the electronics and the battery, but it made mounting things and getting the USB-port right for charging. I might remove that if I do a next iteration.
The part that is visible on the outside of the pocket is much slimmer and it looks like the red and white Meetup.com logo. It took quite a bit of fiddling to get the case right. I learned that by slanting the print 28 degrees while printing, a lot less cleanup was required.
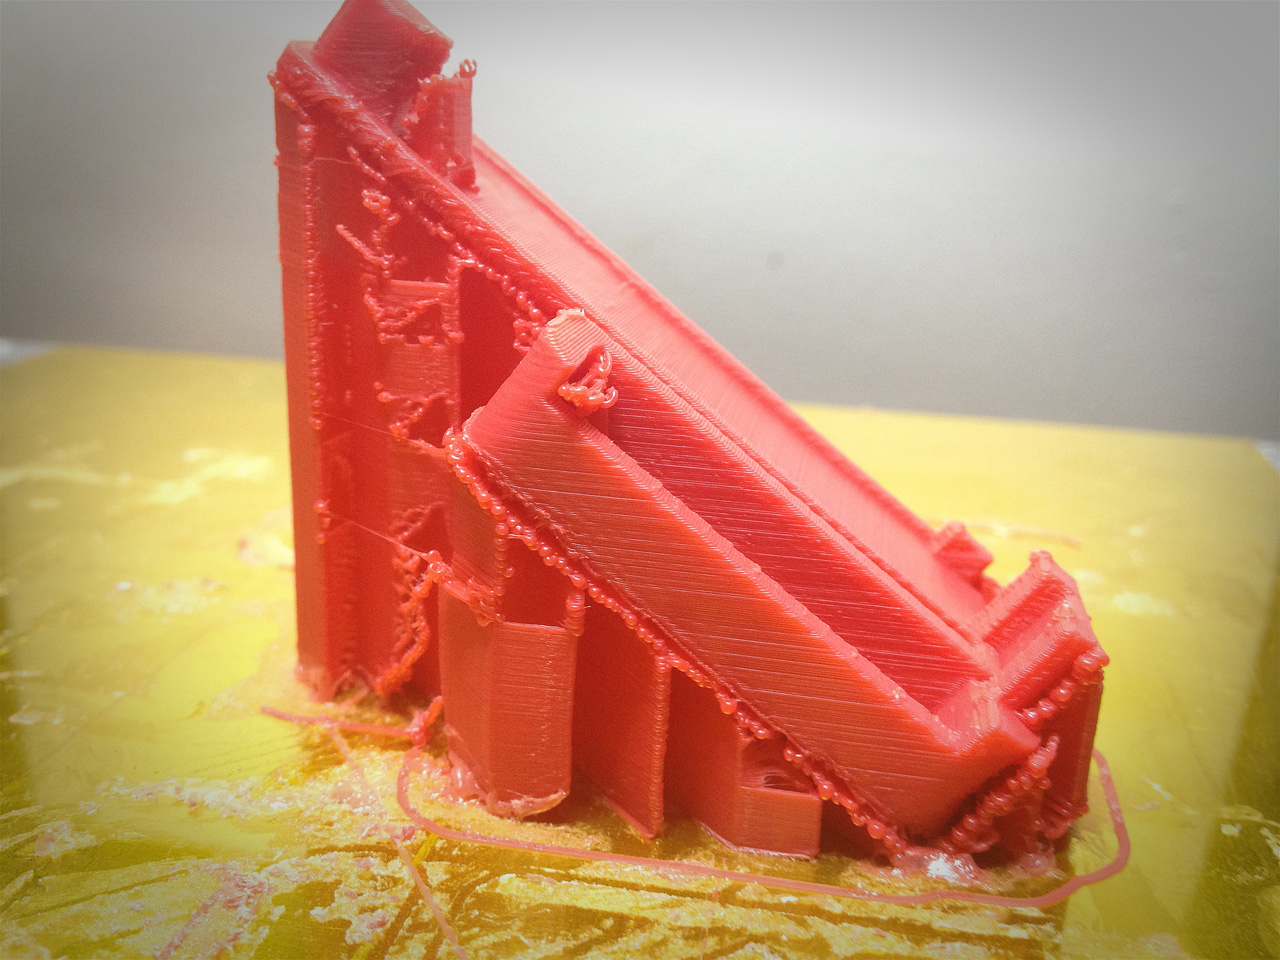
The supports came off really easy and printing the parts like this actually made them much stronger and easier to glue together in the end. I usually use PLA plastic for all my 3D printing, but for this I used ABS since it can be grinded and polished (PLA can’t). Towards the end of the project I didn’t quite get the time required, but it was a fairly polished thing I gave away. It took me 4-5 evenings to make this project and I think it was worth it. I could of course have bought a CD or something from a shop, but this was a personal gift that (as far as I know) nobody has. Much more fun!
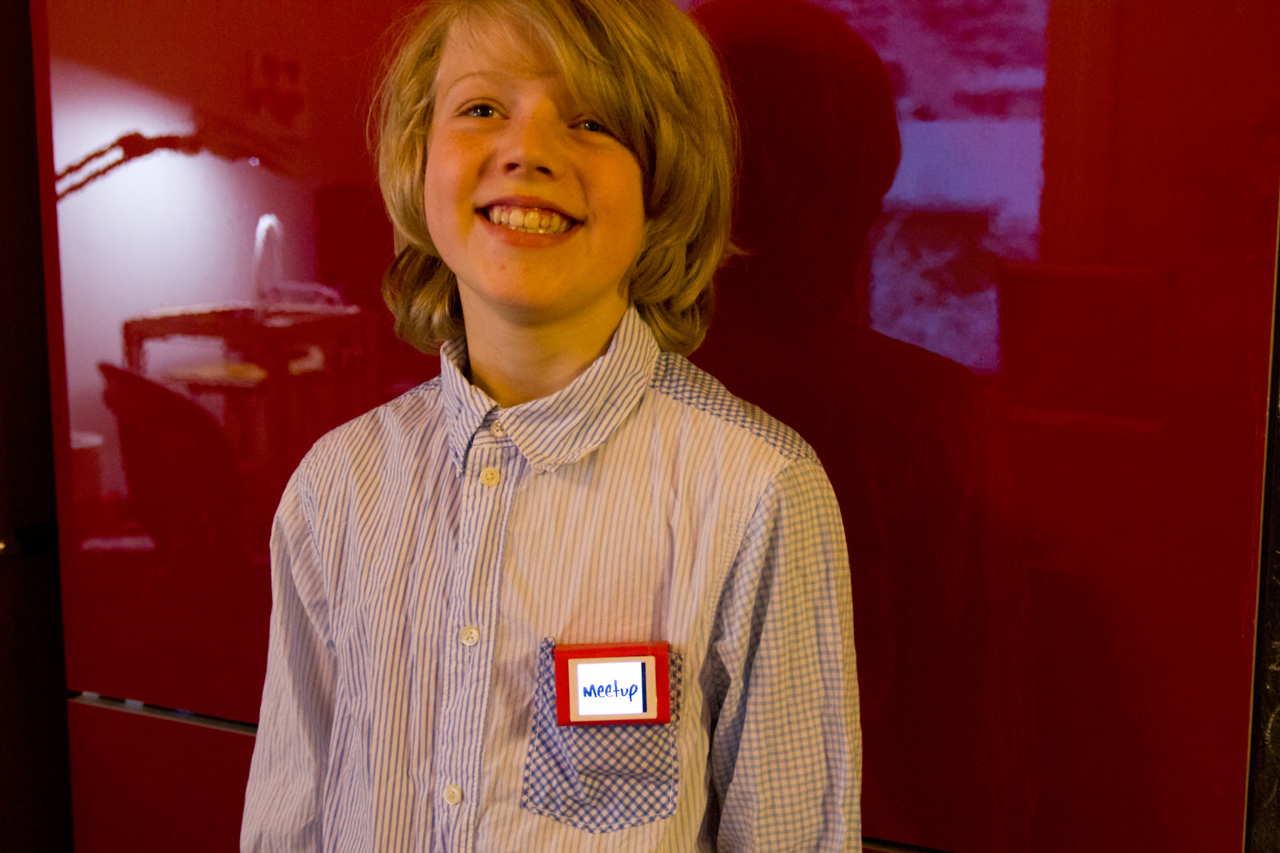
Here’s a shot of junior showing off the final sign and if you want to make your own - grab the files on Thingiverse and components from Adafruit.