How to update the official Arduino Wifi Shield
02 November 2012 at 11:18 pm
I spent most of yesterday eve at Bitraf trying to make the official Arduino Wifi Shield behave properly as there is a bug in the firmware that it comes with. One of the Bitraf members has a cool project that involves remote control of servos. He planned to use the Wifi Shield, but it kept loosing it’s connection at random intervals - no pattern to it.
As I have the same shield, I tried to figure out how to download and install the new firmware from GitHub. I couldn’t find any good description on how to do it, so here’s how I did it on OSX. It’ll be quite similar on Windows and Linux.
1st Download the files from GitHub
Go to https://github.com/arduino/wifishield and either download the ZIP, or use GIT if you’re familiar with that. If you’re using git, open terminal and navigate to the folder you want the repository in. Here’s how I did it:
mkdir wifishield
cd wifishield/
git init
git remote add wifishield https://github.com/arduino/wifishield.git
git pull wifishield
git checkout master
The installer expects the files to be inside the Arduino-app folder. Copy wifiHD.hex, wifiHD.elf and the other files from the wifishield/firmware/binary folder into /Applications/Arduino.app/Contents/Resources/Java/hardware/arduino/firmwares/wifi-shield/ (or where you have your Arduino app).
2nd Grab the Device Firmware Updater
Next is getting the software we’ll be using since AVRDUDE does not work with the 32UC3-chip in the wifi-shield. Check out this page http://arduino.cc/en/Hacking/DFUProgramming8U2 for details on installing this on your specific platform. For OSX, it should have been easy like this:
sudo port install dfu-programmer
However, instead we got this:
Error: The installed version of Xcode (2.0orlower) is too old to use on the installed OS version. Version 4.1 or later is recommended on Mac OS X 10.8. So off we went to Apple to get the new version.
Apparently Apple thinks that minutes after releasing XCode 4.6 was a great time for maintenance. Yay… Some hours later, the download commenced and we got it installed. Next we had to install the XCode command line tools we were finally ready to go…
3rd Set the jumper
Plug the USB Mini cable into the shield. You should not upgrade the shield while it’s mounted on an Arduino.
To program the shield, you’ll need to enable a jumper. This puts the chip in DFU-mode that enables reprogramming it. There is no “J3” marking (mentioned in documentation) on the shield, but there is also only one jumper there so you can’t go wrong. Just place it across the two pins and you’re ready to go. If you fail to set this jumper, you’ll see an error “dfu-programmer: no device present” since there is no programable device connected.
4th Upload!
You’ll use a script from the GitHub download to do the actual uploading: https://github.com/arduino/wifishield/blob/master/firmware/scripts/ArduinoWifiShield_upgrade_mac.sh Move to the correct folder and then run the script as below:
cd /Fra PC/arduino/wifishield/firmware/scripts/ArduinoWifiShield_upgrade.sh
sudo sh ArduinoWifiShield_upgrade_mac.sh -a /Applications/Arduino.app/Contents/Resources/Java/ -f shield
Explanation: “sudo” means run as the computers registered superuser to avoid any permission-related problems. Your Mac will ask for your admin password when you run this. “sh” is short for “shell” and means that the following file-name should be executed as a script. “-a” and what comes after sets the path to the Arduino app and finally -> “-f” tells if you want to upgrade the shield-software or the main CPU it runs on. Unless something goes wrong, you’ll see a message saying that says “Validating” and that it’s no less than 101.44% finished 😊
5th Remove the jumper
Once the upgrade goes through, remove the jumper and set it on just a single pin. That’s it. Not hard once you know how to do it and have all the required software installed. It’s however a far cry from the simplicity we’re used to with Arduino. Maybe they’ll find a smoother way to solve this? Also something VERY interesting we discovered that isn’t documented - if you have connection problems with this shield, make sure you don’t use/set PIN 9! It’s not documented as being in use, but something definitely goes on with this pin. The PIN also has it’s own LED (marked L9) on the shield and it flickers weakly during use of the shield so something undocumented is going on there.
I have to say that while it’s fantastic to have an officially supported Wifi shield, I don’t really appreciate that it takes up the PWM pins 10, 11 and apparently 9 as well. I’d much prefer I2C or a more configurable solution like for instance the Adafruit Wave Shield offers. Marking what pins are used directly on the PCB is also a great help for users.
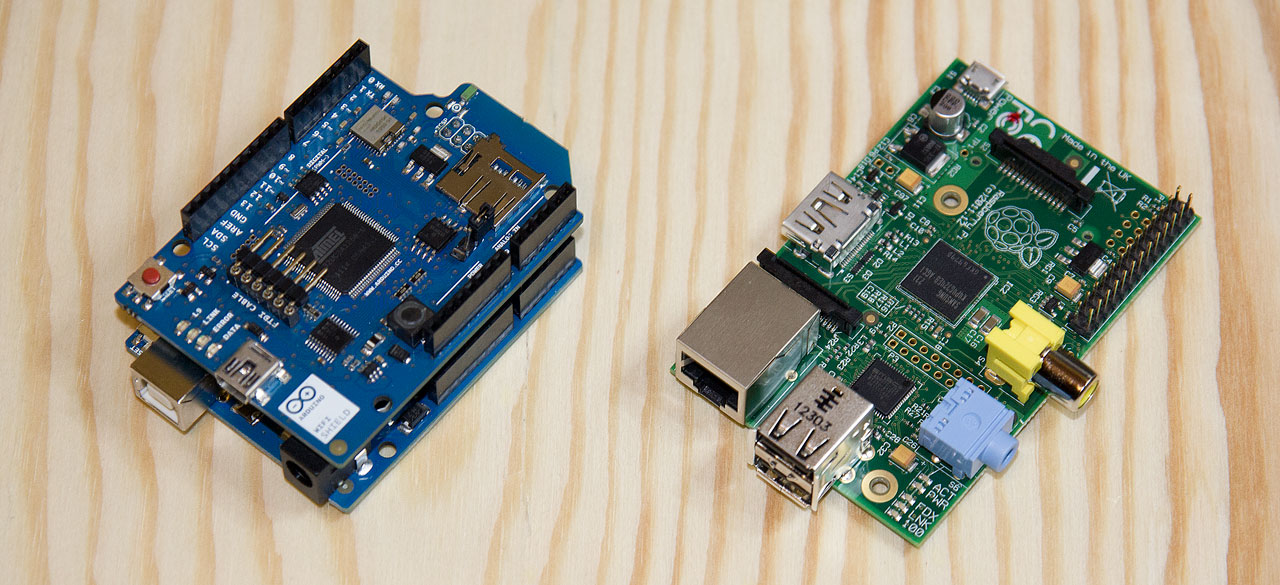
We also figured that the Atmega 32UC3 chips are not too expensive, but the WiFi chip on this shield is $20 even in fairly big quantities. While this makes the shield quite expensive, it’s probably worth it’s steep EUR 69 price. Keep in mind though - with an Arduino UNO, the total setup is 89 EUR ($115). A Raspberry PI and a wifi dongle is much cheaper. In fact - you can even get Adafruit’s complete PI-kit for only $105! Have a look at the picture above comparing both solutions and you’ll see that they’re both small in size, so depending on your need - maybe it’s not an Arduino you need?
Here’s some useful links I found while researching this:
http://mitchtech.net/arduino-usb-hid-keyboard/ (good info on the DFU programmer)
http://arduino.cc/en/Hacking/DFUProgramming8U2 (Official page on installing DFU for other platforms)
UPDATE: here’s a link to Massimo’s writeup