Easter funtime with KiCad
06 April 2018 at 8:48 pm
This Easter, my 17 year old son got sick for the last days of the holidays, so we left the mountains were we usually stay. All of a sudden had a couple days of spare time, so I sat down and made two PCB’s that I had been thinking about for a while!
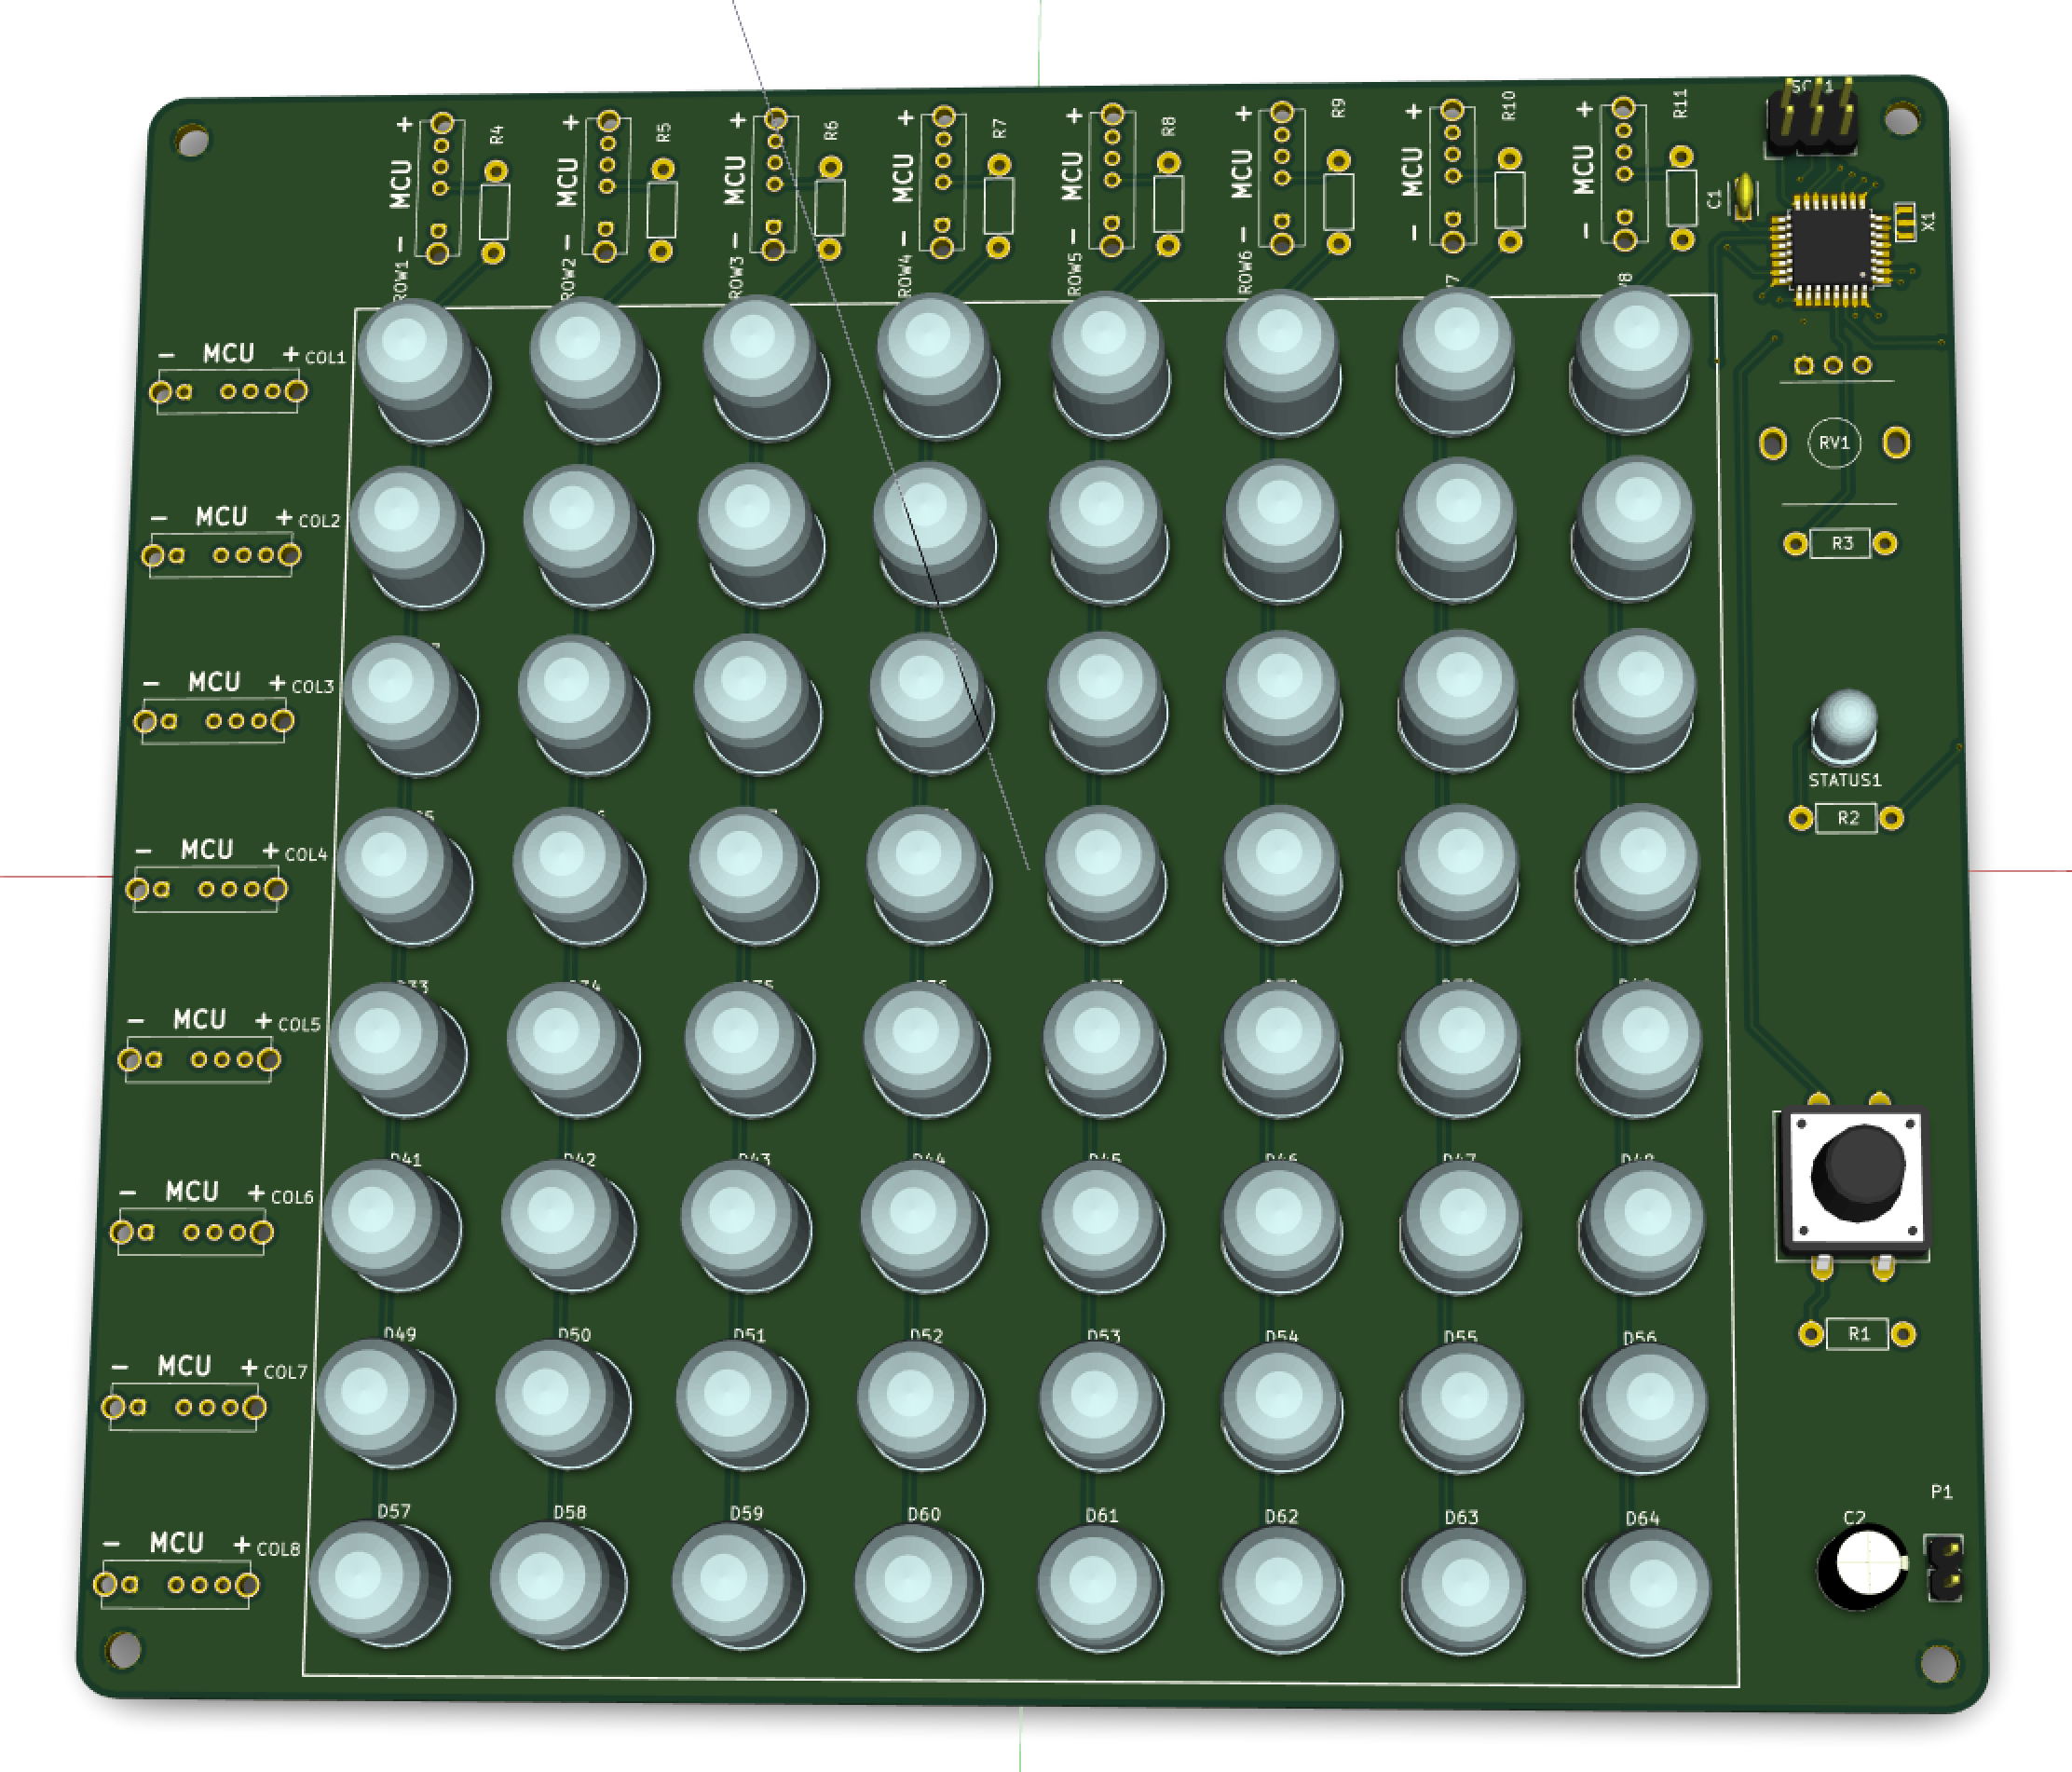
The first is a huge 8x8 LED matrix made with 10mm LED’s. Every year at Westerdals ACT where I tech Embedded Systems, the students have a hard time understanding how these work, so I made a BIG one that I can pass around for them to understand. Each row and column has a switch, so they can easily toggle between GND, 5V and having that line controlled by the onboard ATMega328P. When controlled by the MCU, it’ll scroll a text. By turning a potmeter, the code will run slower and slower so that you eventually see each single line in the Matrix light up. I also added a button just in case I wanted to change the program or so. The parts for it arrived in just two days from Farnell and I orderd the board from PCBWay. It should arrive in about a week. Here’s how it looks in the KiCad 3D view:
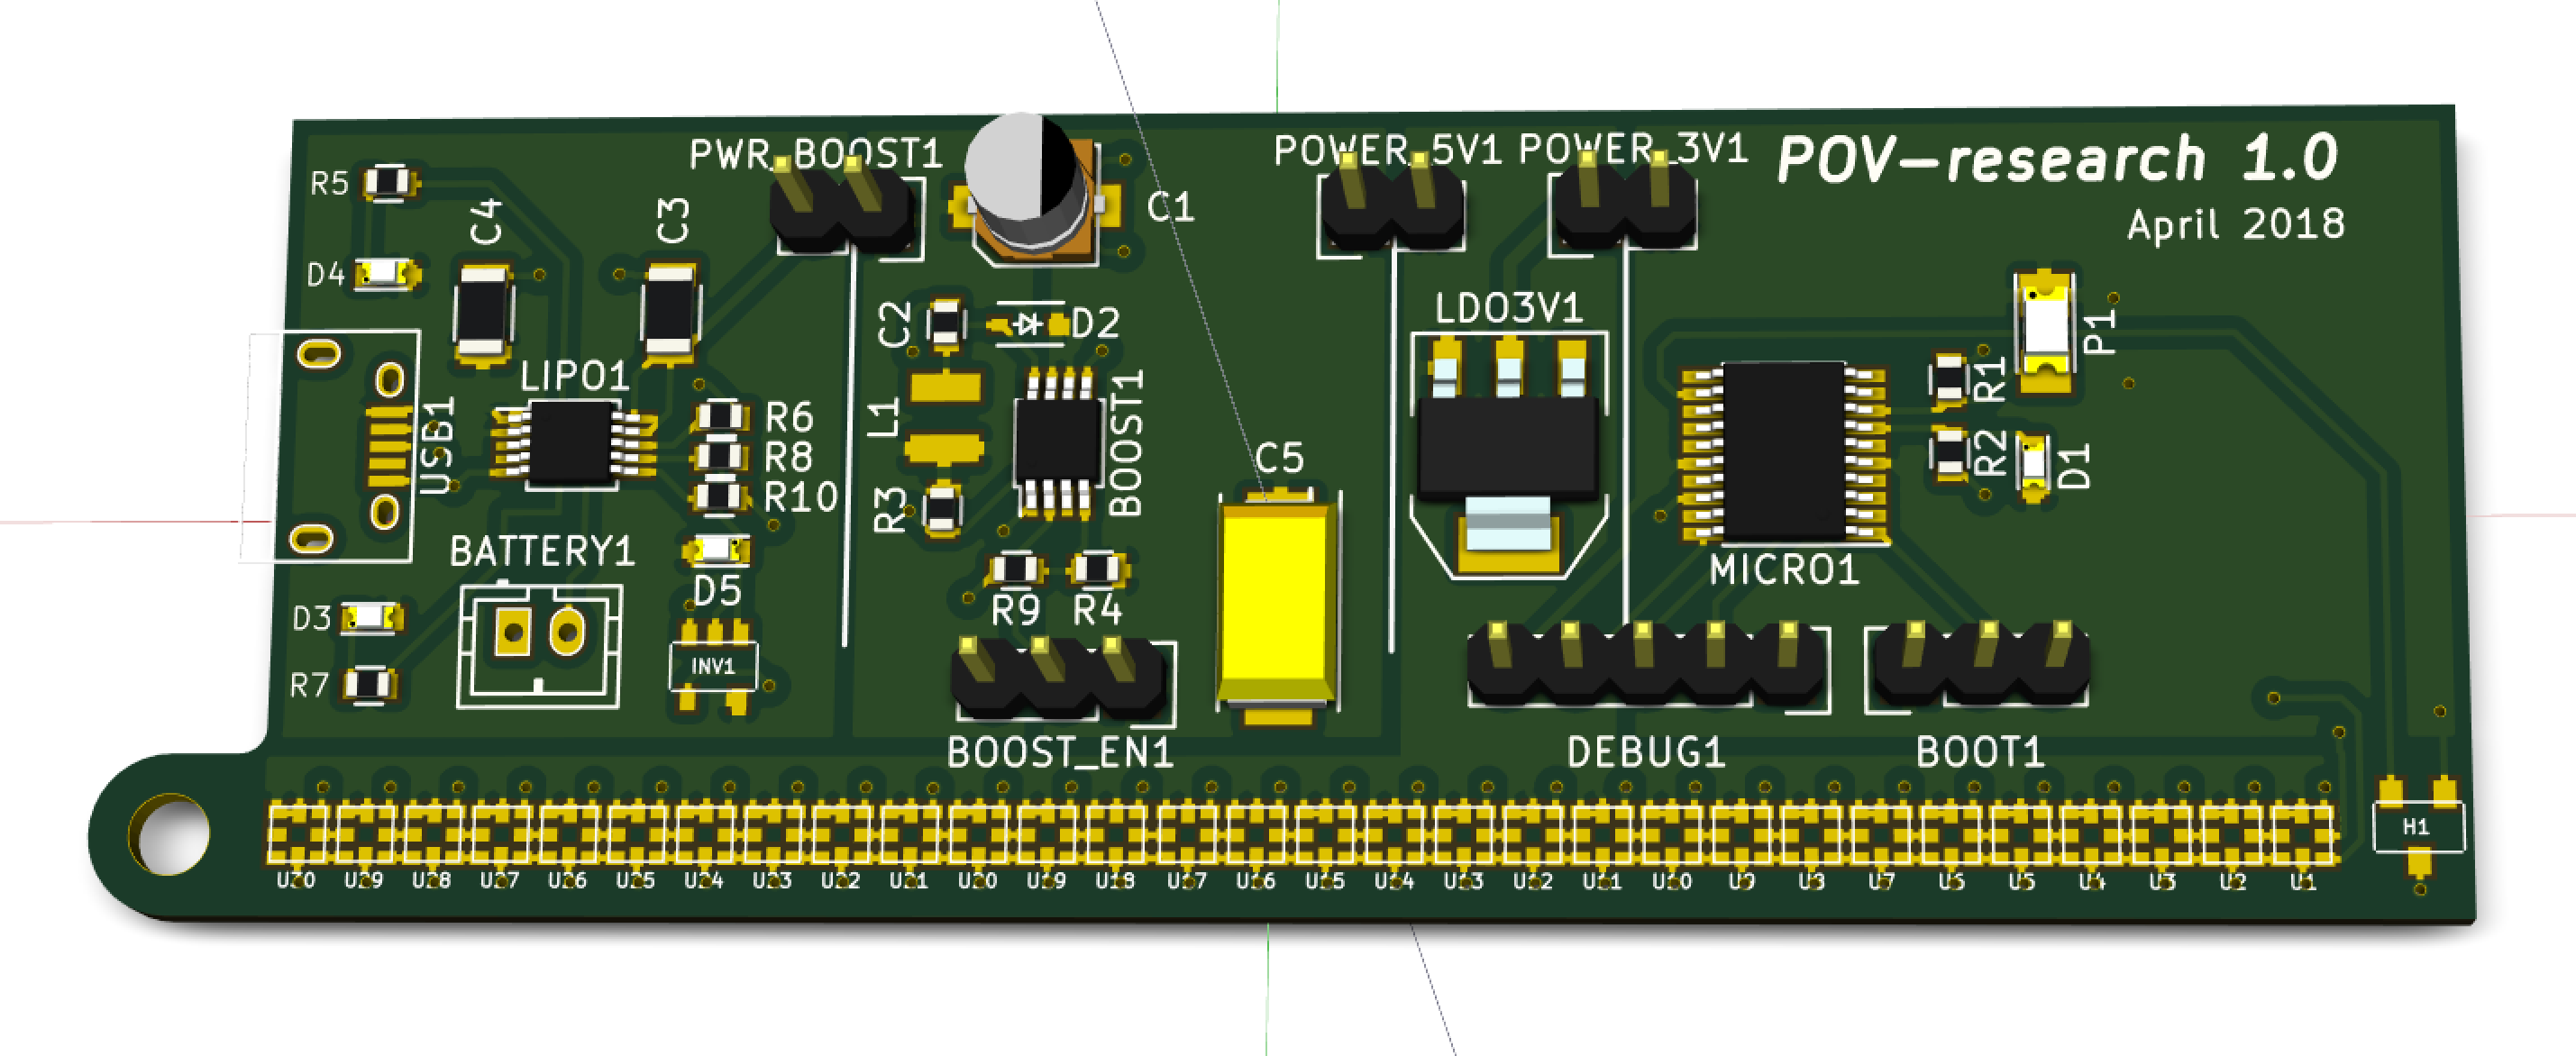
Persistence Of Vision research
I love how we humans use the slowness of our eyes to display pictures. For a long time I’ve wanted to make a board where I can use the programmable and tiny APA102 LED’s (that Adafruit sell as DotStar) to produce POV imagery. For this board I wanted to try out a lot of things that I haven’t had time to play with. I have a Lipo charger so the device can both run and charge from a small battery. The APA-102 RGB LED’s require 5V and a single cell LiPo battery is anything from 3.6V to 4.2V, so I needed a Boost converter that only works when the battery has enough voltage. If not, the LiPo battery will drain and eventually it’ll puff up and get destroyed. The setup I use should have this covered so that I won’t need to disconnect the battery. The Microcontroller I’m using is one of the cheapest STM32’s I could find that still has USB support. It’s super tiny!
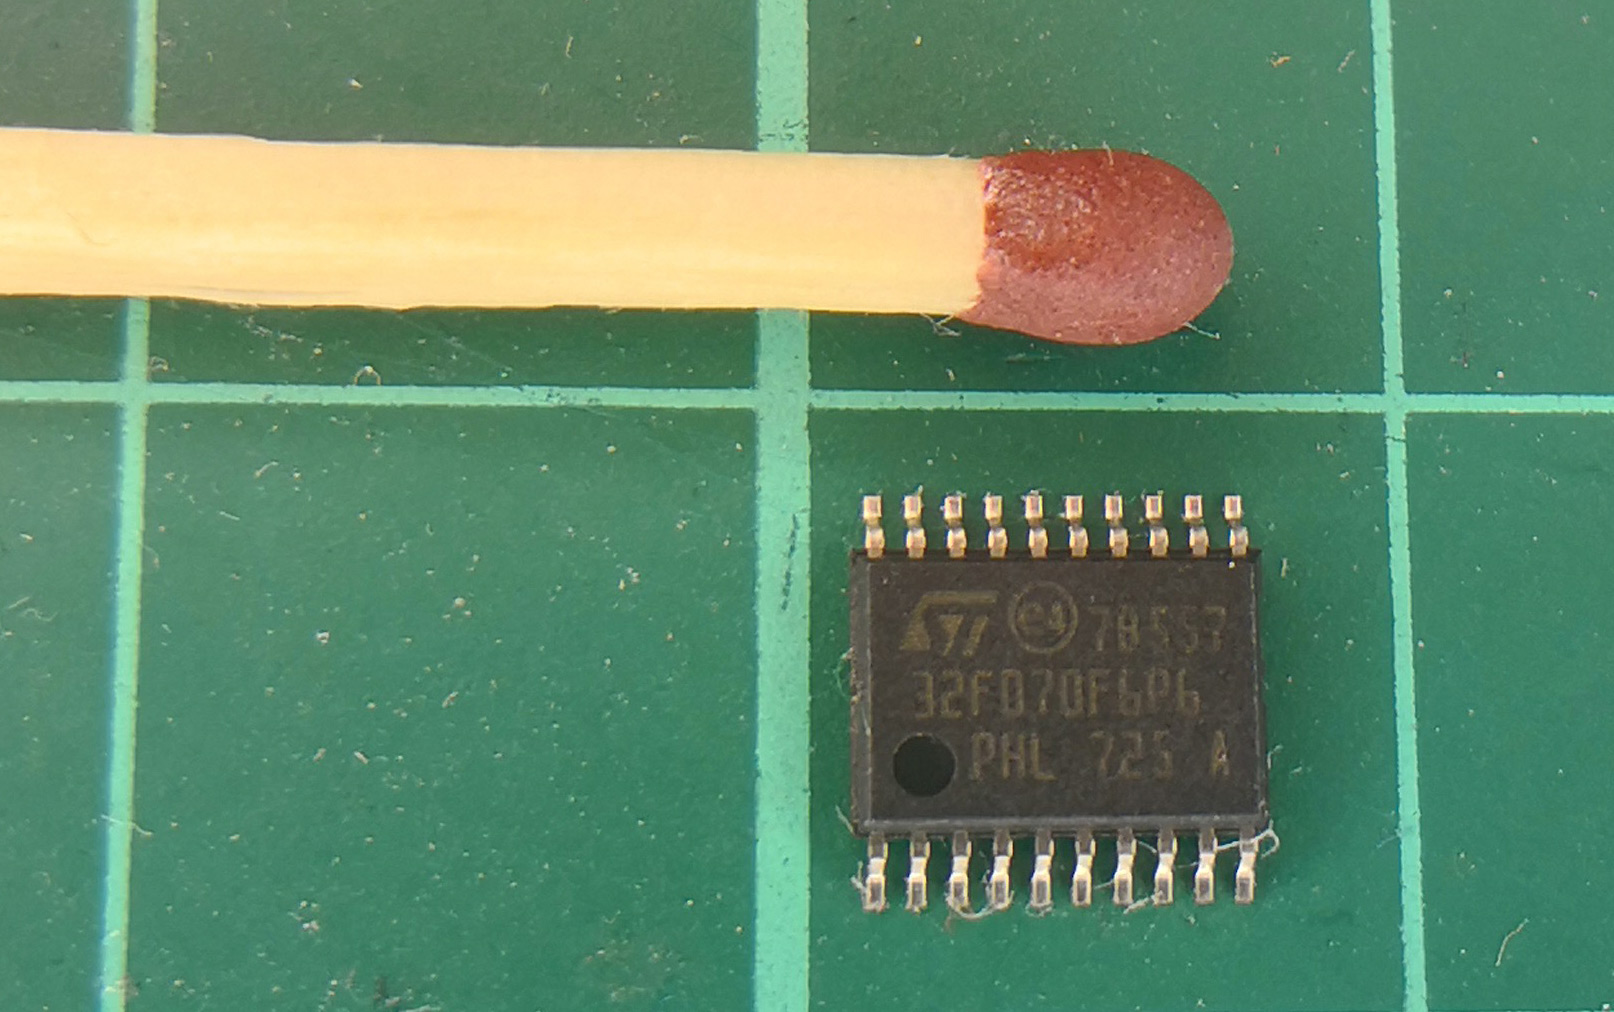
How tiny? Just look at the match I added for scale and the dust between the legs of it! The micro requires 3.3V so I needed to add that to the board & I’ve also added a Hall sensor and two Phototransistors on the board to input various data. Can’t wait to get these boards and start writing the software! :-D