Main walls & hat shelf installed
20 May 2021 at 10:23 pm
May is filled with red days in Norway, so we’ve had some productive weeks! The two main walls are in and we’ve installed a “hat shelf” above the front seats!
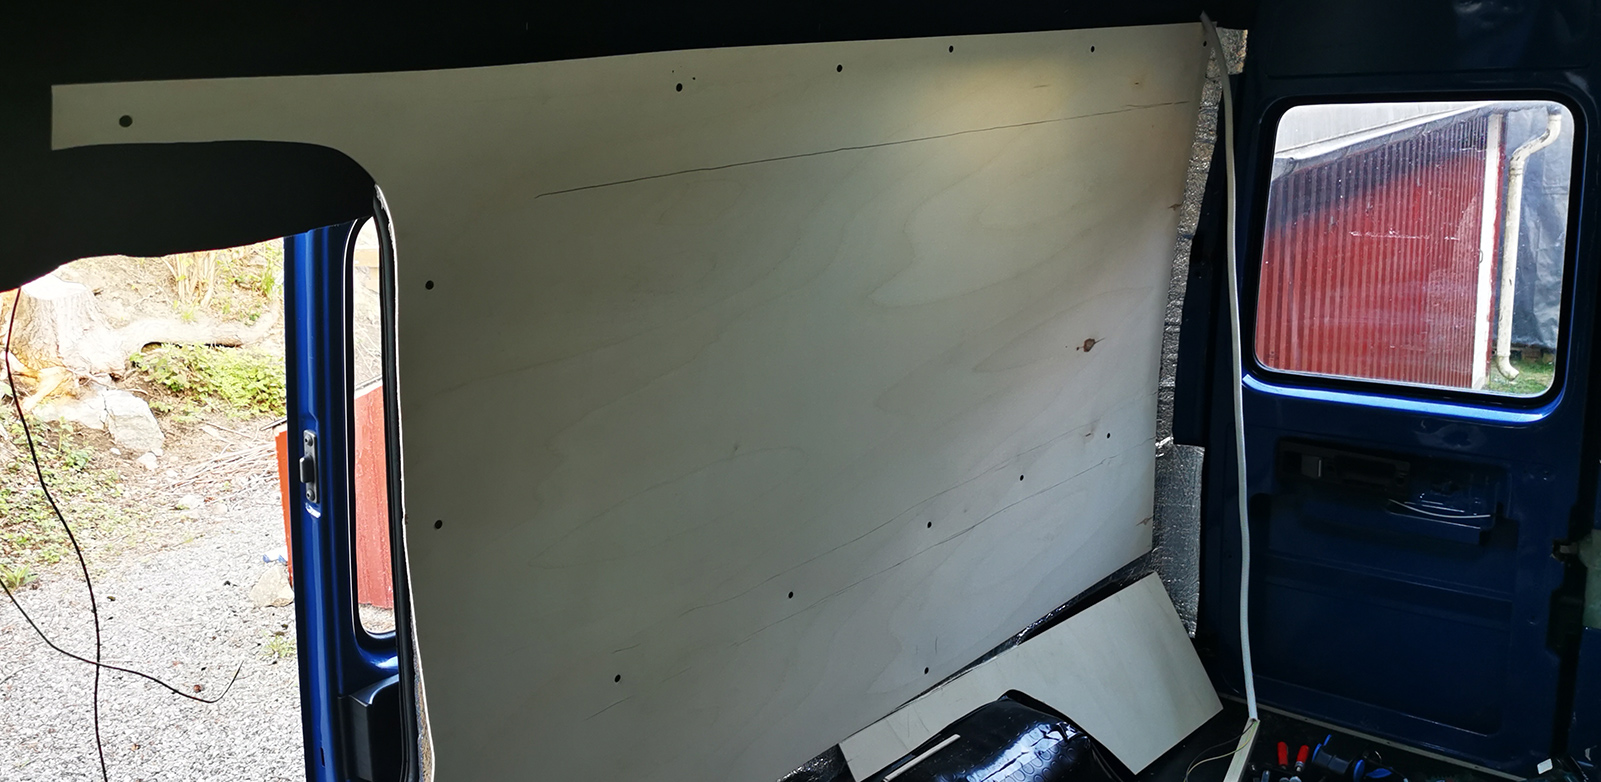
Getting the walls up really gives a feeling for how the car will look in the end and since the previous post, we've also added linoleum flooring. We construct the walls of a combination of 4mm cheap poplar wood that is glued to more expensive and good looking 4mm birch plywood. This hides nearly all screws while still keeping the wall securely fastened in the event of a collision. We start by holding the polpar up to it’s final position and marking the door. After cutting out the door with a jigsaw, the poplar is nailed to the car body in multiple positions using metal sheet screws with large, flat screw heads.
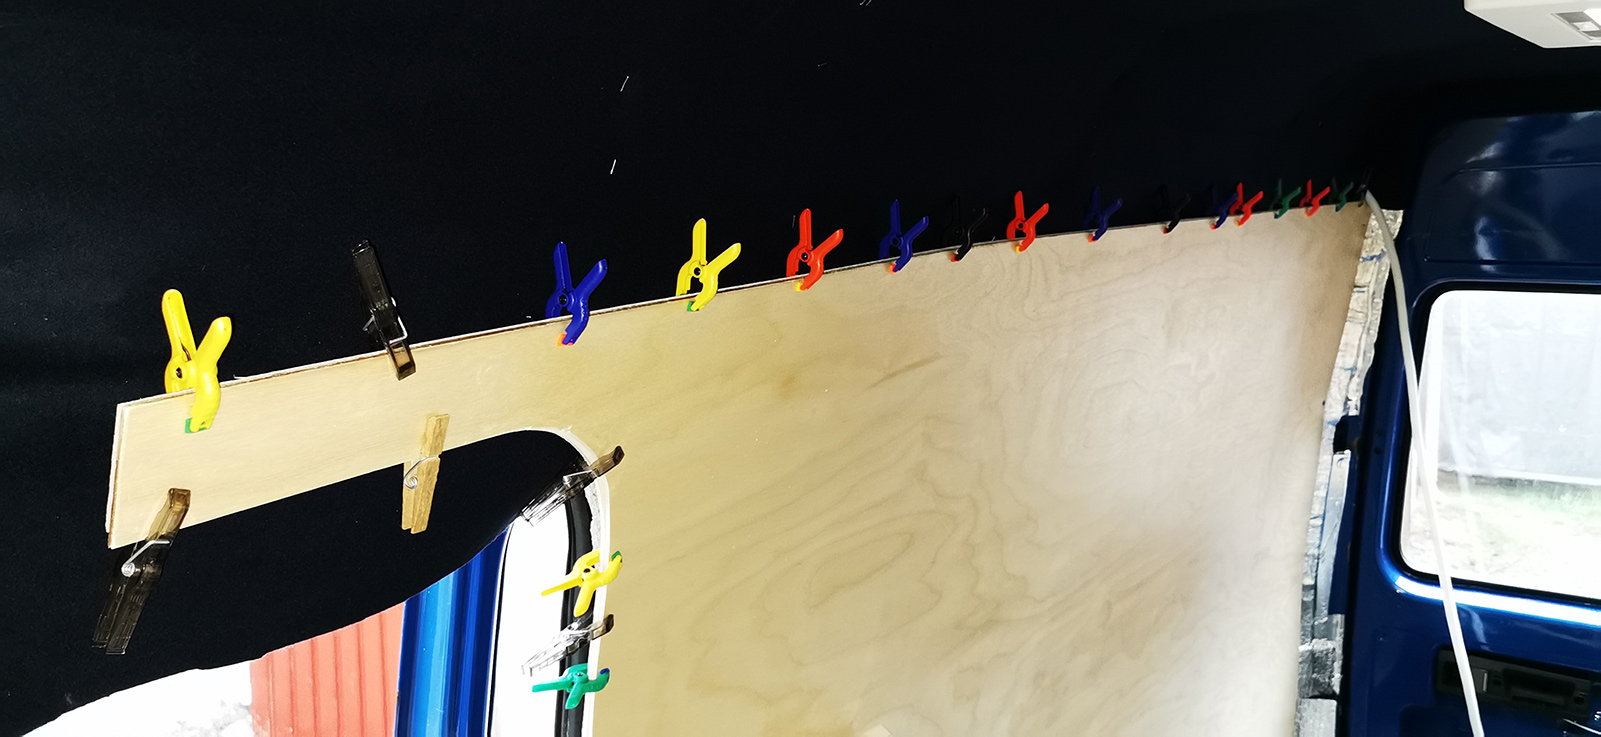
When the poplar is in place, we’ll hold the sheet of pre-treated Birch plywood up, mark and cut it to the same shape. Then comes the gymnastics - we apply a good amount a PVA wood glue to the Birch - hold it up in postion and stick it to the poplar. To get the glue to stick everywhere, we used clips around the edge, some large wooden beams and ourselves as “dead-weight” holding the two sheets together as the glue sets. We also secured the Birch to the metal in places that won’t be very visible.
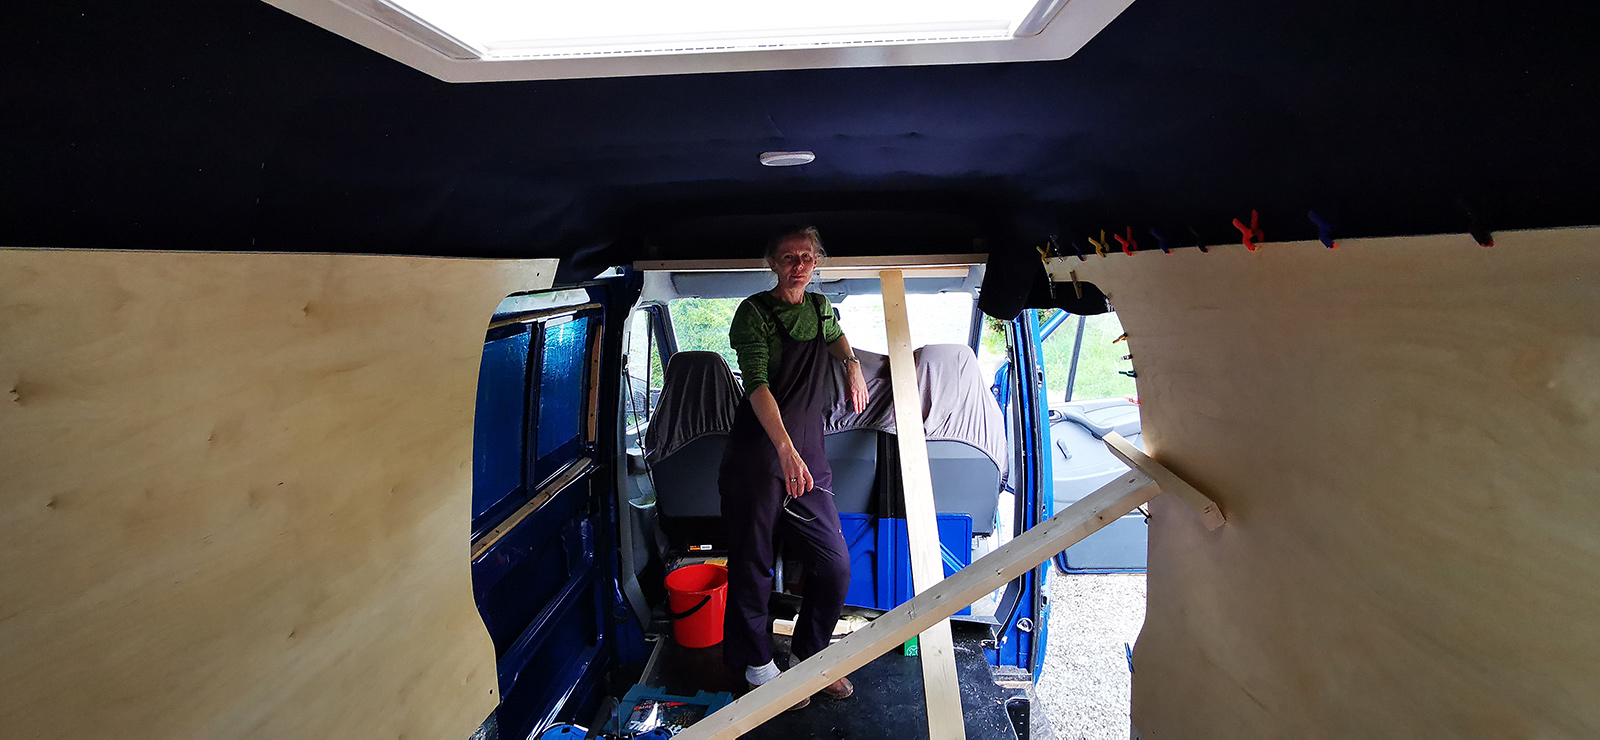
We then repeated the process for the other side. With the roof hatch in place and the roof covered with the dark blue textile, you get a feel for how the final result may turn out!
The process of hanging the two walls took more than a week due to treating the wood and glue drying. We also made tiny wall-bits that go underneath the main sheets of wood. This will mostly be hidden by the benches, but it looks more complete with it there. It also gives the electrician a wall to mount the socket for our “shore power” that we’ll need a certified electrician to do.
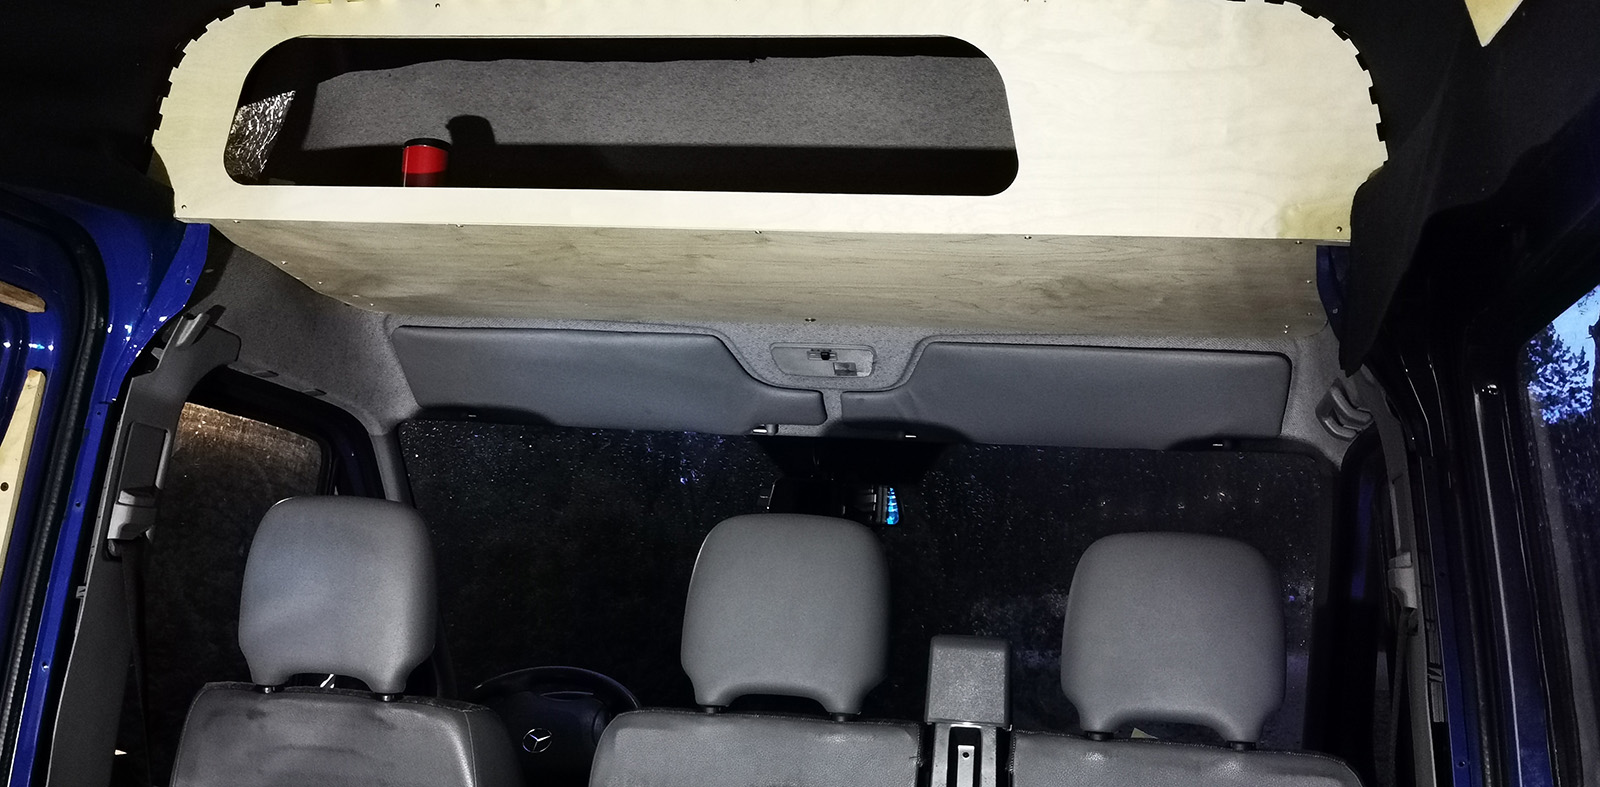
Next, we started on the storage above the front seats. Annema made a cardboard template for the bottom of the shelf that we then transferred to a sheet of Birch plywood. We had to find a way to secure it to the existing textile-covered plastic insert that is already stuck to the chassis. We ended with placing a piece of wood (A) between the “insert” (B) and the chassis. The wooden block (a) rests on the metal chassis and is attached to a solid block of wood (C) through the “insert”. In a car - there are no straight curves, so to support the front of the shelf, we had to add another smaller pice of wood that extends all the way to the front.

It’s not stylish, but it’s inside a shelf so nobody will really see it unless they want. We’ve also anchored the front of the shelf to the existing “insert” using a 6mm bolt and washers as well as stiffened the 4mm plywood with some strips of wood to prevent “sagging” when the shelf is filled up. After this, we fitted the CNC-milled front. The end result is a fairly large shelf with a non-centered opening. The right side will be covered by the kitchen cabinet that we’ll add later, so no need to extend the opening all the way behind that.
Quite happy with progress and now we started adding the slats in the roof!