Starting the roof slats
24 May 2021 at 10:40 pm
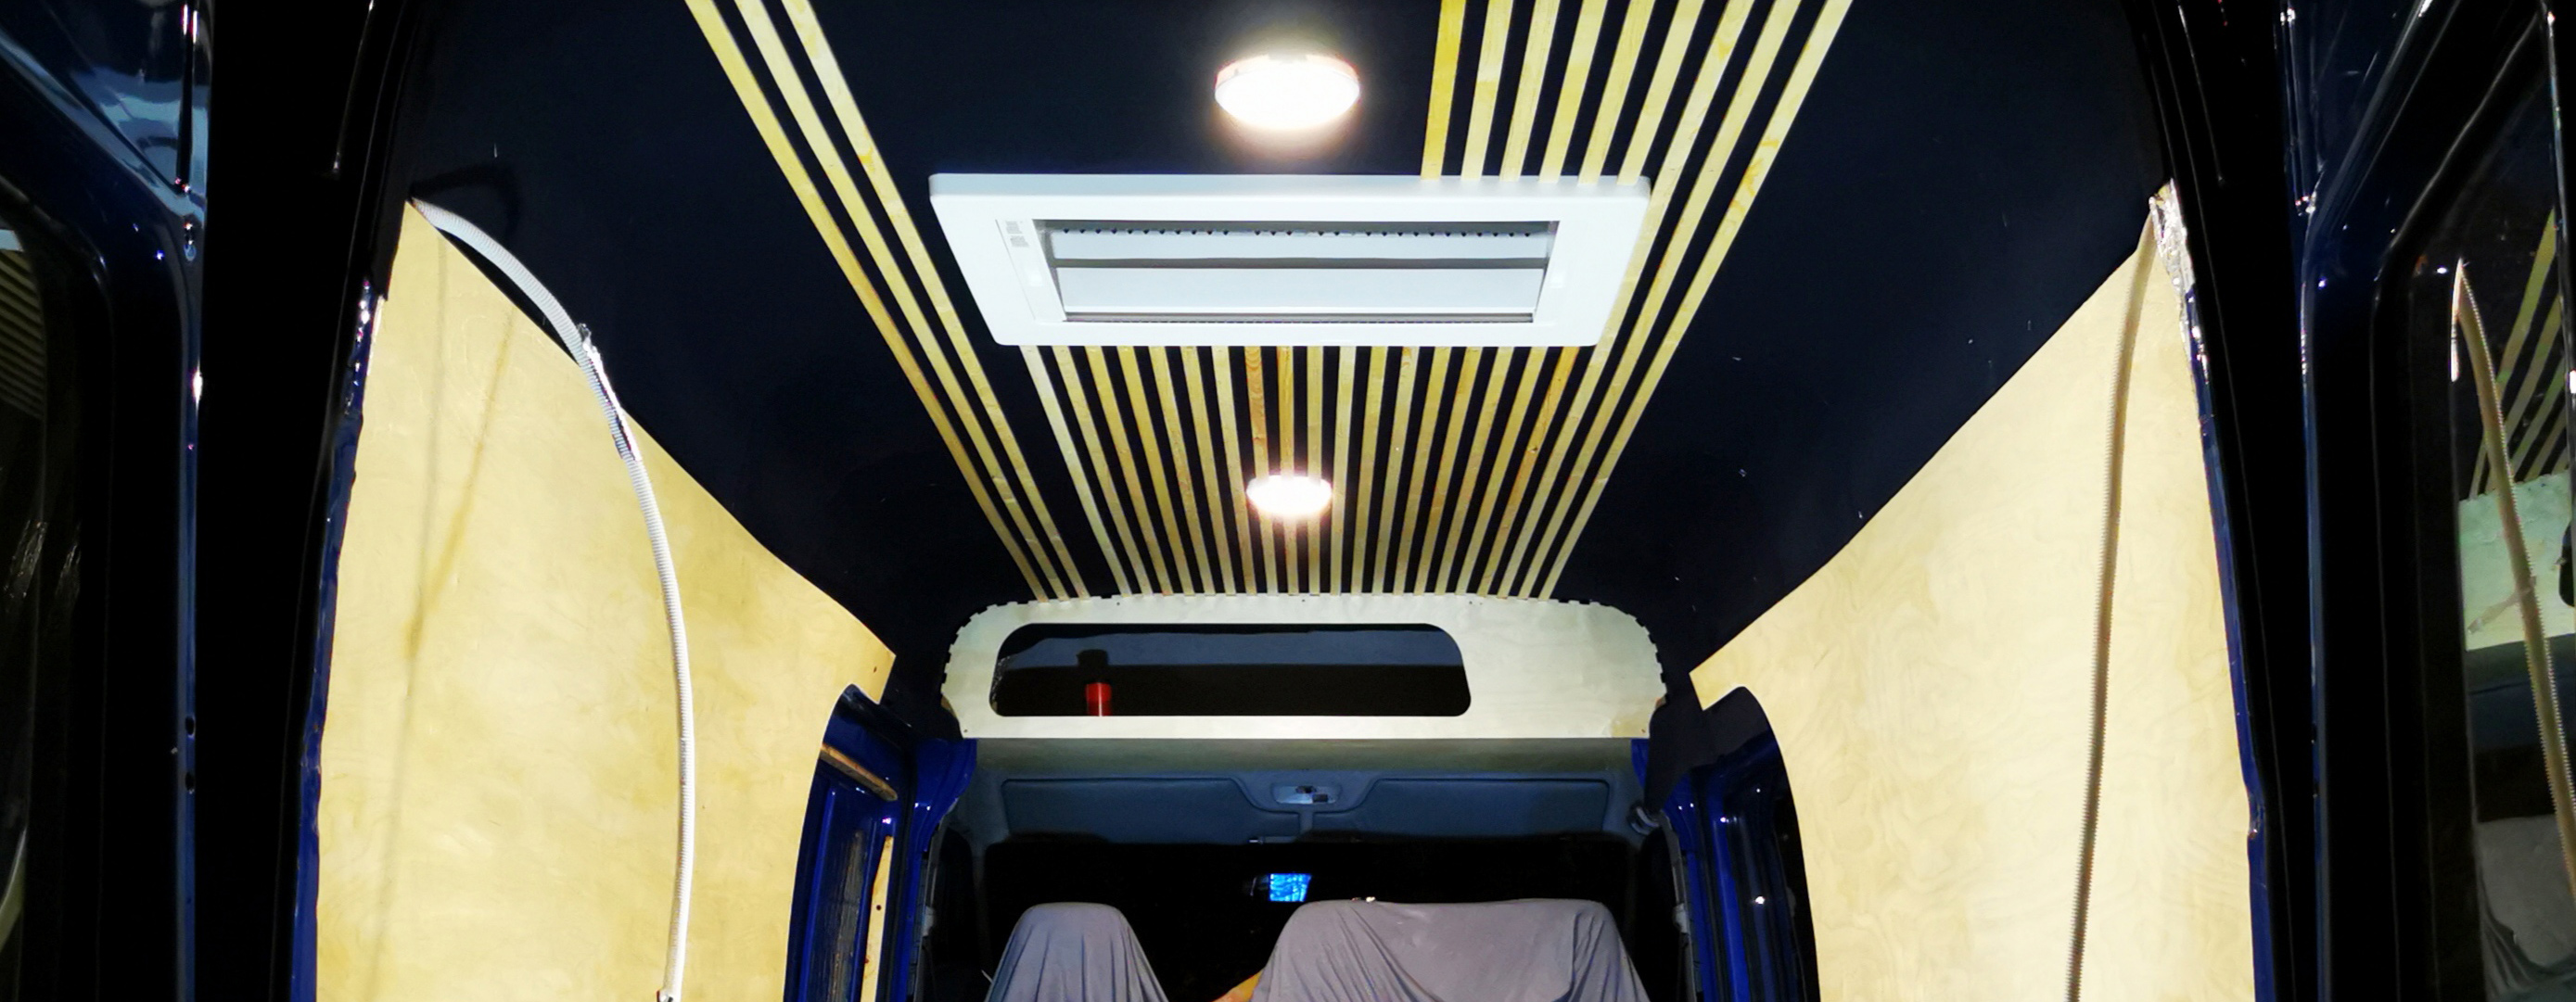
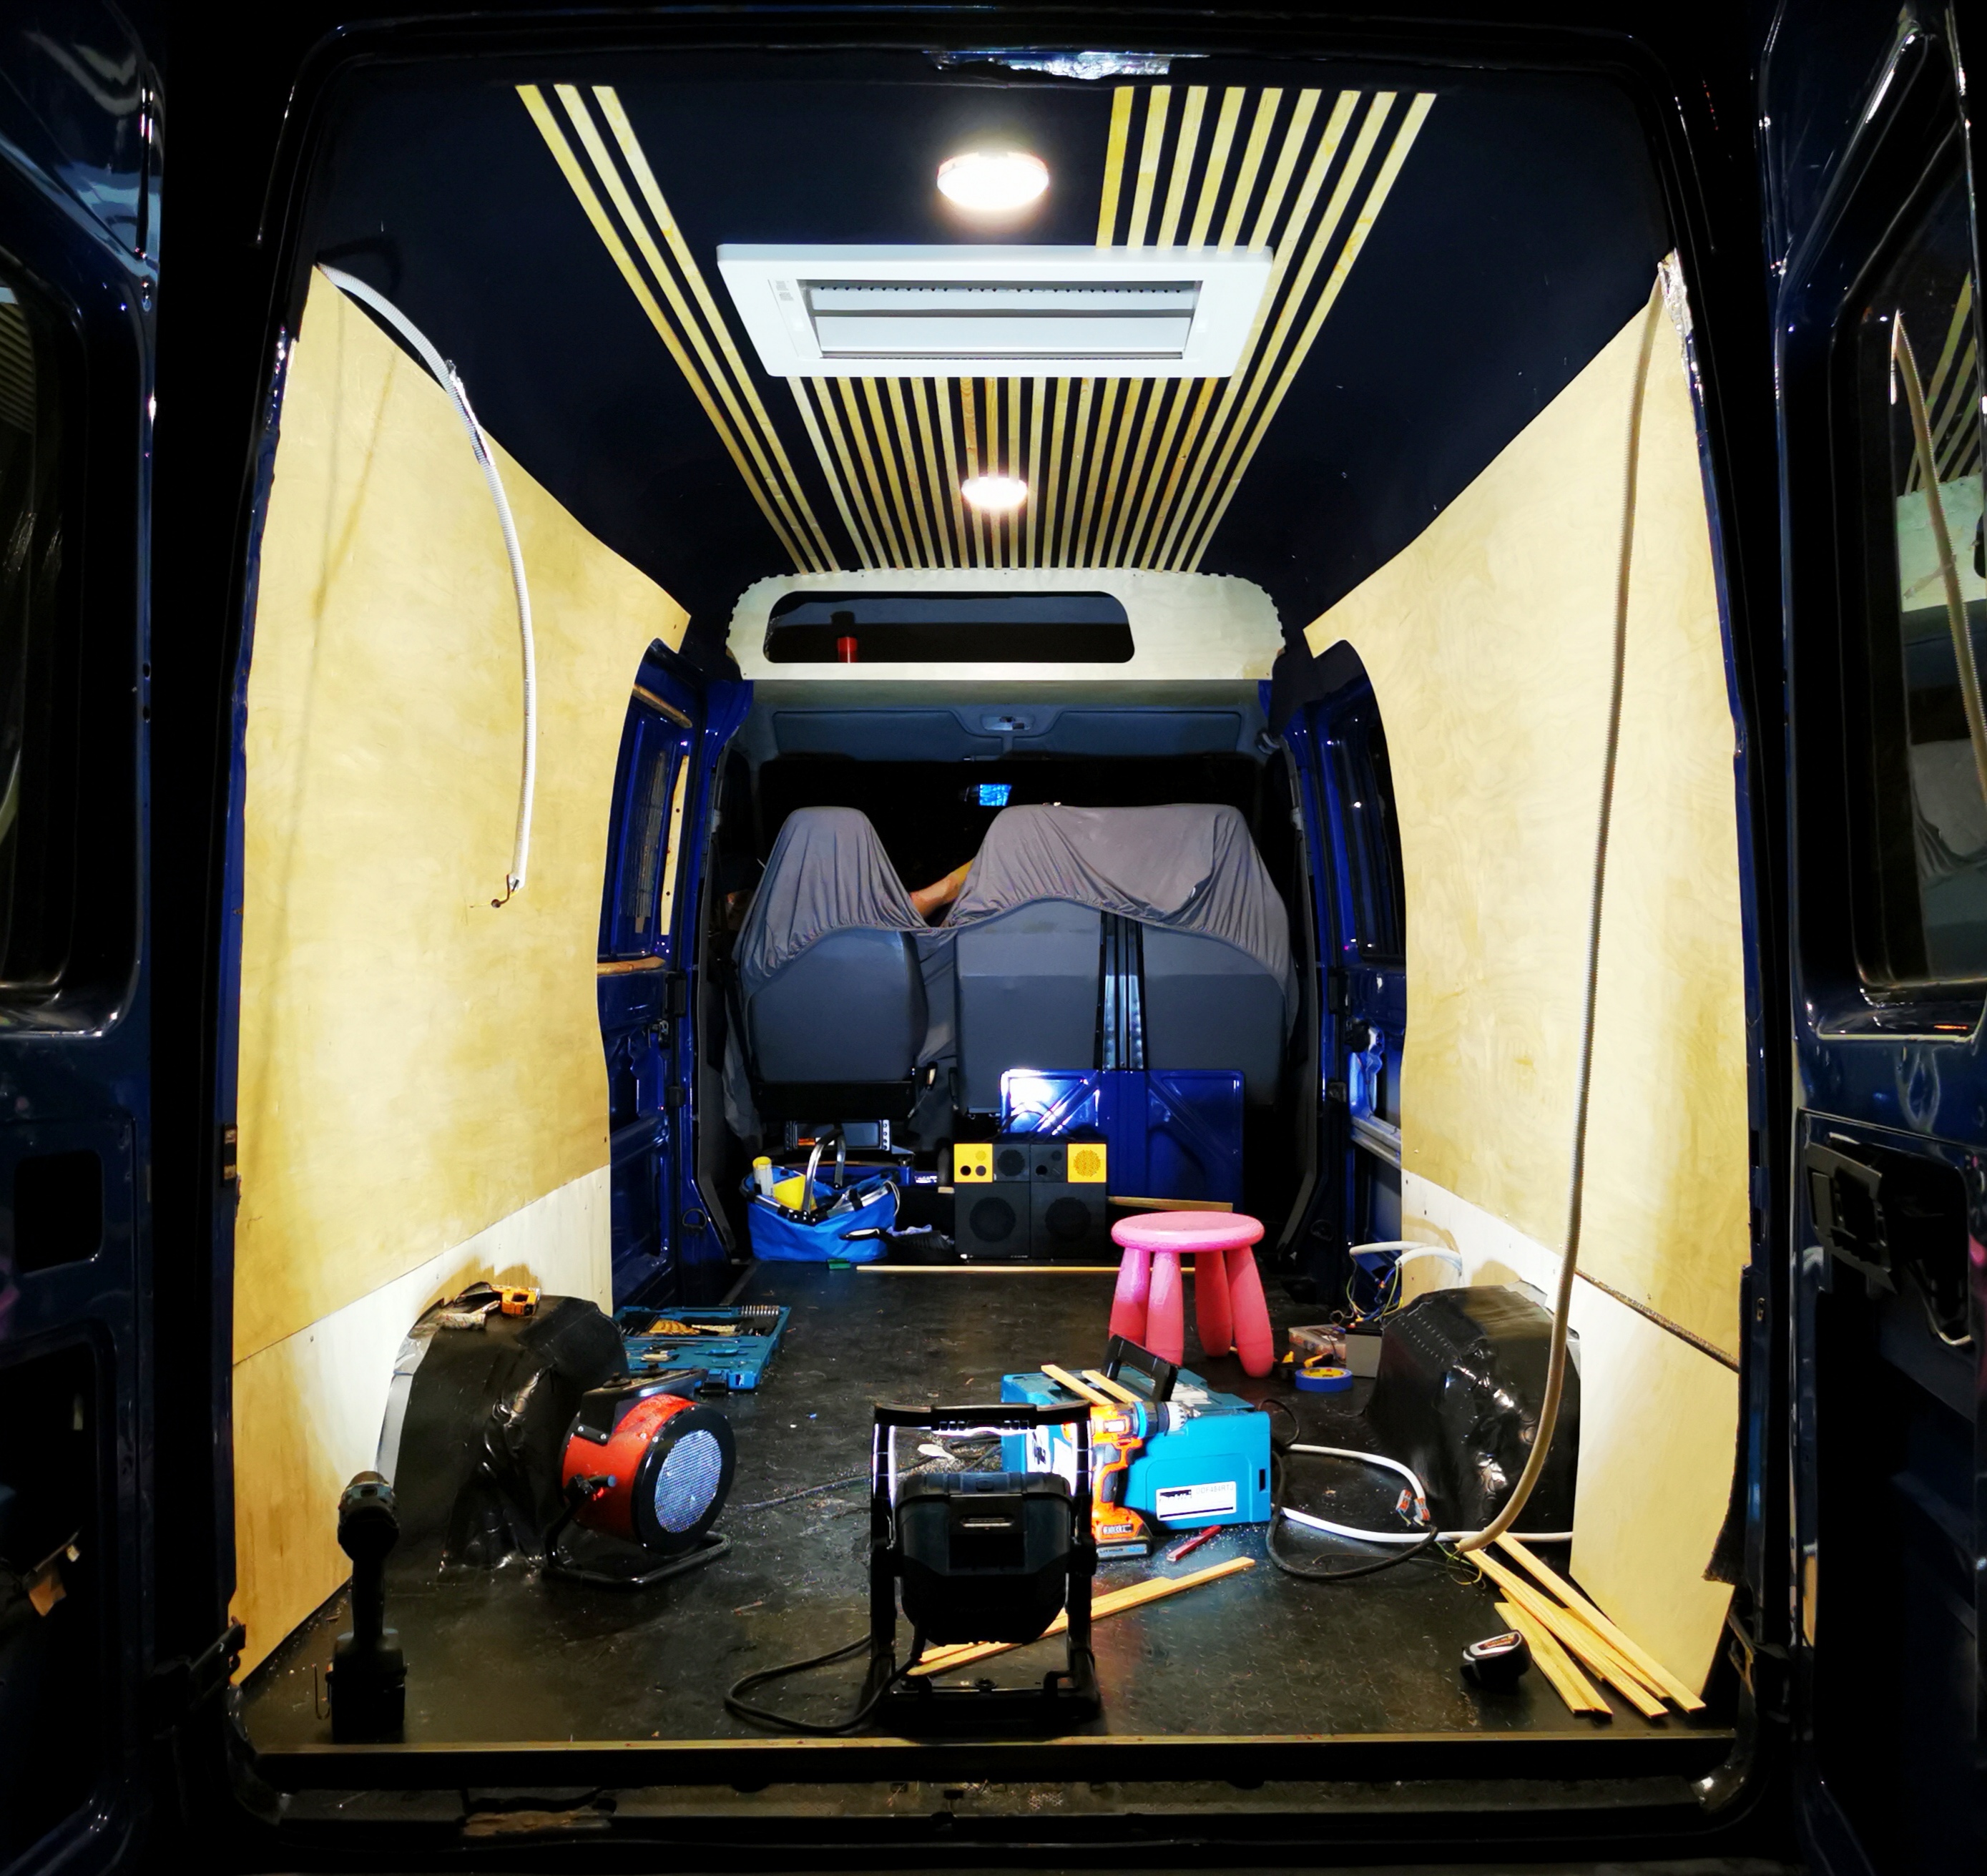
Seeing the slats in the roof against the dark blue textile in the roof is easily the most satisfying part of the build yet.
Jens did a CAD design for how to put 40 slats across the roof from front to back and then cut them on the CNC at Bitraf. It took a couple iterations to get the curve of the roof reasonably right, so in the mean time AnneMa treated all the 6 x 21mm slats with linseed oil. Now that the car is out of the ShelterLogic garage, we use it as our workshop. This makes it really easy to prepare, treat and precut wood even if it’s raining. Very useful!
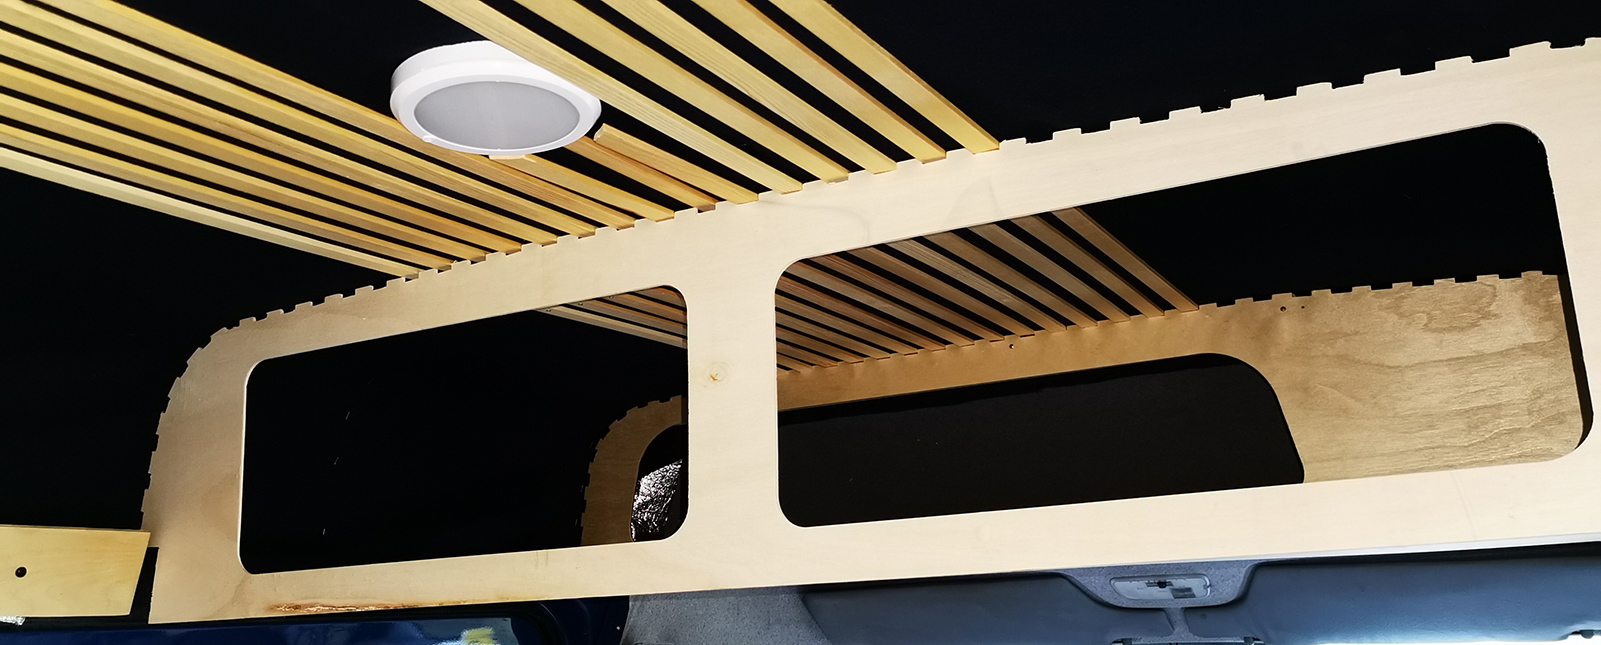
Even if a template didn’t have the perfect shape of the roof, it still could serve as a guide to ensure the spacing of the slats. The picture above shows the “Hat shelf” we made in the previous post and in front of it is a temporarily placed incorrect cutout for the shelf that will eventually be in the back of the car. We just stuck this (and other templates) up temporarily and used them as a guide.
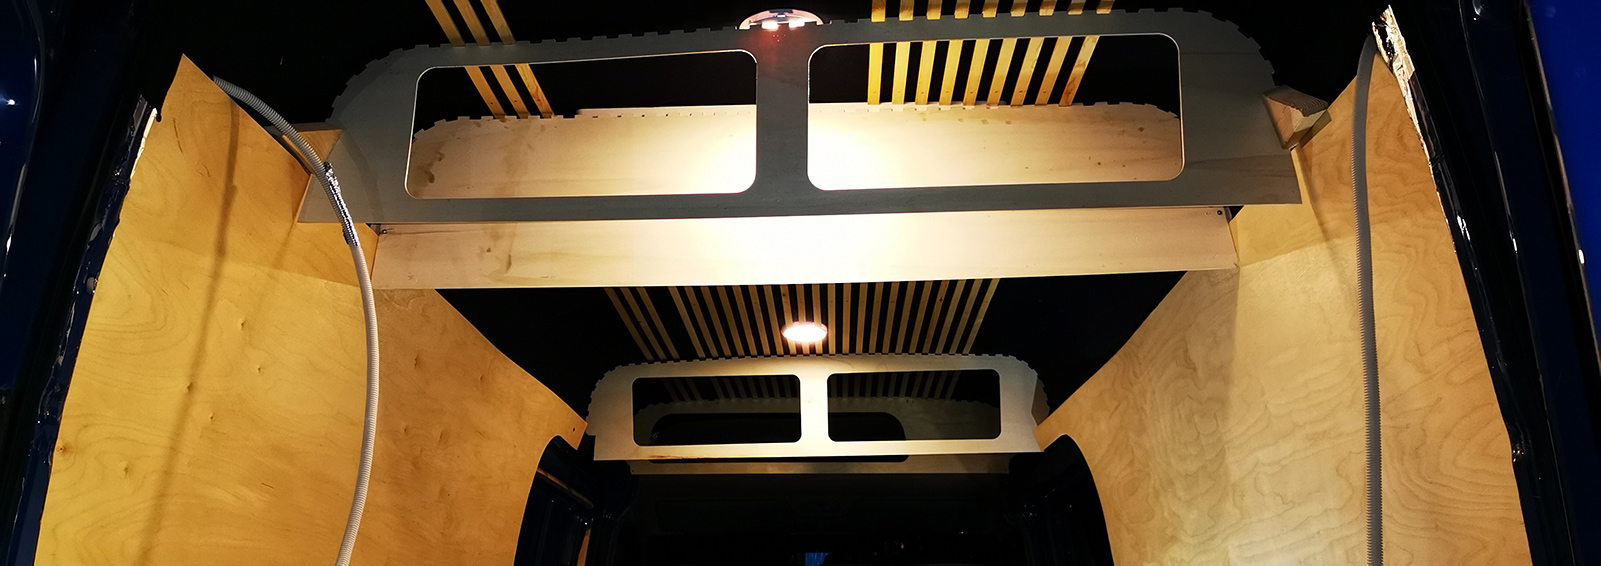
With the guides in place, we just inserted precut slats all the way from the back to the front of the car and secured them to the roof beams. All that boring ground work is now paying off! We made cutouts for the lights and I’m really happy with the end result! In the picture below we’ve removed all the guides for the slats so you really can envision how it’ll end up looking.
Now we’ll just need to treat a lot more slats with linseed oil and this will look really pretty!