Shoe cabinet, rust removal, prepping for big trip
16 July 2021 at 6:52 pm
We just came back from a week with friends in Sandefjord and the last few days are just a blur from working on the van. We’ve done alot of small tasks such as bulding the last furniture, patching som remaining major rust-holes, removed rust, make the see-thru panel to the battery and much more. We also tried changing to summer tires, but that was harder than expected…
Behind the backseat, there is a lot of unused space. One of the main design goals for the car was to not build anything tall that would block the light, but a low furniture that you can sit on, fits nicely in here. It also holds our outdoor table safely in place - behind this furniture and the front seats. AM used most of the remaining bits of wood we had floating around and came up with this really custom built solution.
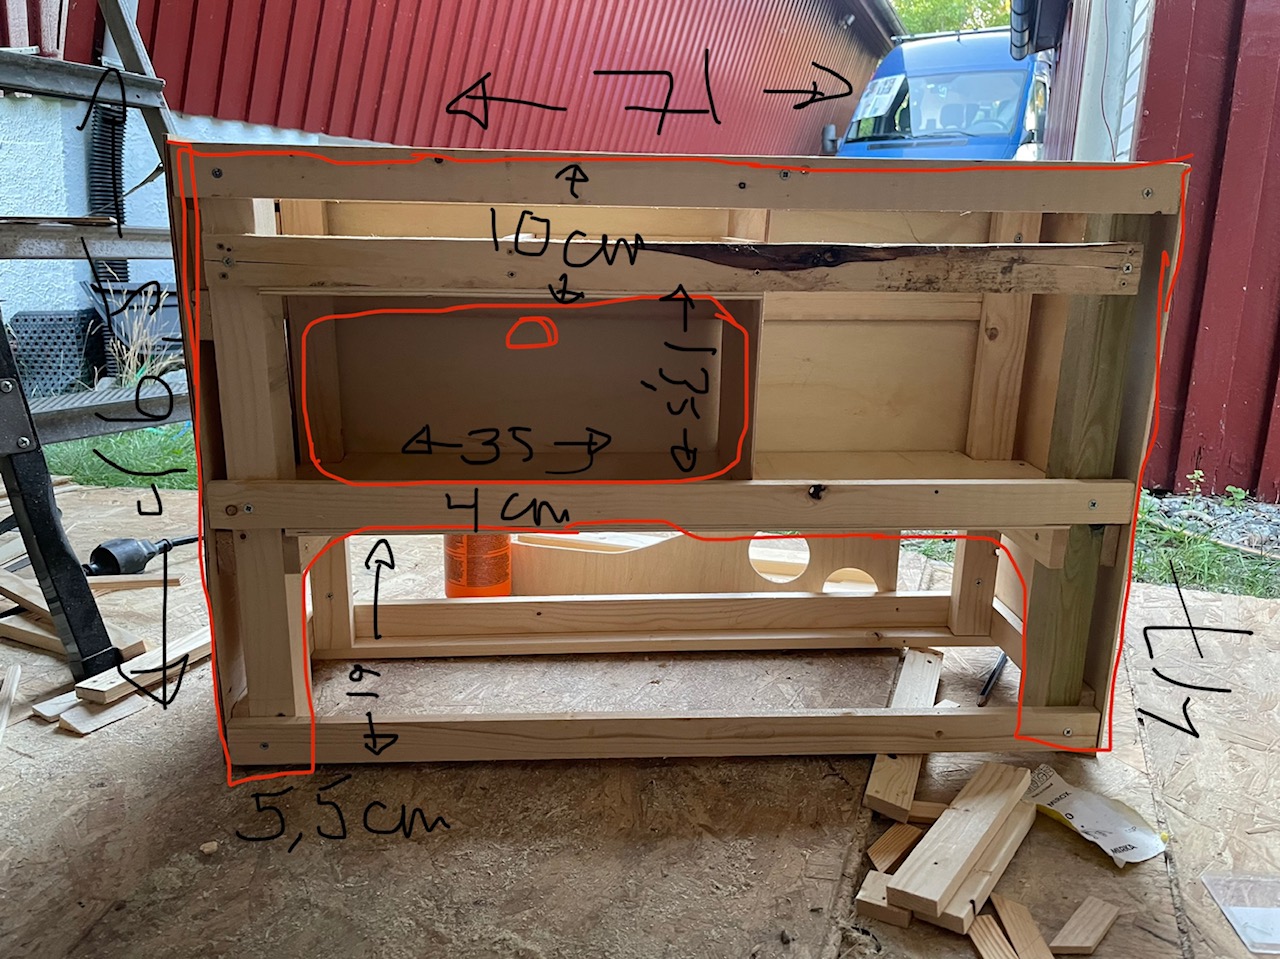
At the bottom, we’ll put our shoes. Above are cups, glasses and plates like this. The top of this furniture is a seat, so this is the perfect spot to sit down to tie your laces or put on shoes.
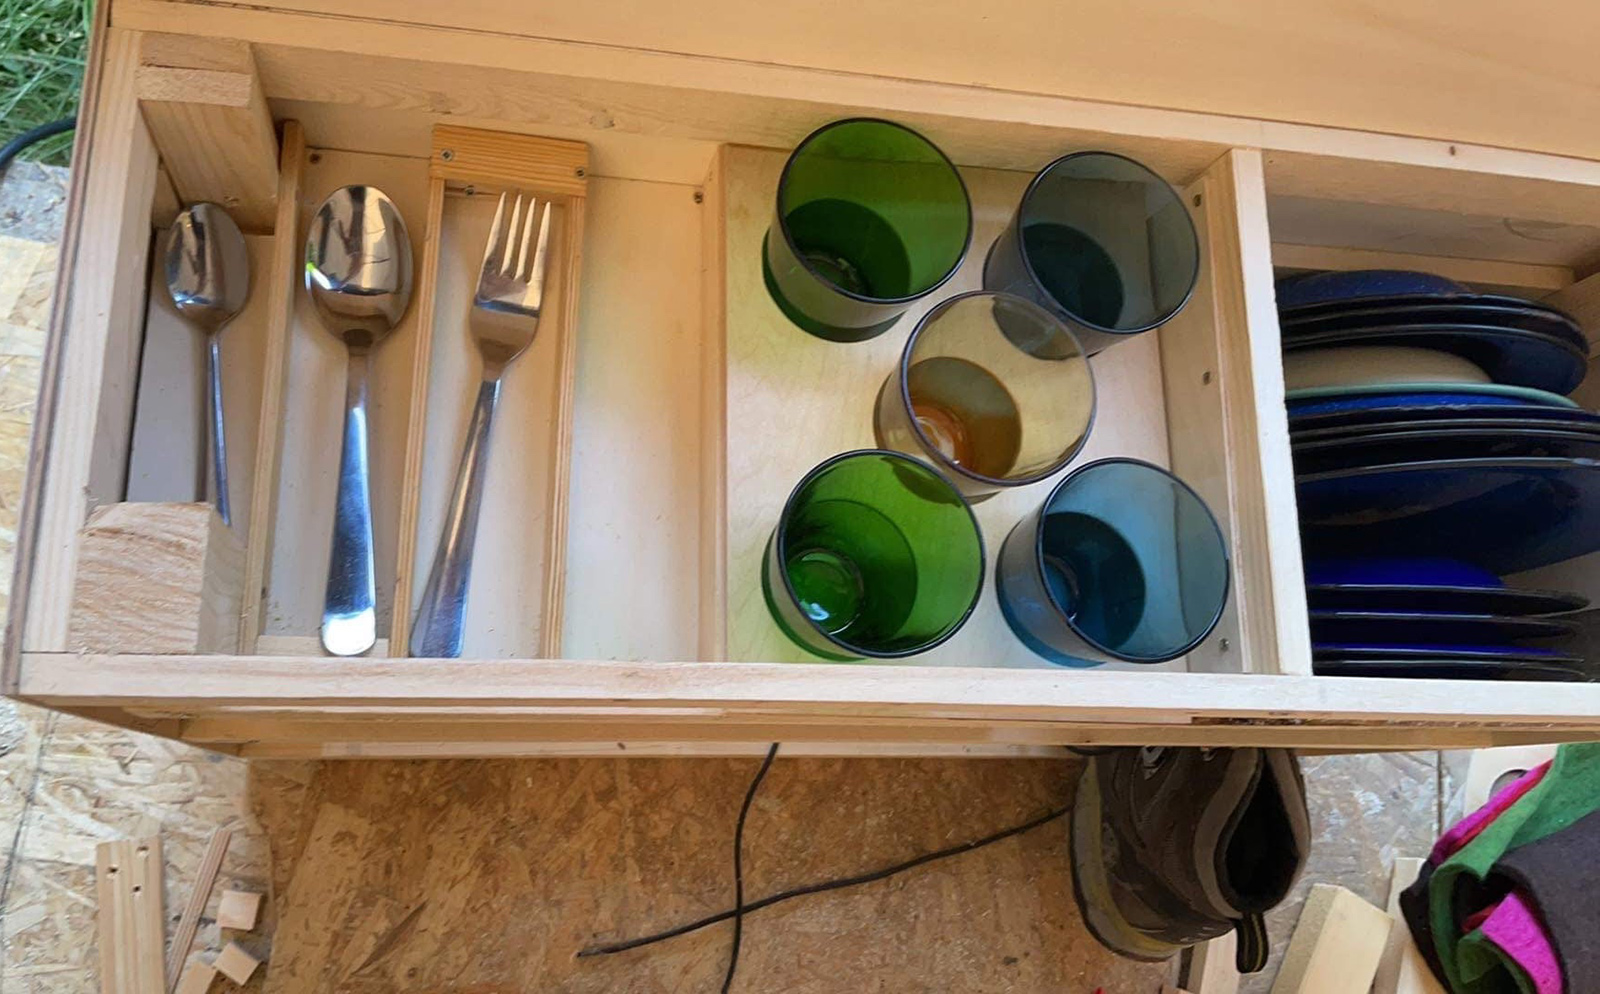
We lasercut a front for it that copies the curves used in other furntiure in the van and it now looks really nice since we’re hiding all the scrap-wood in the pictures above. We’ve added magnetic latches to the remaining drawers and added a missing hole to open one of the drawers. We’ve bought a battery charger to fully charge the battery after forgetting to pull out the fancy DashCam/Backing cam one night…
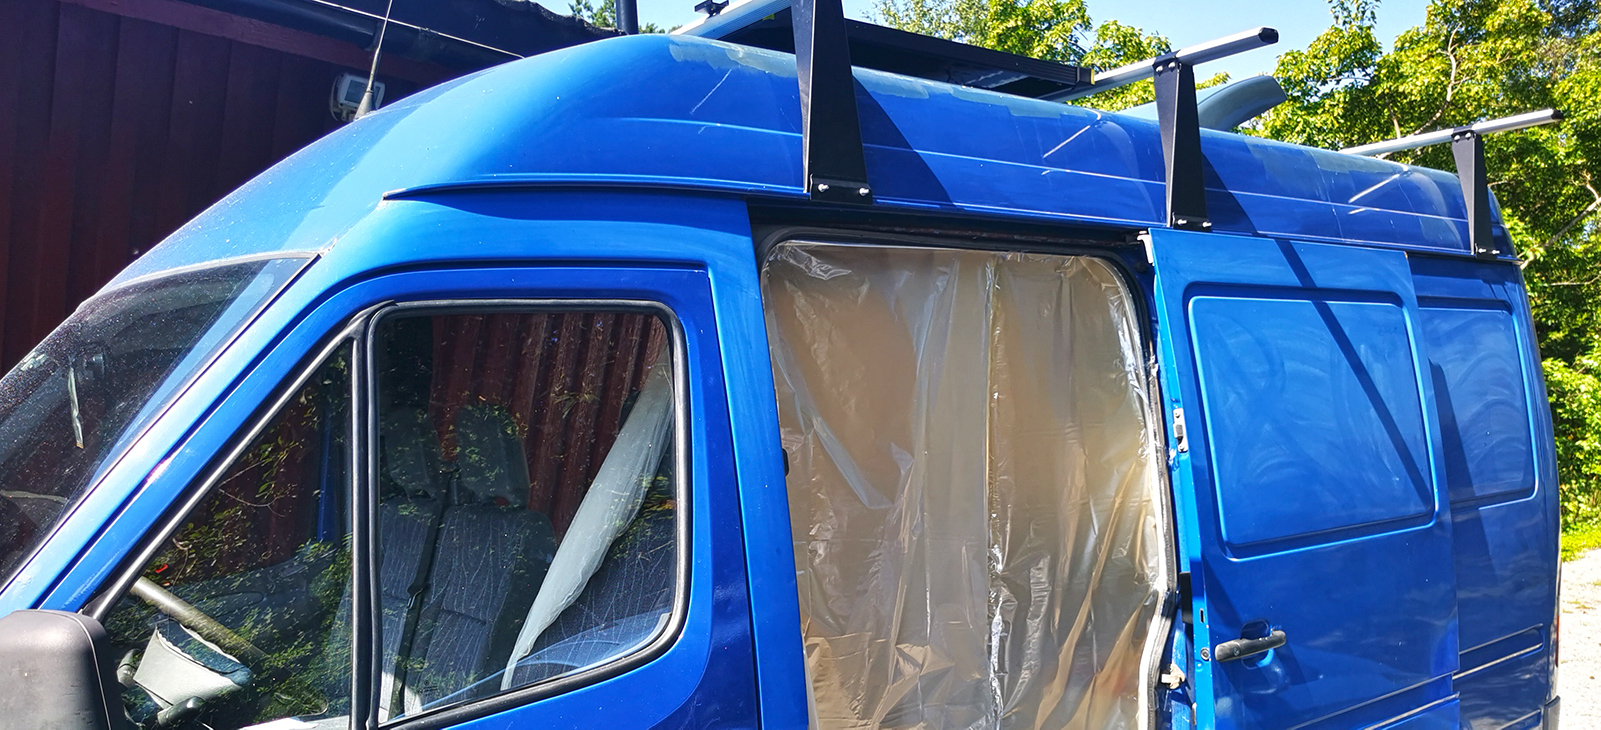
Both the main sliding door and the back doors had decent amounts of rust. On the back door, there were literal holes! We’ve now closed these using Plastic Steel epoxy and glass fibre.
Another finishing task, was making the ports of the Goal Zero Yeti 3000X available. That is - they are available, but not very easily? To be able to stick skis in the car for winter, we have to put the Yeti 3000X close to the wall and then slide the skis in front of it. To access the USB ports, you’d have to bend over and try to hit a port under a pitch dark bench. To overcome this, I got hold of panel mount USB plugs with 30cm cable. I then drew up a design in Fusion 360 for cutouts in an acrylic sheet and lasercut that at Bitraf (my local hackerspace).
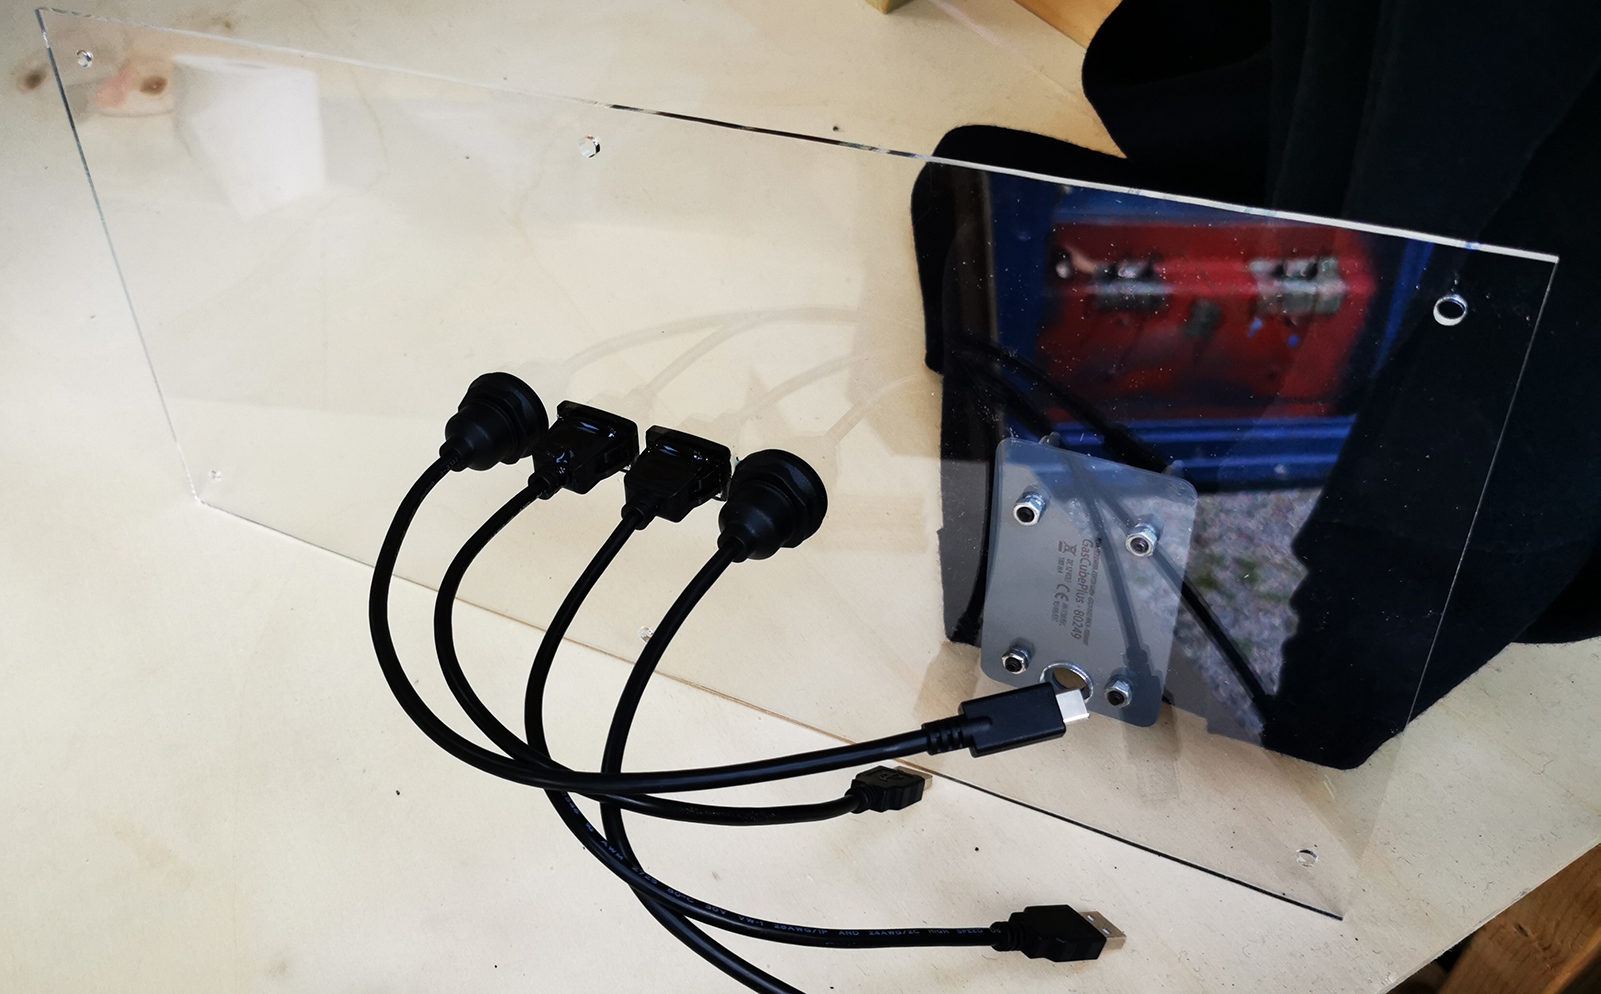
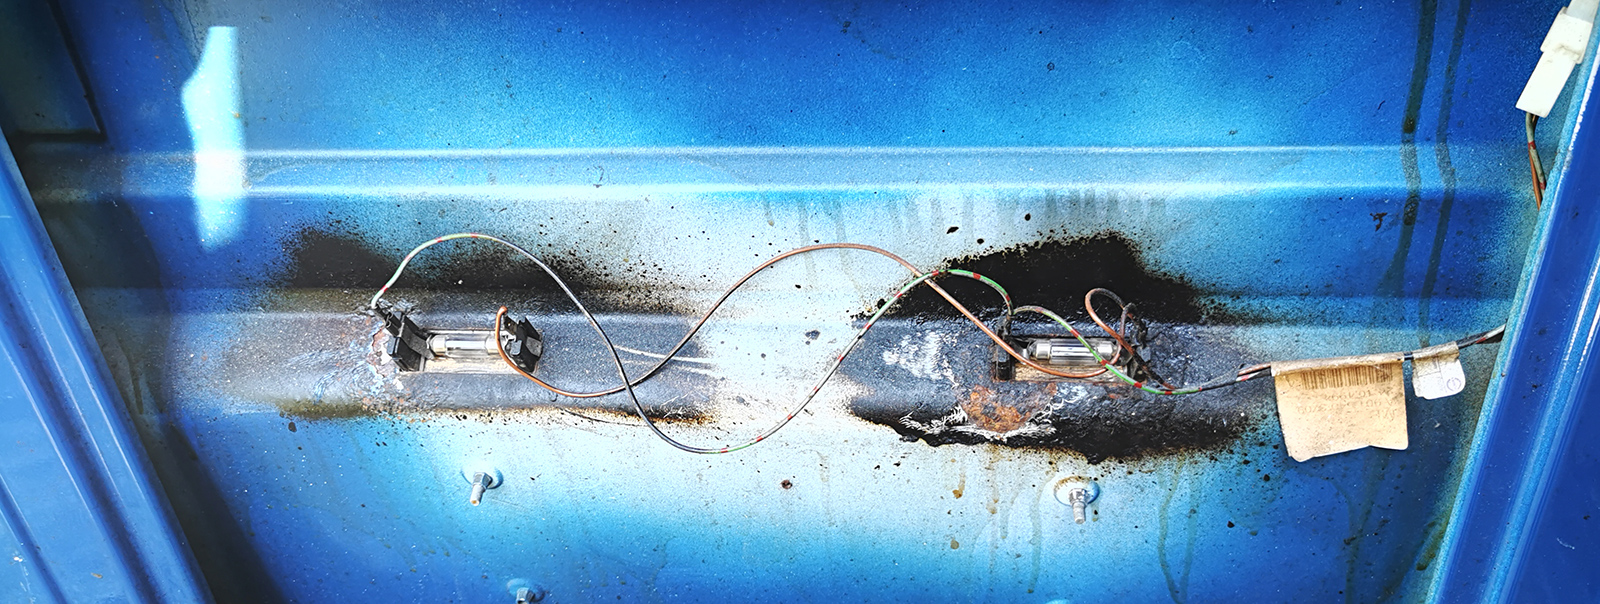
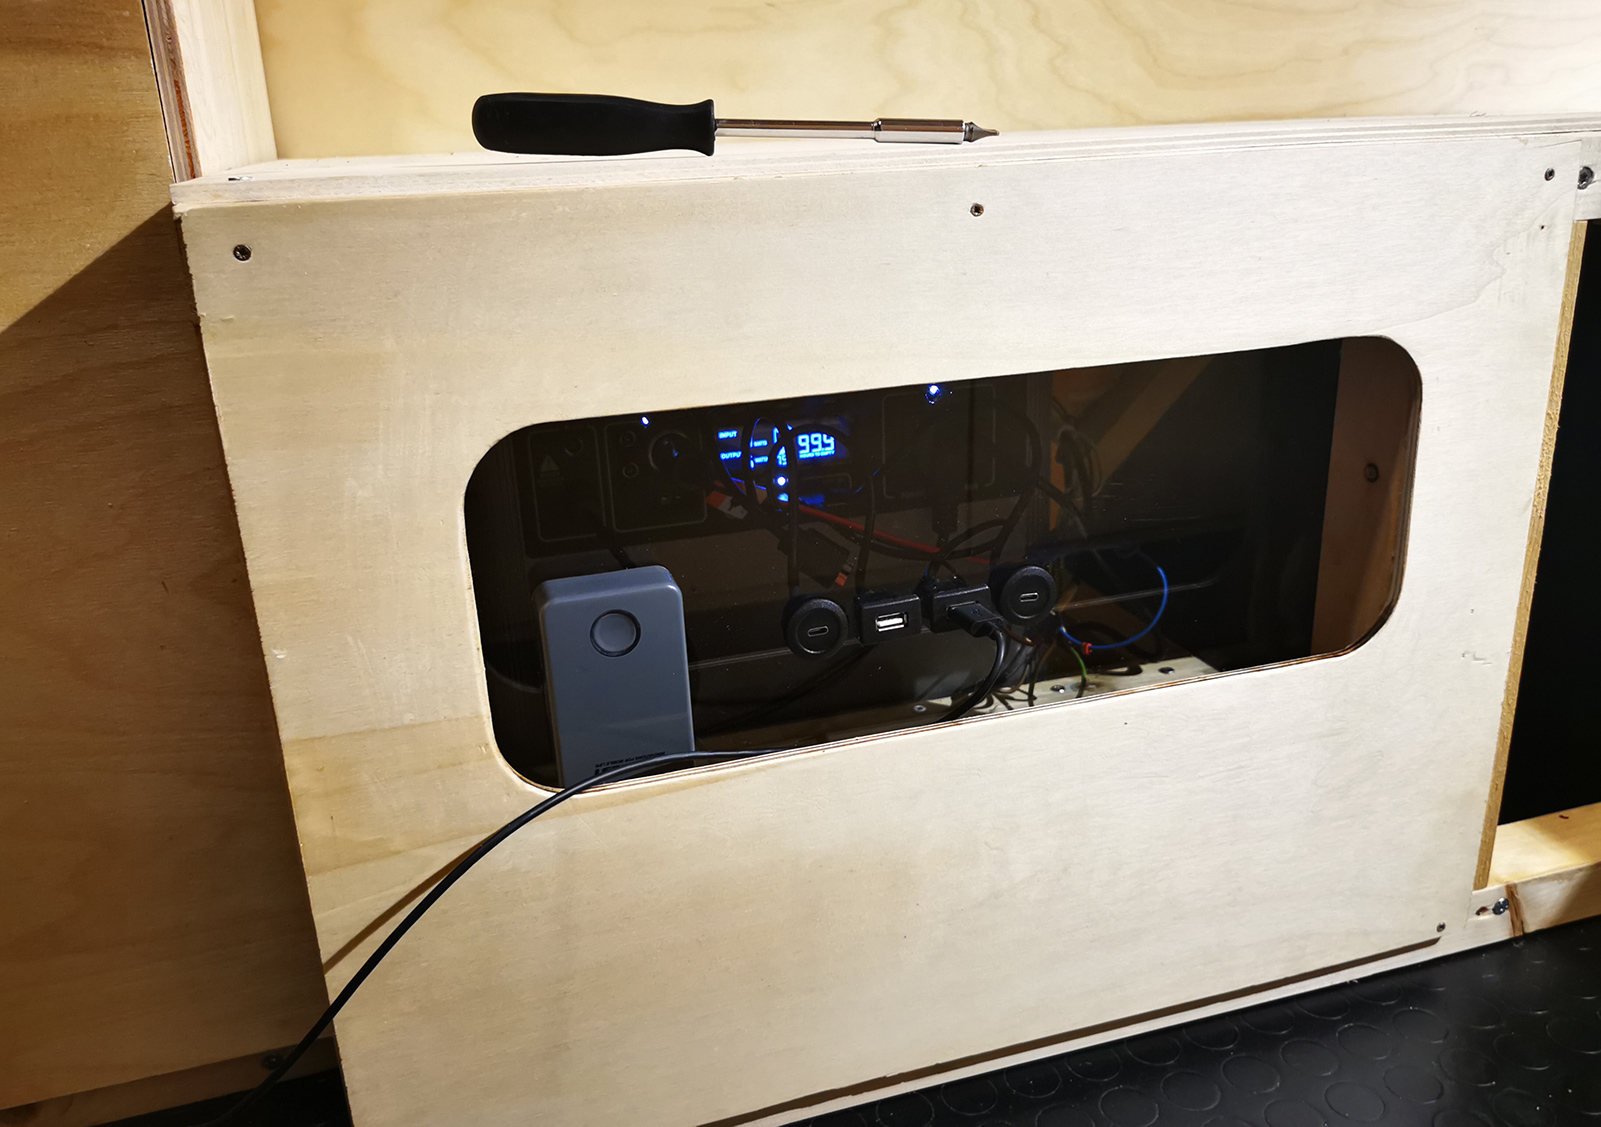
You’ll notice a gray box on the acrylic panel as well? That’s our alarm for dangerous gasses (propane, butane and assult gases with sleep/narcotic effect). Tiny little thing that runs off 12V and sounds a powerful alarm if anything is wrong. I’ll eventually add a 12V sigarette socket here as well. Once these were all in place, I made a hole in the plywood covering this area, added some 48x30mm studs so that the acrylic panel would be recessed a bit. This way, you won’t break the USB cables that easily. I also added enough space at the bottom that you can place a phone there to charge. Below, you can see how the end result turned out. Now we can easily see the charge on the Yeti, even from outside the backdoor. Very neat!
If you made it all the way here, you may wonder what the deal with the tires were? Well… I guess the guy that we bought the car from didn’t change tires very often? 15 out of 20 wheel bolts are rusted stuck. Not even the 900nm Milwaukee drill hammer that NAF brought could hammer them loose. Going to a tyre repair shop tomorrow for some more power and potentially some new bolts too.