Cabling and most of insulation done!
02 April 2021 at 12:10 am
Towards the end of Easter, we got most of the insulation done and did some preparing for mounting the skylight. We also pulled wires to the outlets we’ll need, so it feels like we’ve gotten quite far?
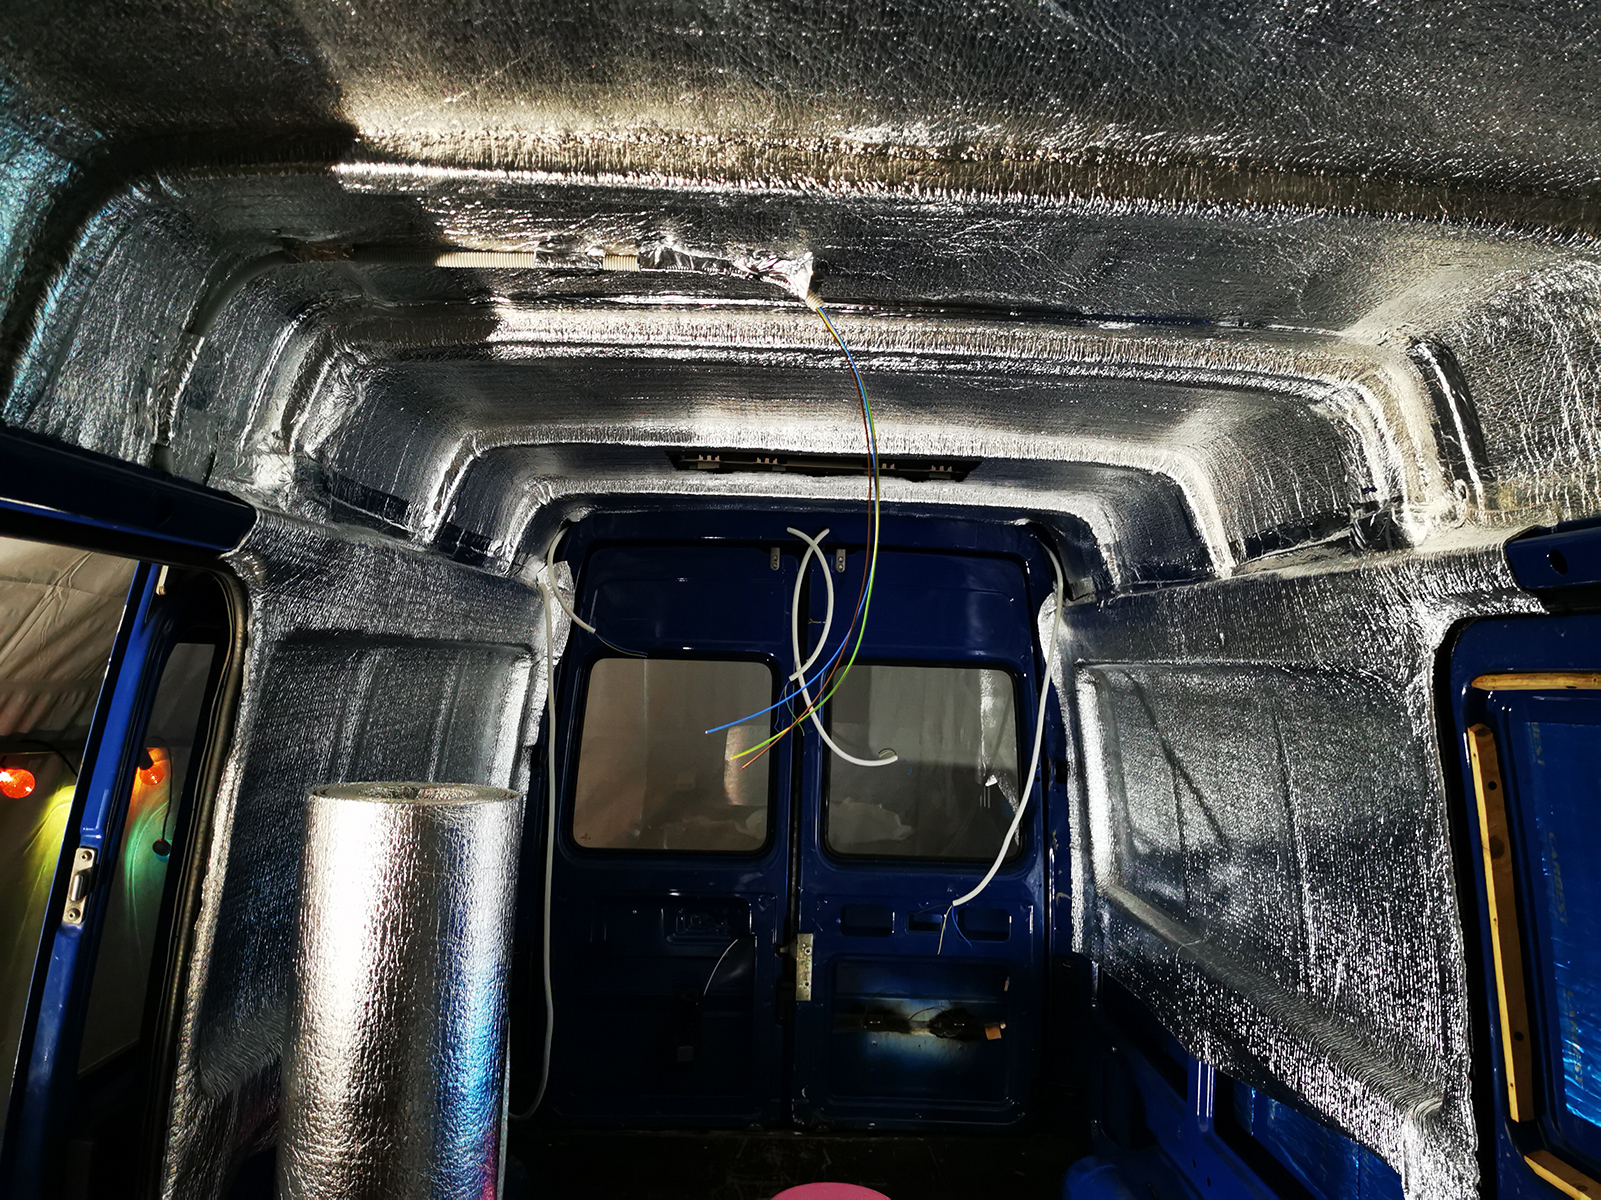
The insulation we’re using is called Low-E. It’s only 6mm thick, but the point of it is not to be the thickest insulation. The primary use for it is to the be a completely moisture-proof vapor barrier. If you can hold the heat inside the van, you won’t build up condensation on the inside of the car body. If you just stuff some insulation into any hole you can find and then slap on a wall, you’re basically just making places where mould and rust can thrive. We could of course BOTH make a vapor barrier AND add insulation, but we think this will be sufficient.
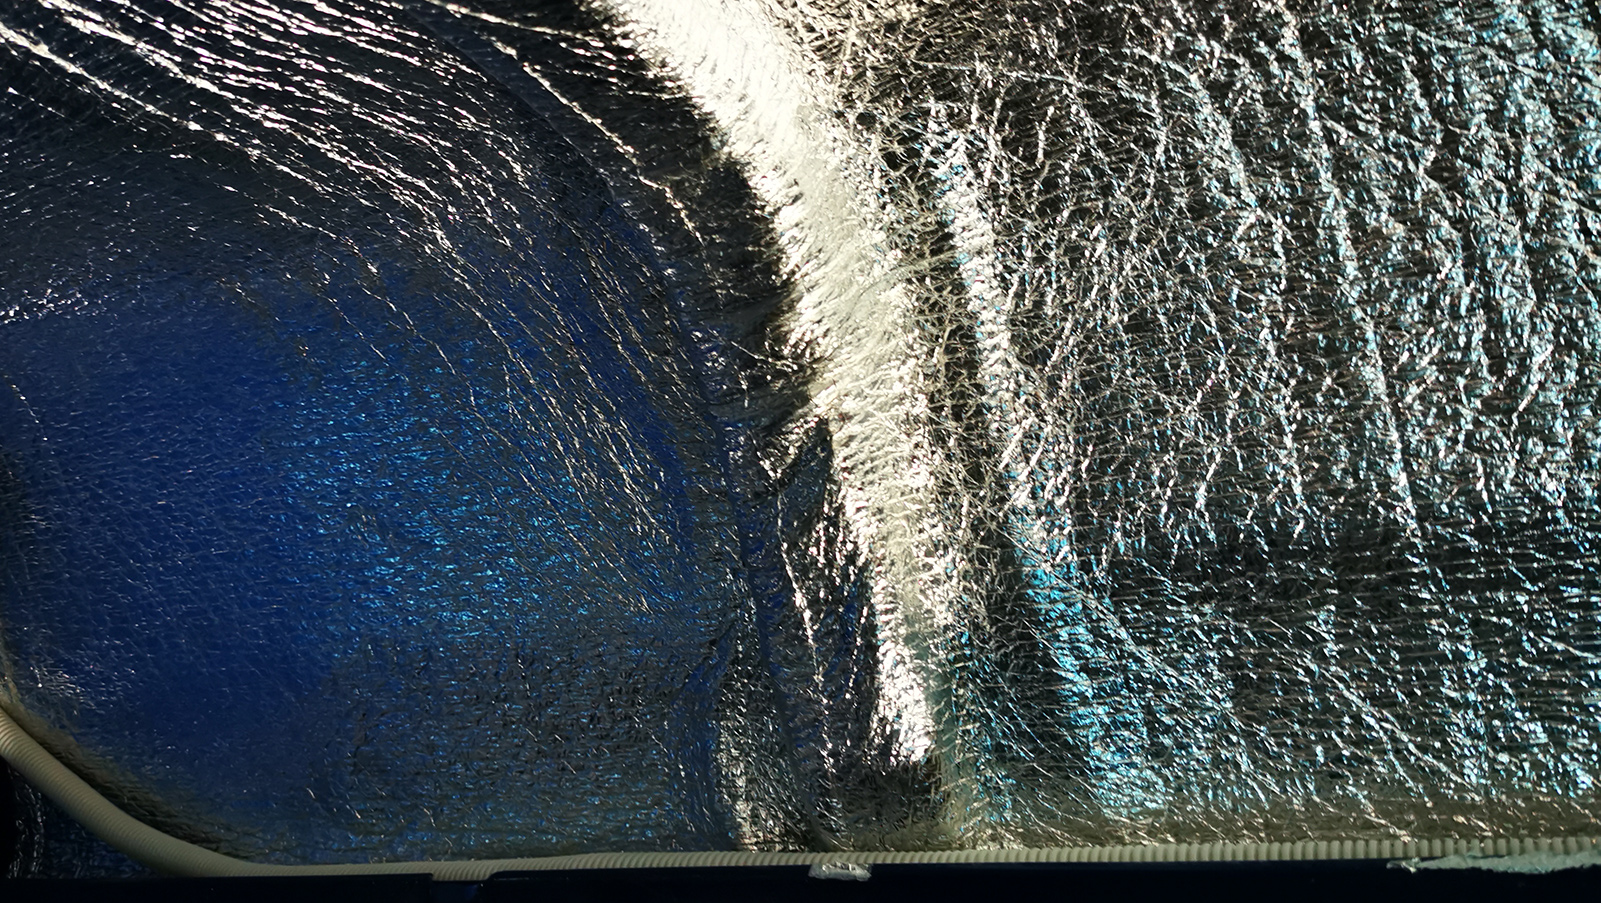
Once we got into it, the insulation went on really quickly. We got good at making it follow the contours of the car, but only towards the end of the process… Looks great though! We’ll only have 5 light sources in the van and we pulled wires in insulated tubing for extra safety. We were able to find suitable holes in the chassis to fit all wires. These are hidden well, but if you feel with your fingers along the ribs, you’ll find them.
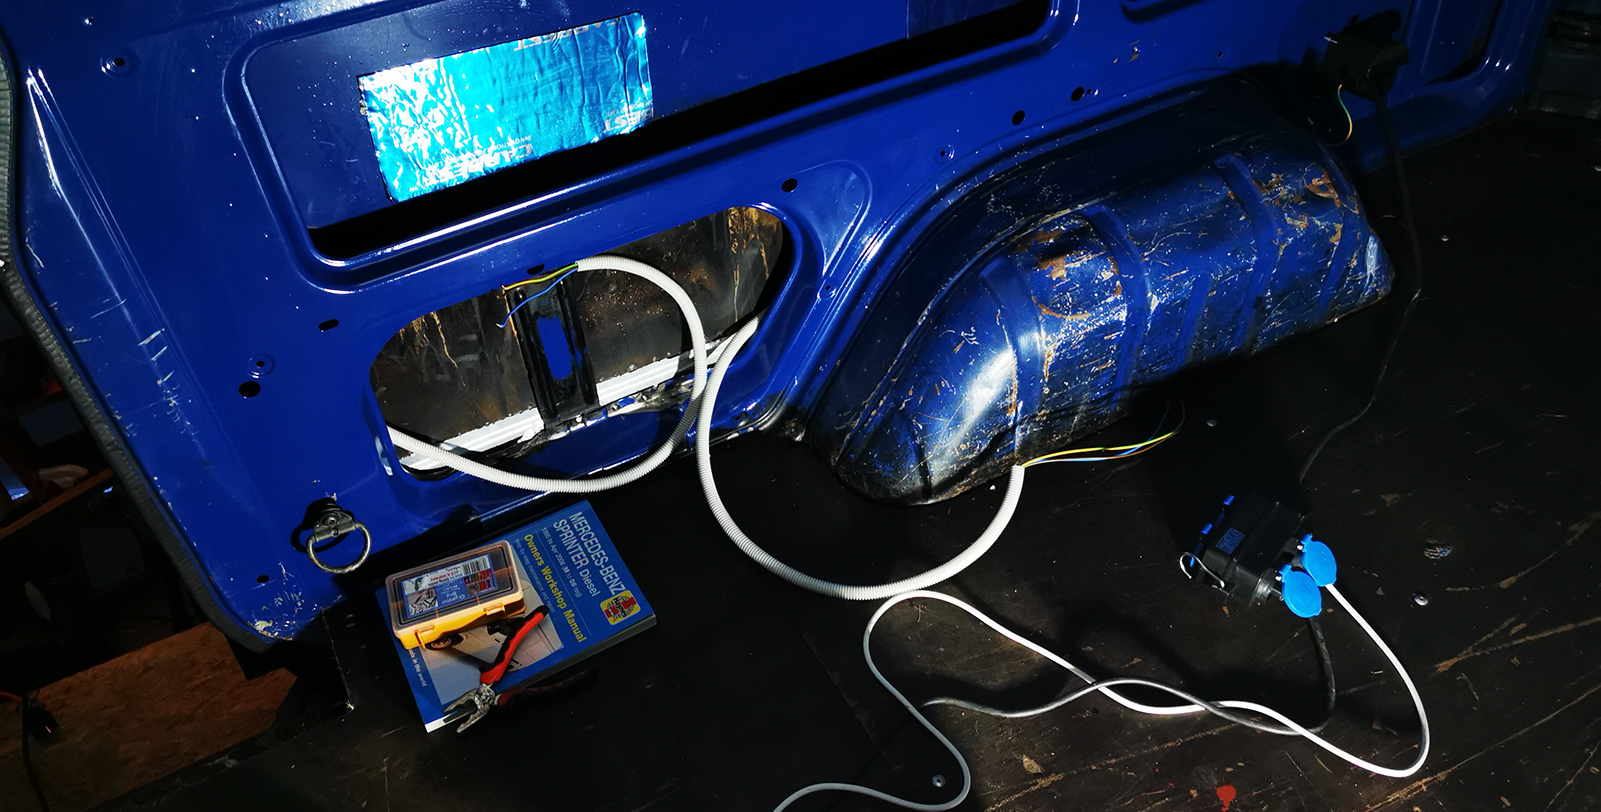
All wires come out where our Goal Zero battery/charger combo will be placed. After a lot of fiddling, we also got the solar cables from the roof though the tubes.
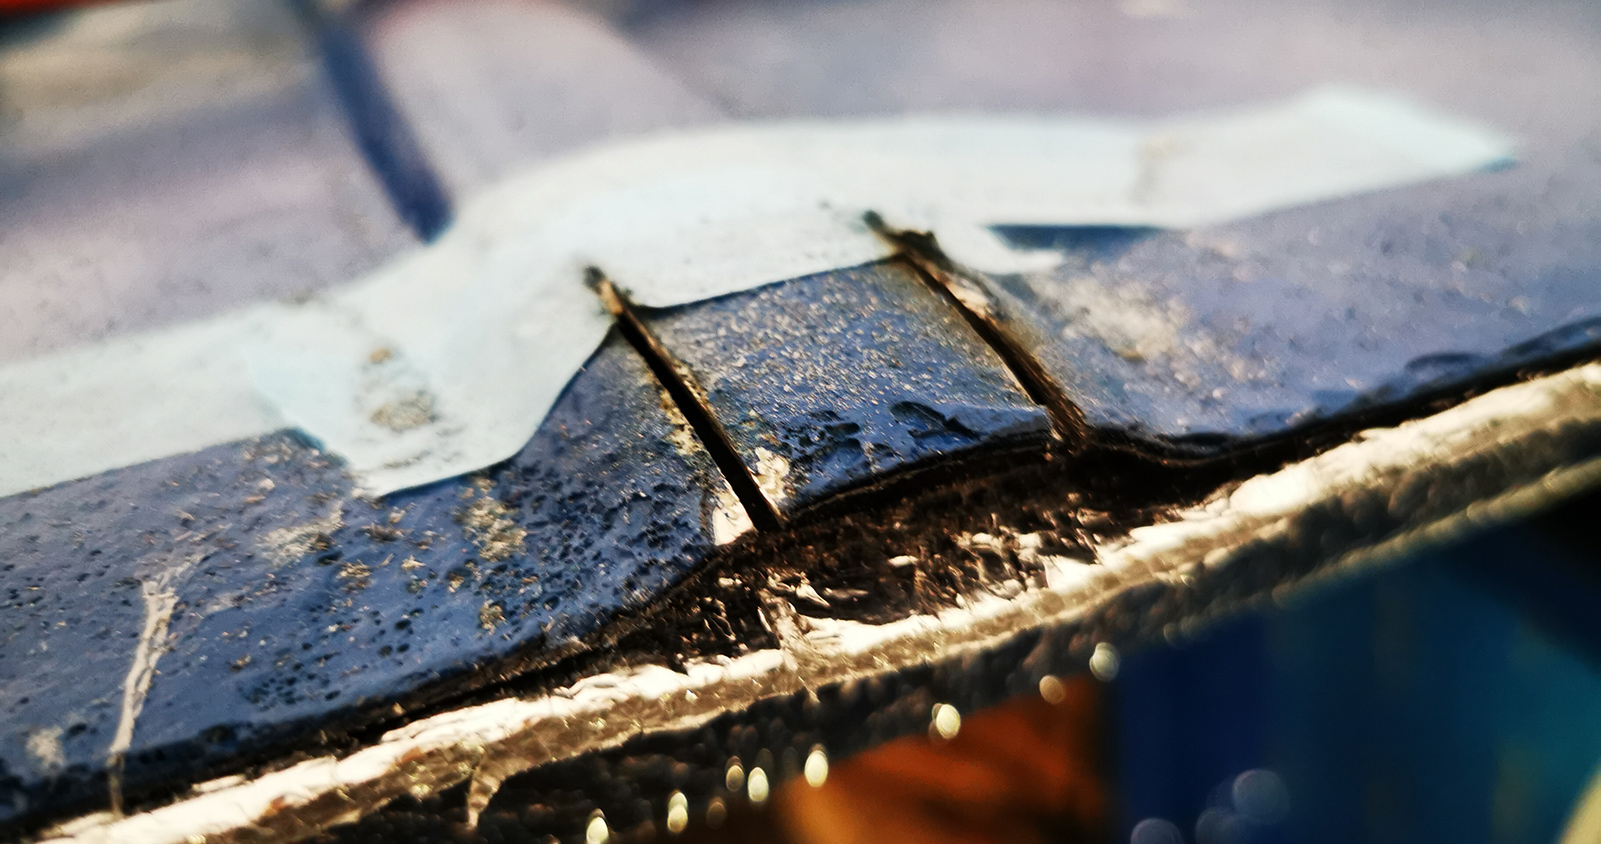
The skylight will require insane amounts of mastic if you don’t do something to the bumps along the top of the car. We found a video on Youtube that showed how making a couple relief cuts and then bending the metal down would make it the same level as the rest of the roof. Using my vibration saw, I made the cuts and used pliers to bend the metal in place.
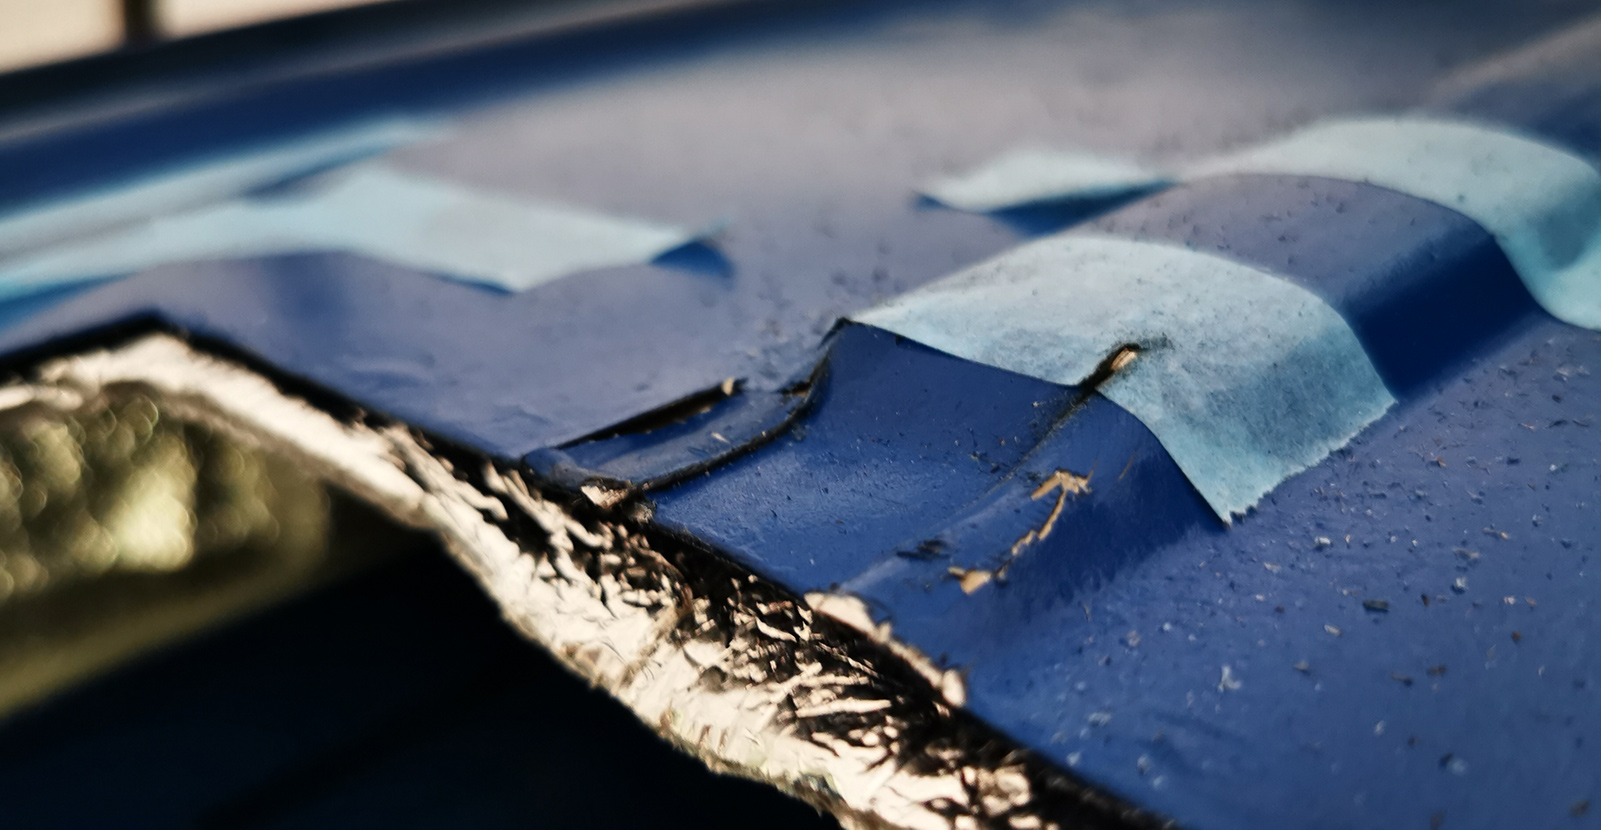
The end result was like this. I then painted 3 times using heavy iron paint to seal all these cuts. With this dry, we’re ready to put the skylight on!