Cutting the hole for the skylight
27 March 2021 at 11:44 pm
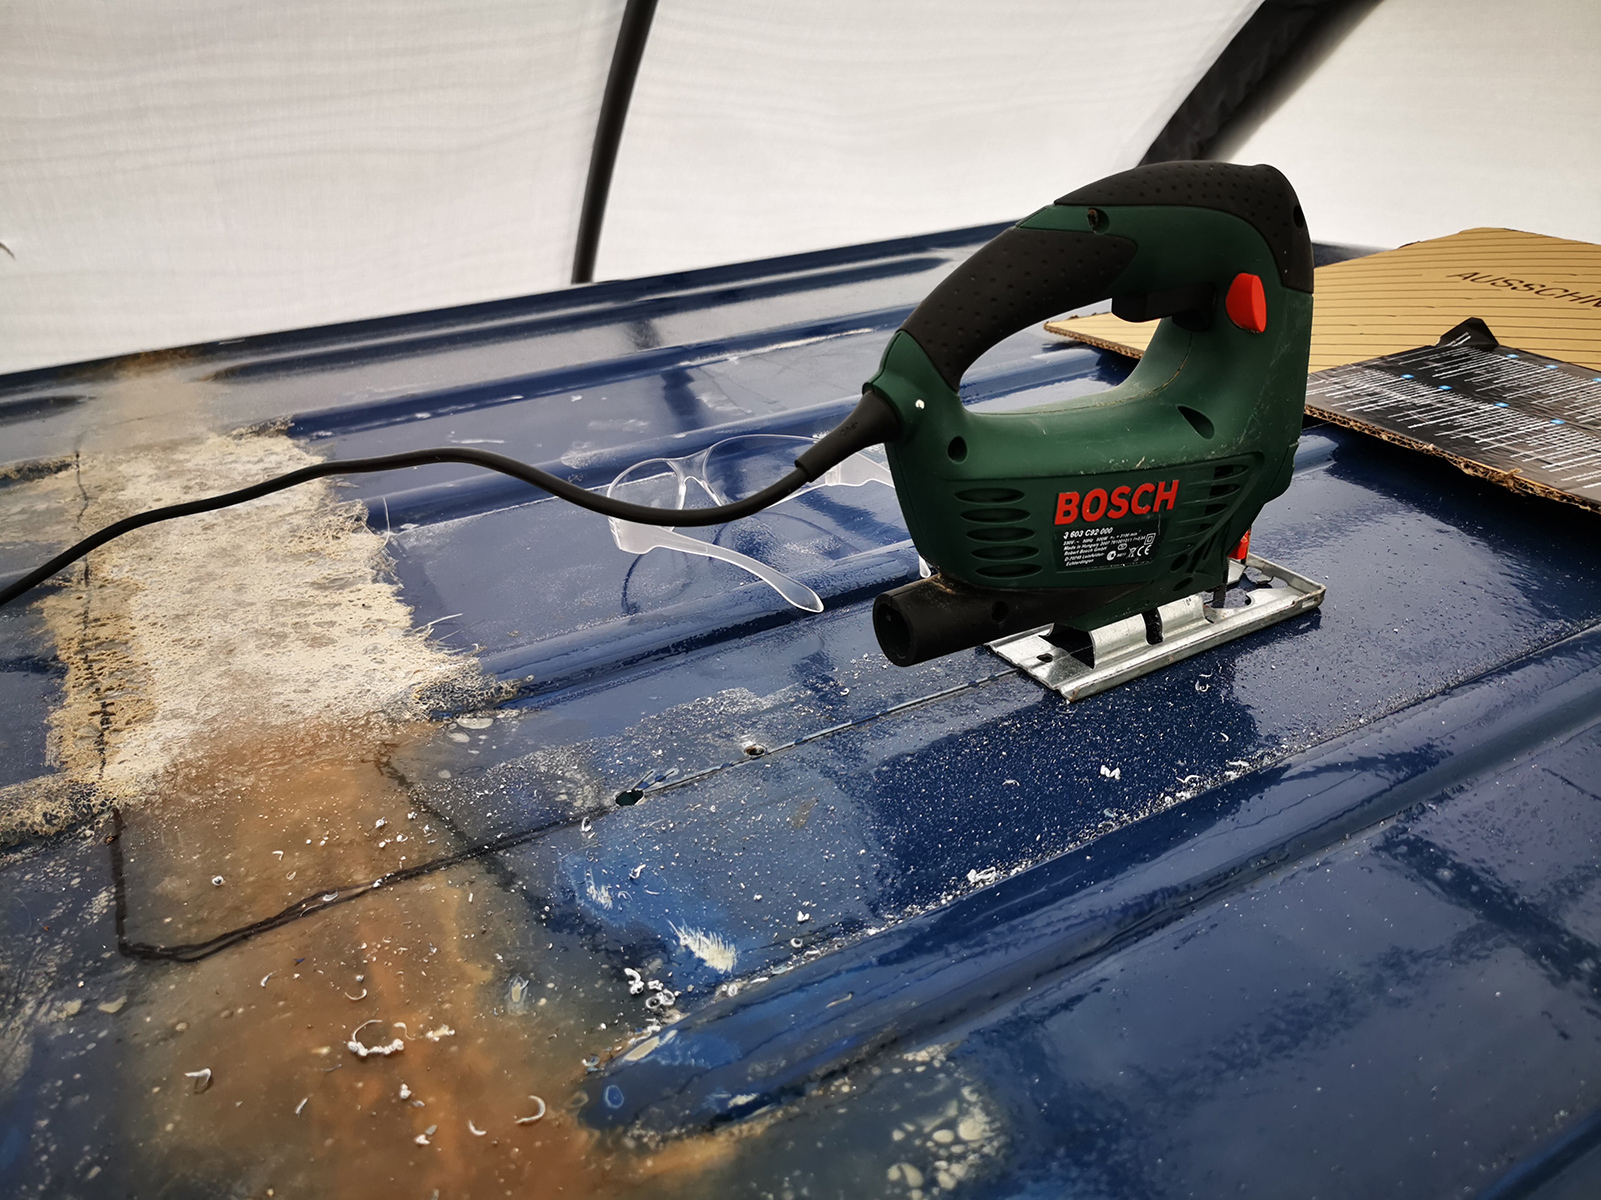
Cutting a hole in your car is something you dread, but after seeing countless videos on Youtube to learn how to do and not do it, I felt confident. Using a metal blade on a jigsaw, it went super smooth and even if it was a little too small initially, it was easy to expand with just 5mm afterwards. Since it now finally started to thaw, we also got started on the insulation!
We tried taping a plastic bag underneath the cut to capture metal filings. It didn’t go quite according to plan, but we captured most of it.
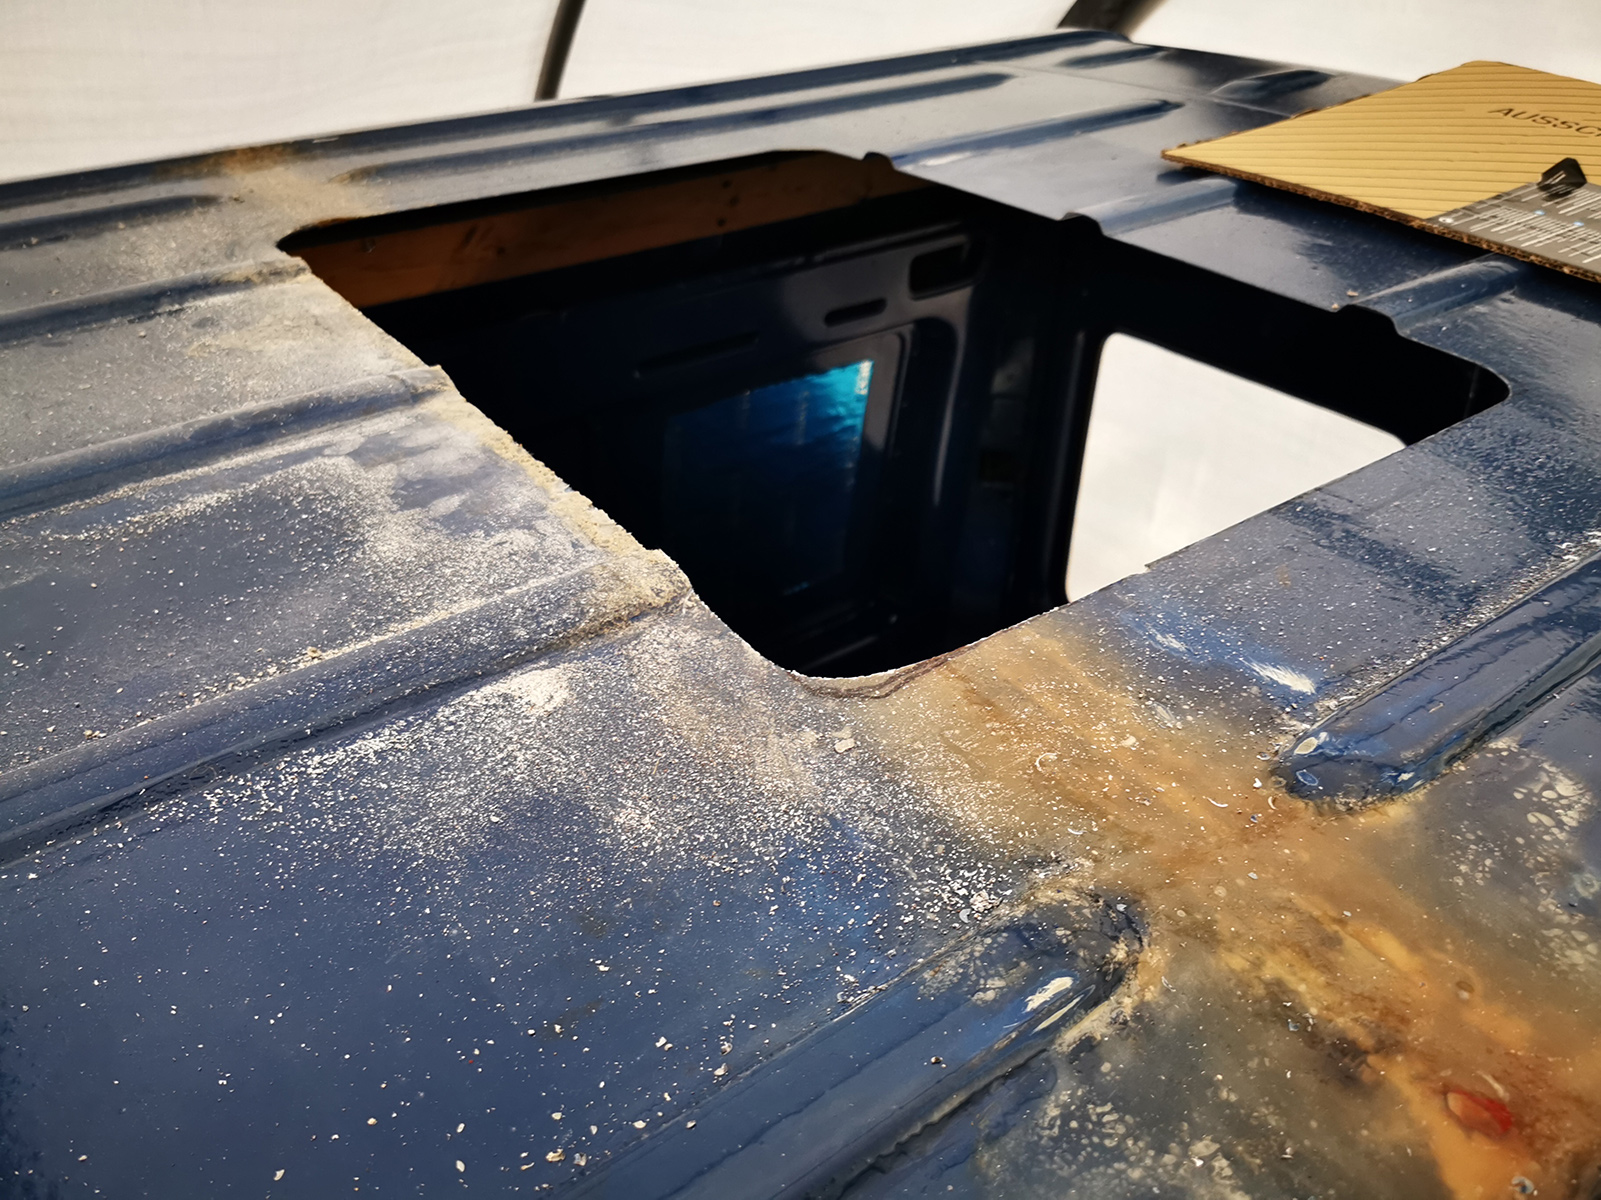
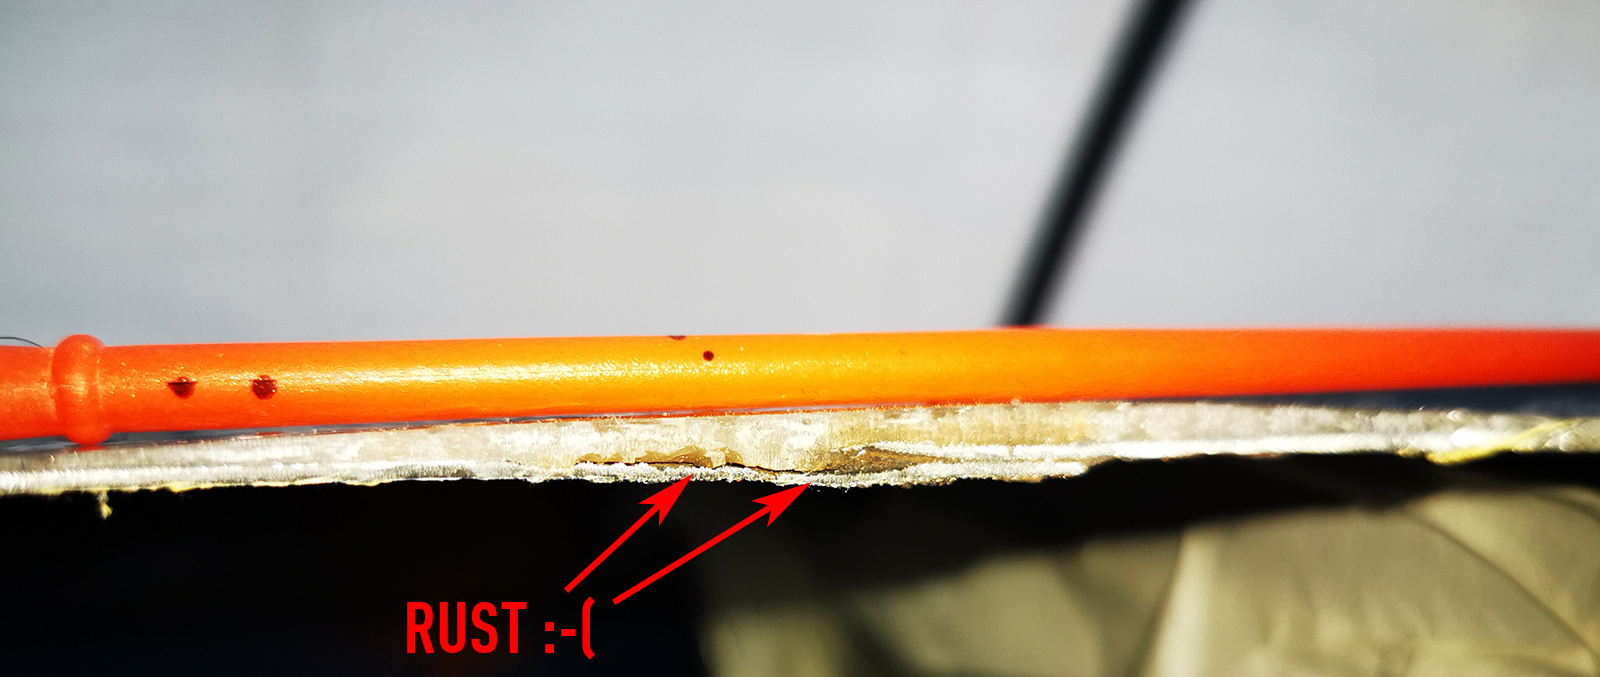
The skylight is placed right where the previous owner had made a mess. That way, we could cut away the worst rust. Below is a picture of the cut and you can clearly see the rust where the two metal sheets overlap.
It’s too hard to remove the epoxy, so we’ll just leave it like this. We have however filed down and sealed the cut to prevent more rust (at least to some degree
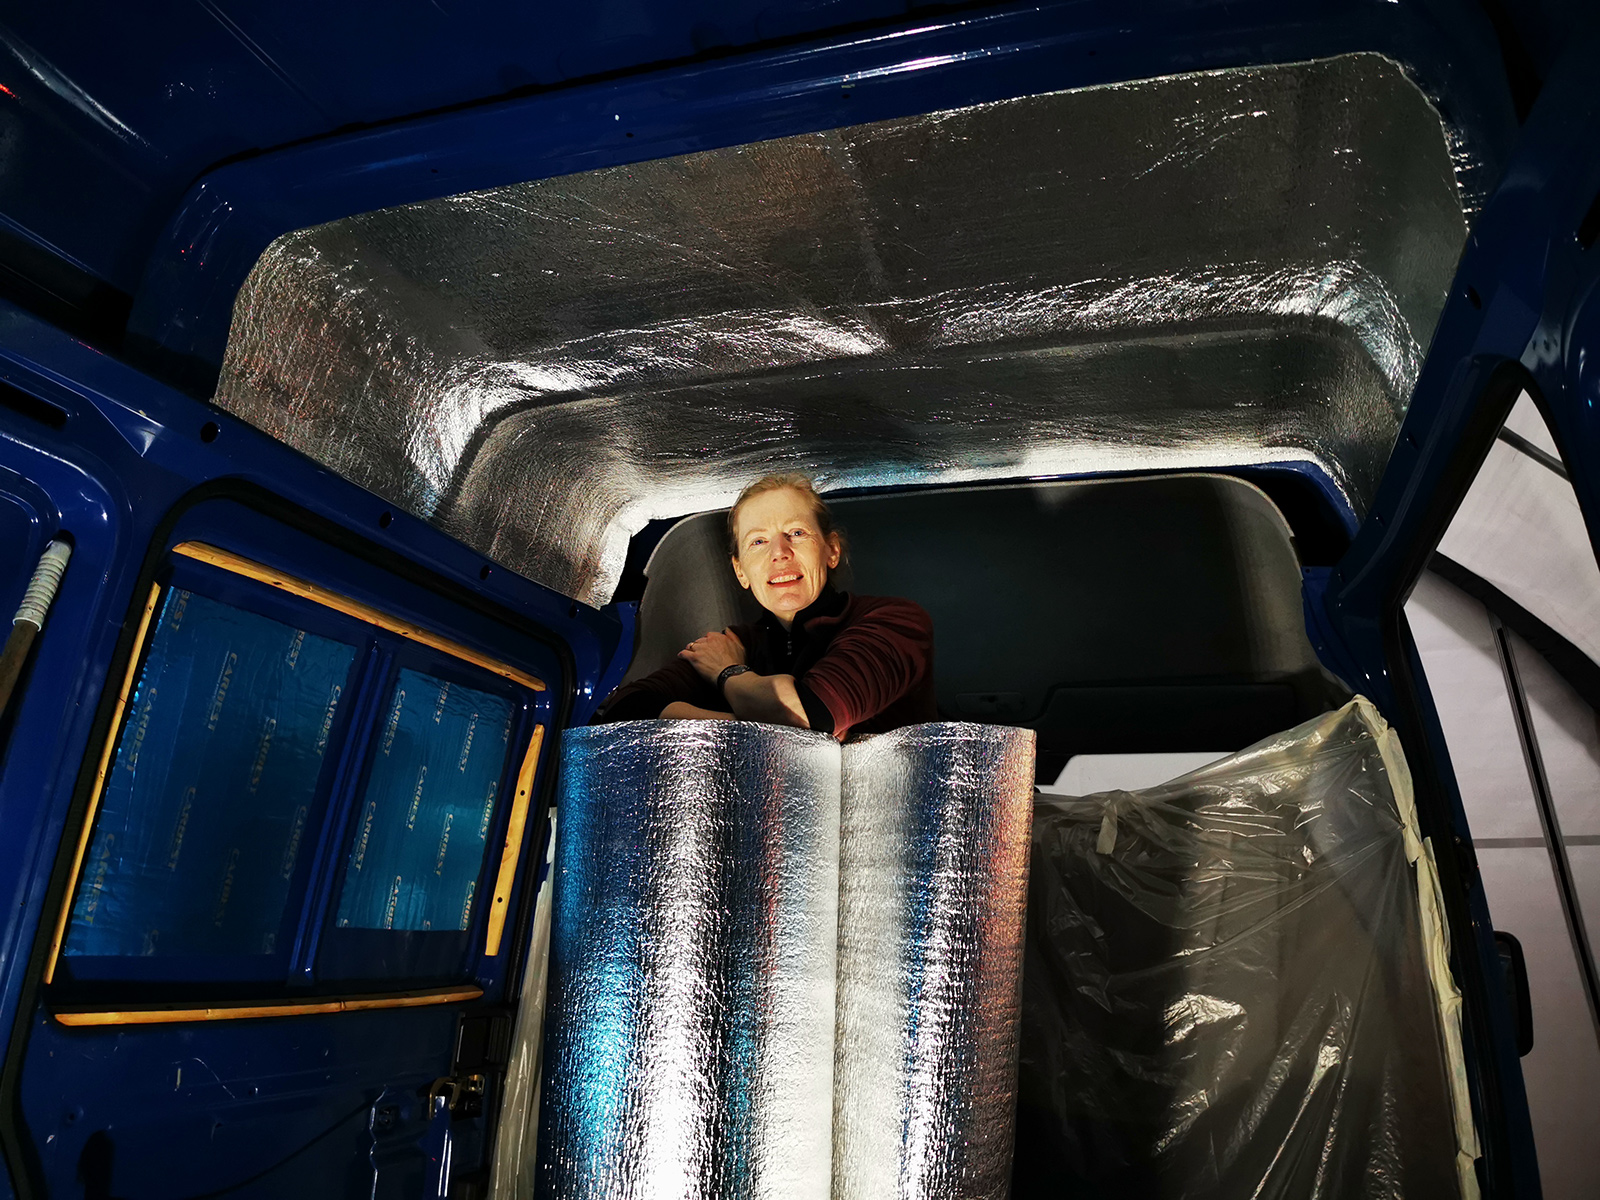
We really got the hang of the insulation process, but it’s kind of hectic since the glue won’t stay moist for long. Initial research had shown that 3M’s Hi-Strength 90 was the ultimate spray glue, but it actually wasn’t much better than what we could find at out local car supplies (Biltema). Not worth the extra money to get 3M for this type of job.
We also cut a small hole for the solar wiring. Both the solar panels and the roof rack to mount them to are now secured and ready to be mounted once we take the car out of the garage.