Fixing the leaky roof (Part 1)
17 January 2021 at 2:12 pm
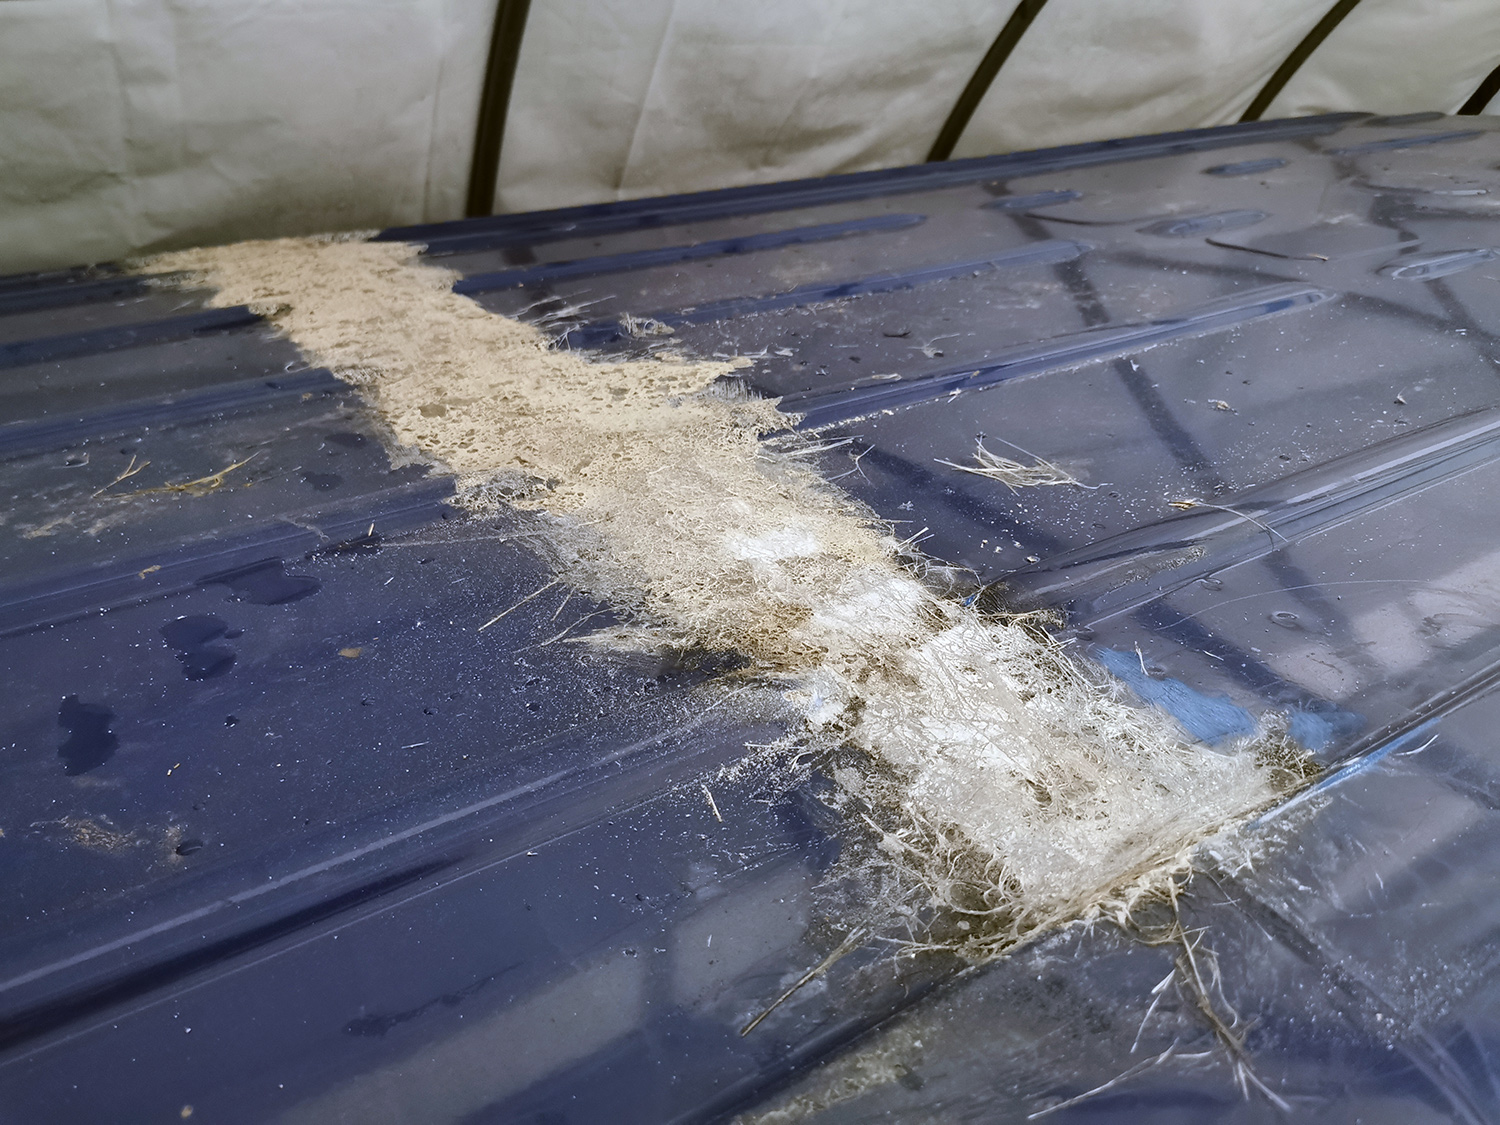
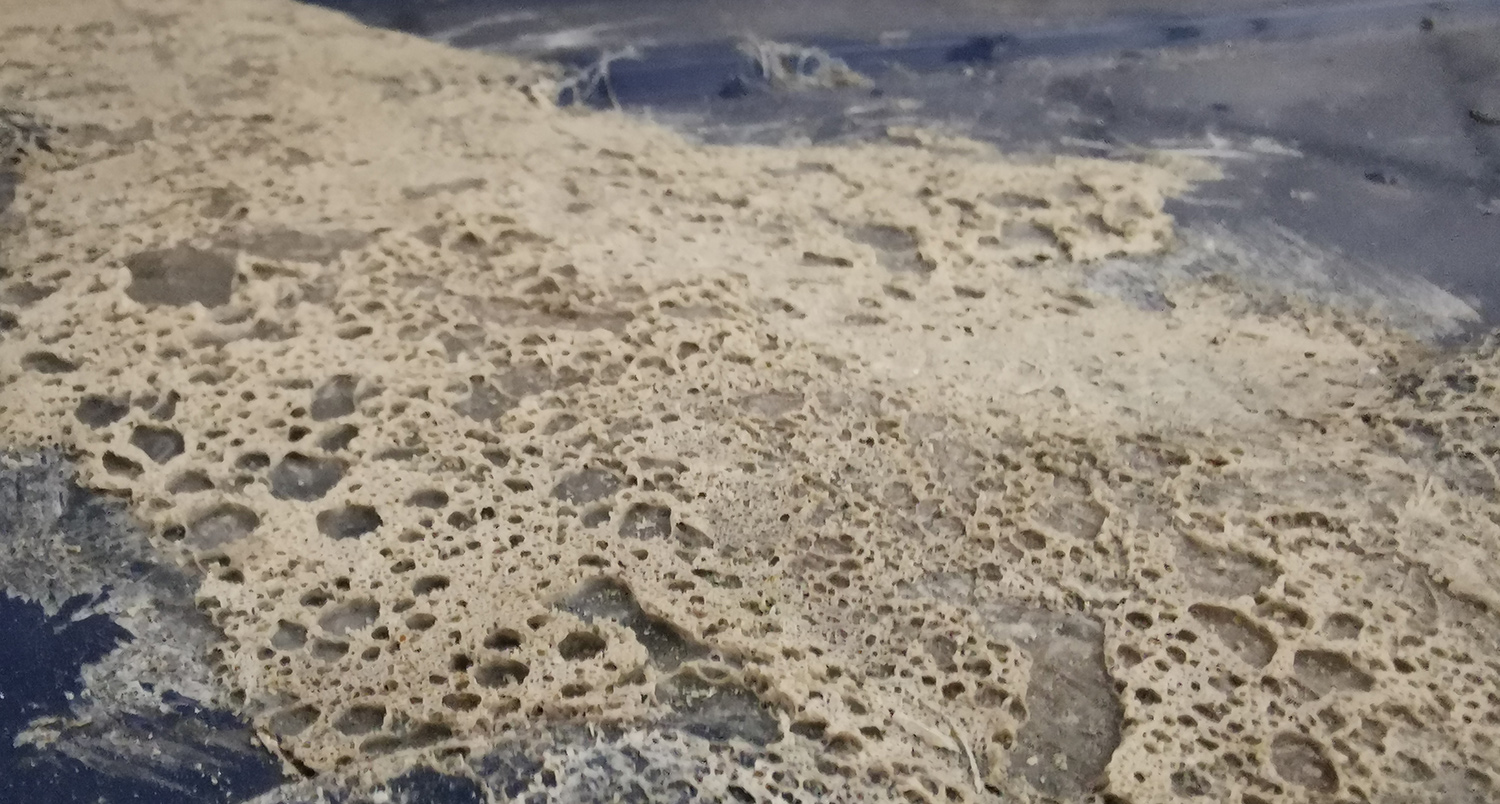
The previous owner of the van had tried fixing the leaky roof by using techniqes from boats. He used glass fiber and extensive amounts of Epoxy, but he apparently didn’t grok how Epoxy works? Epoxy must be mixed very carefully to avoid bubbles. It is exothermic and must be applied in thin layers to avoid more bubbles. The roof looked terrible and was still leaking since the job was done so badly.
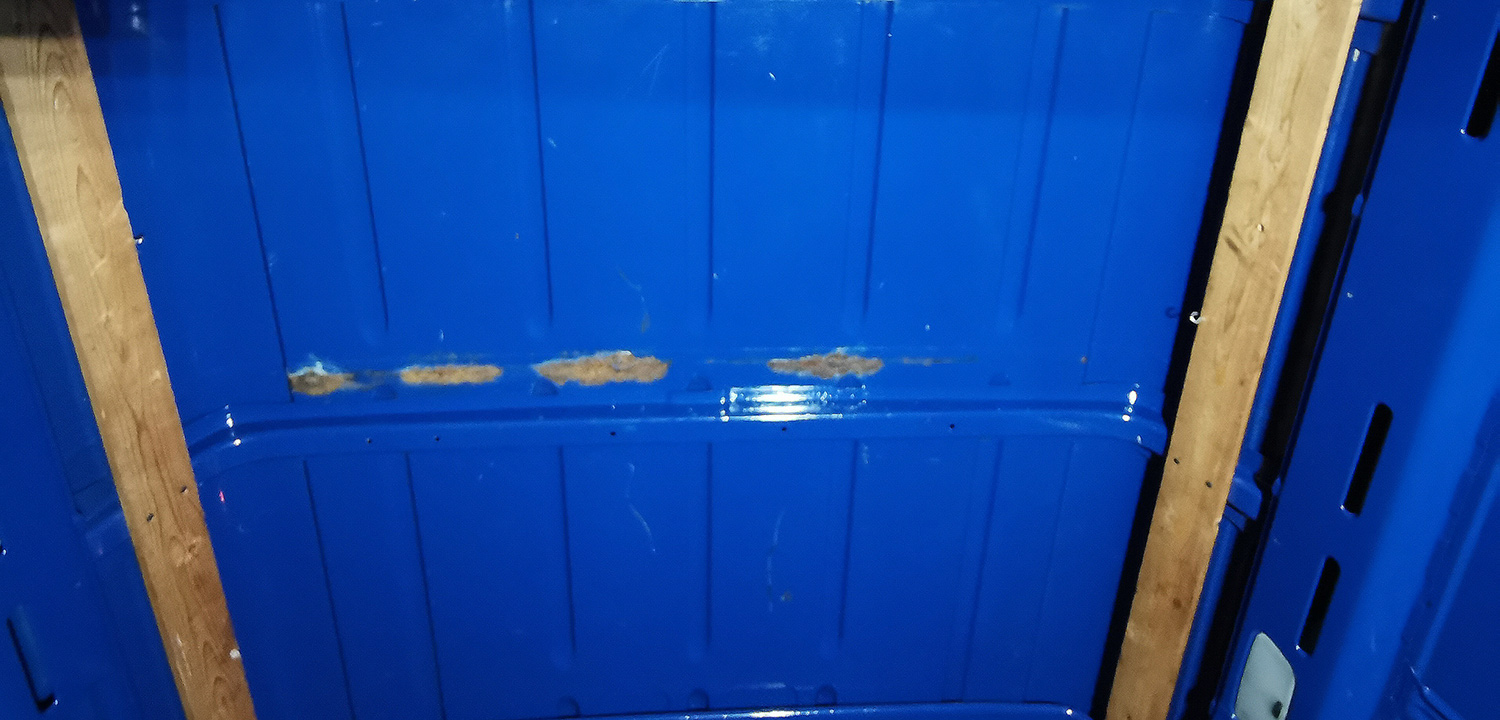
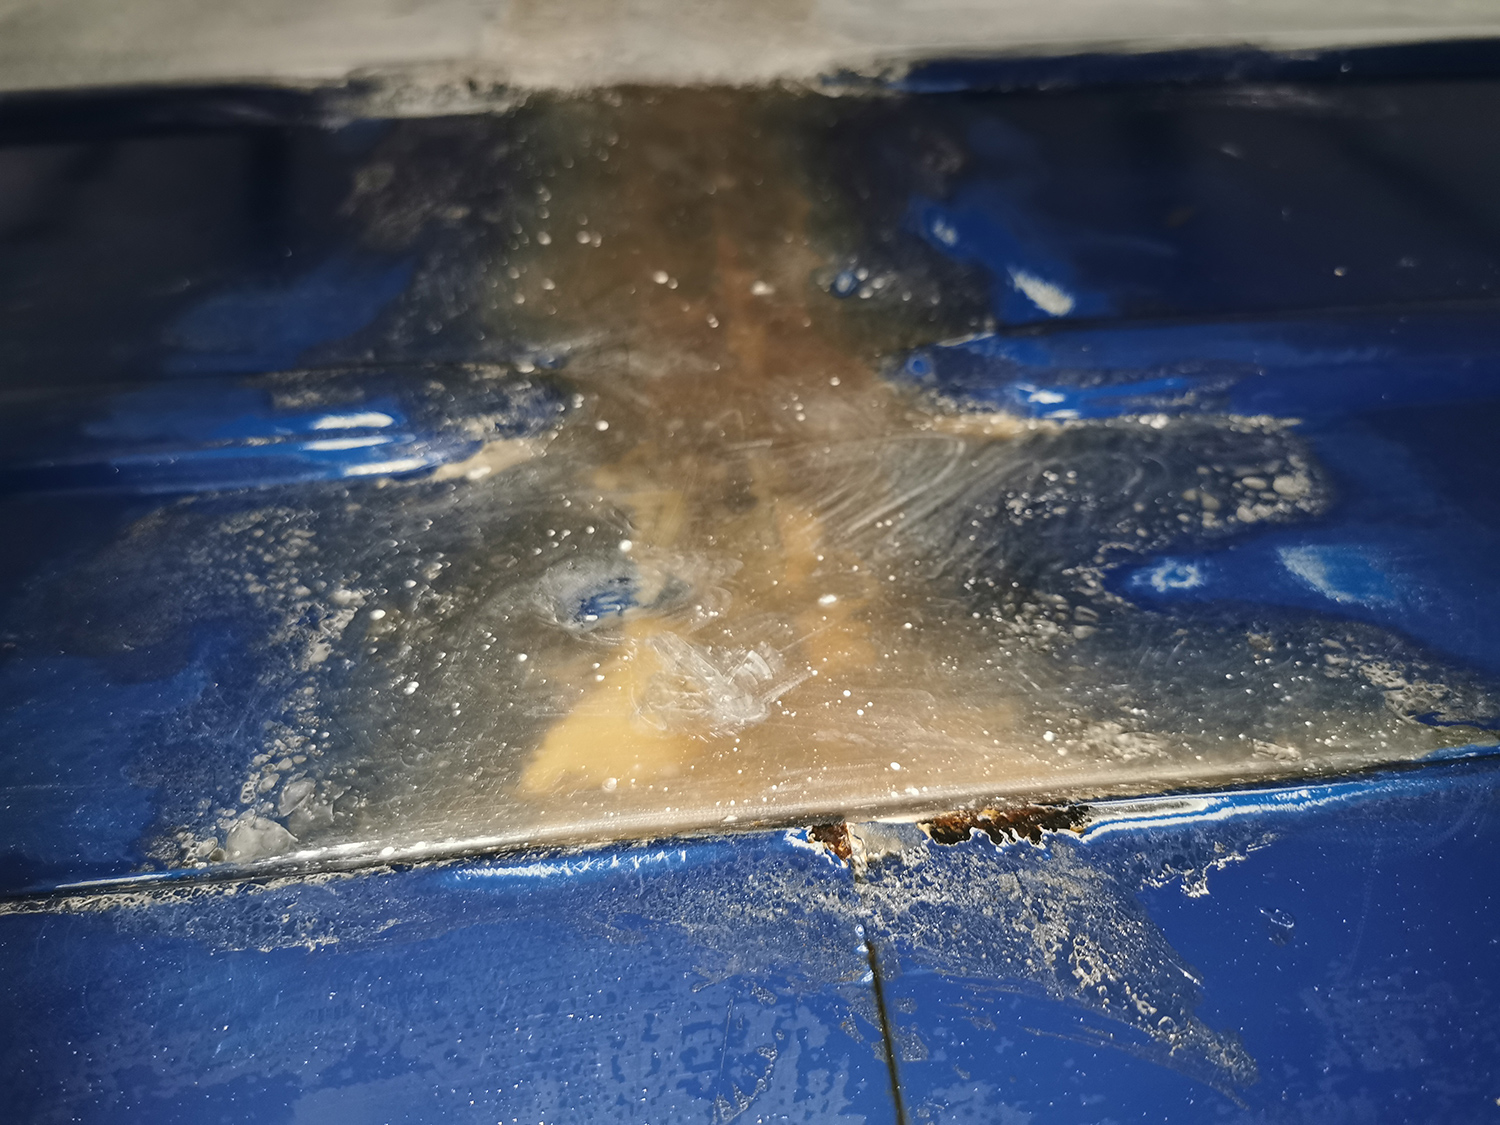
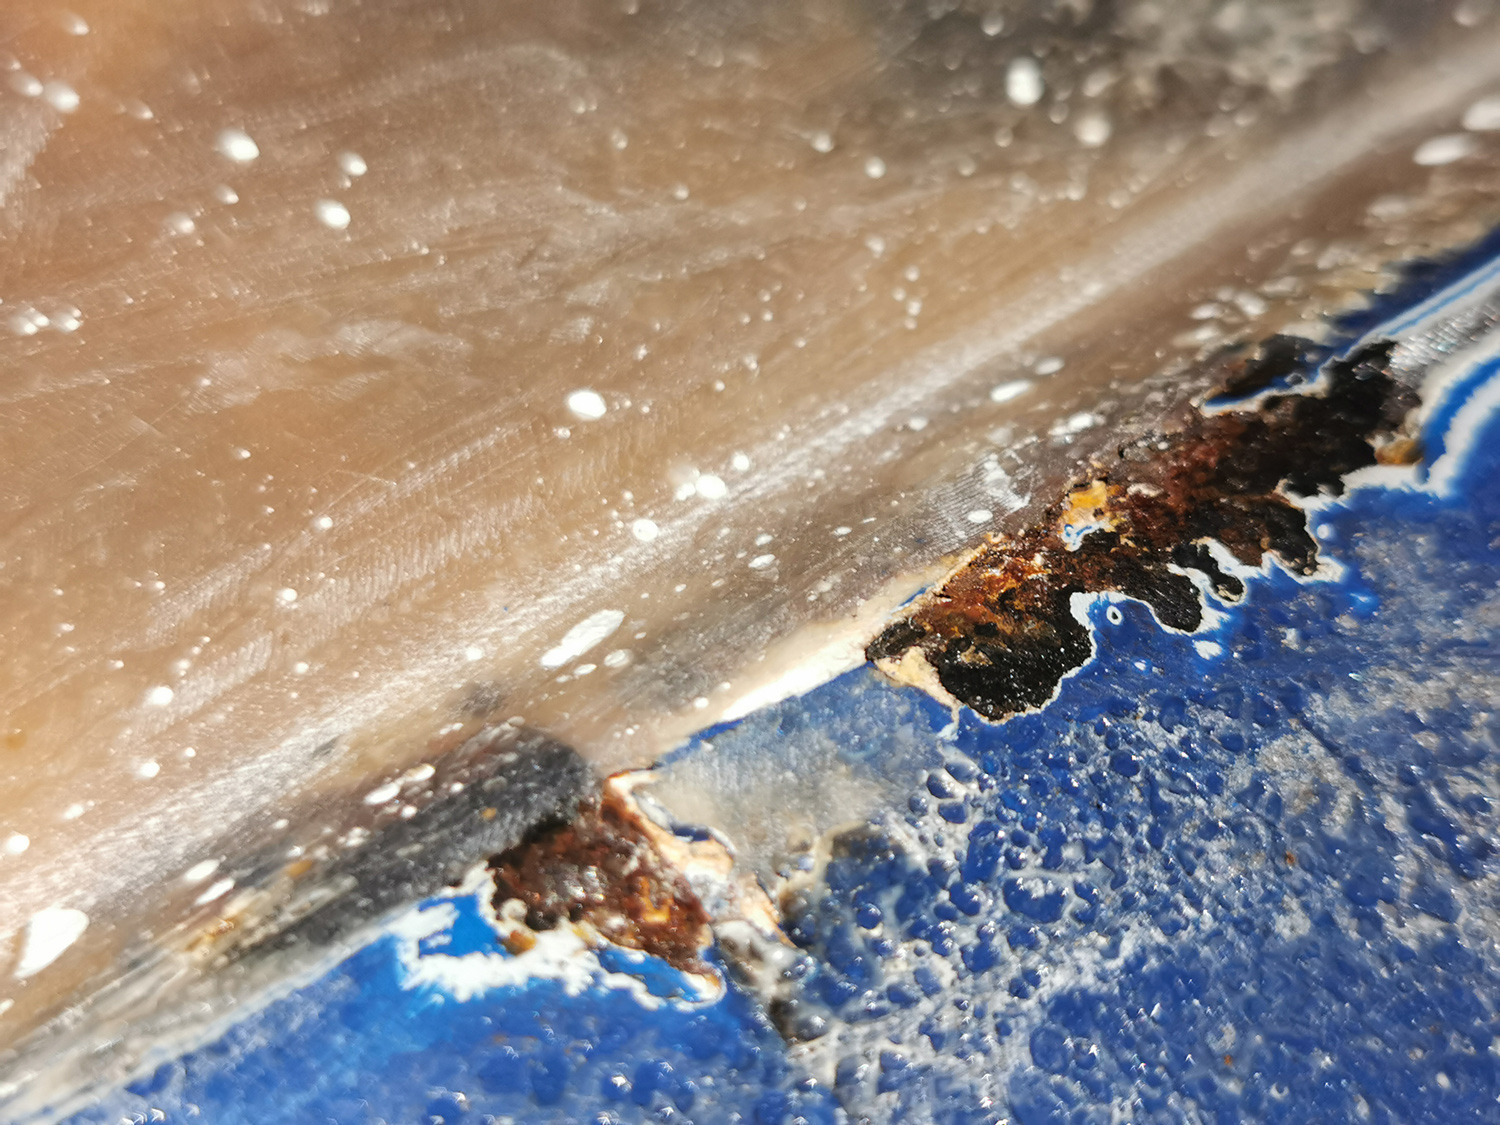
Rust has formed in the seam between the metal sheets that make up the roof. Tiny leaks have produced bubbles of rust across the entire seam and you can really see where the seam goes by just looking at the rust in the roof inside the van.
By just poring Epoxy straight onto the rusty roof, we are guaranteed that the roof will keep rusting apart. Due to how poorly the epoxy job was done, the roof is still leaking badly when it’s raining. If he only removed the rust before pouring, this wouldn’t be as bad…
The ideal solution is to remove the epoxy, treat the rust and then seal it up again. This really isn’t viable since removing epoxy is extremely difficult. We want to have a large roof window in the back of the car, so our solution is to place the window where the largest rust is. We’ll cut away the worst rust and treat the rest as best we can. Then we’ll seal it up with a thin layer of epoxy (without bubbles) and seal this with primer and paint. If that can keep boats floating, it can keep our van leak free.
So - the project the last weeks have been to sand down the terrible epoxy job to something we can work with. Sanding epoxy and glass fiber is a really dirty job, but I got it done thanks to a really good mask and using the Fein as the sanding machine.
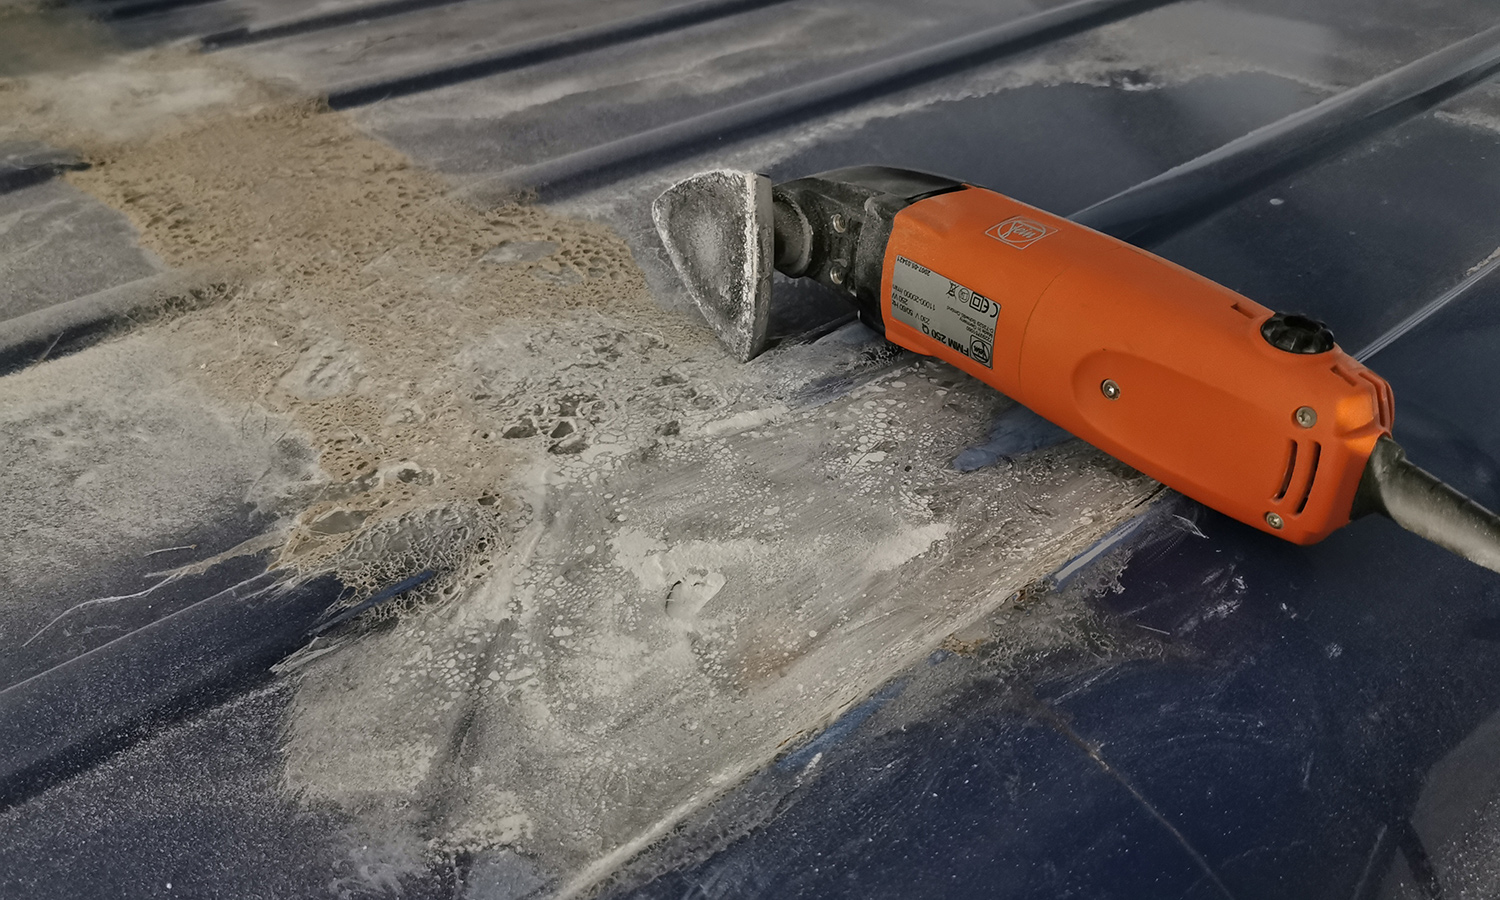
I’m happy with the end result, but this exposed more things to be done before we can seal this up.