Teaching with robots
20 October 2014 at 1:20 pm
The last two years I’ve been teaching a course at Westerdals Oslo School of Art, Communication and Technology (formerly NITH). The school offers Bachelor & Master studies in informatics and I’ve been brought in as a teacher on the topic of Embedded Systems. The course (200 hrs total) is a volunteer topic for third year students that covers all the basic use of Microcontrollers as well as some Embedded Linux.
It’s been a great experience and I get to play santa - giving students a customised version of this kit. 4Tronix have been very helpful in making me a super Arduino-kit that covers the entire curriculum at a price that the school can live with. The only part of the curriculum that isn’t covered by this kit is robotics and motor control. This year I think I’ve found a near perfect solution that I though I’d share with other educators.
First year - cheap robot kits
The first year I did the typical thing - I looked up various robot kits and grabbed what I thought would be a decent kit. The problem with this approach was that I didn’t know what kits were good and not. Price was also an issue. The budget ($150/student) only allowed me to get 4 kits. With 28 students, that wouldn’t work too well so I sat down and designed the NITH Penbot. This little Open Source robot uses cheap stepper motors to navigate & a servo to lift a pen. That way you have a robot that can be printed in 40 minutes (body + 2 wheels) and the students could build them with the components they already had in their kits.
It didn’t go bad at all, but a lot of time was spent on the assembly. The focus of the course is software for hardware, not soldering/gluing/crafting. Due to the time needed to put the kits together, we didn’t do much robot driving the first lesson (4 hours each) and had to postpone it to the week after. This in turn caused other problems as the students needed their Arduino’s so as soon as the robot driving was finished, they had to dismantle the whole thing to be able to do other exercises. We also realised that while popsicle sticks are a cheap building material, they’re not very solid at all. In other words - my solution worked but was not ideal. I knew I had to find a better solution for next year.
Maker Faire Oslo
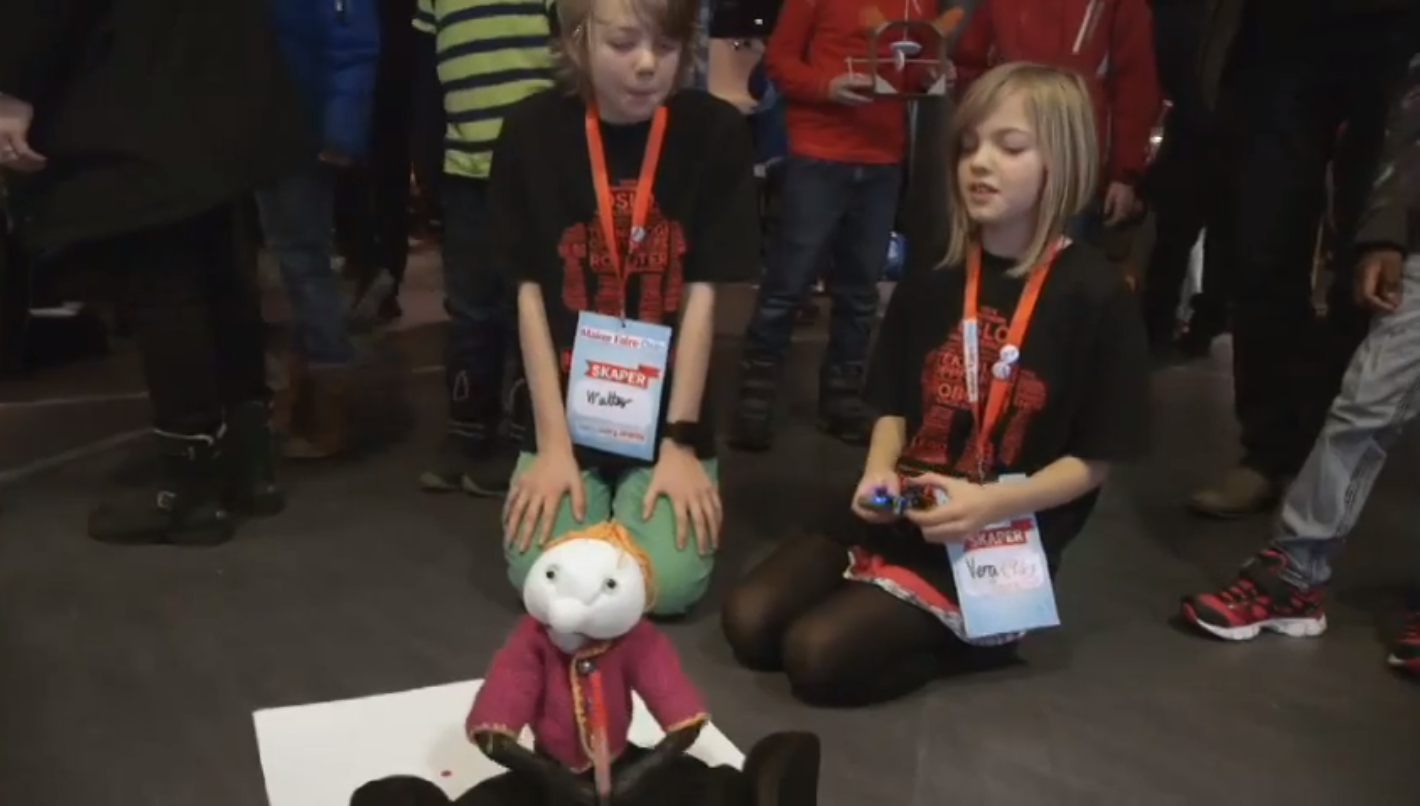
While teaching at NITH, I was helping my kids building robots at home based on the kits from MakeBlock. My son got a Robot Starter Kit first, but when my daughter saw how much fun her brother had - she wanted one as well. Perfect! Here I’m getting my daughter to jump head first into STE(A)M education! My son did all of his robot alone (apart from the remote), but I had to help my daughter quite a bit. The building itself went quickly, but her project required custom hardware & software so she couldn’t do it all by herself. They had their own stand at MakerFaire and it was a big experience for them both!
Having seen the quality of the Makeblock kits, I instantly bought some kits for myself. Over this last year I’ve built several robots and even a 3D printer based on this system, so it was obvious to think about using the same robot kit with the students.
Second year - Makeblock
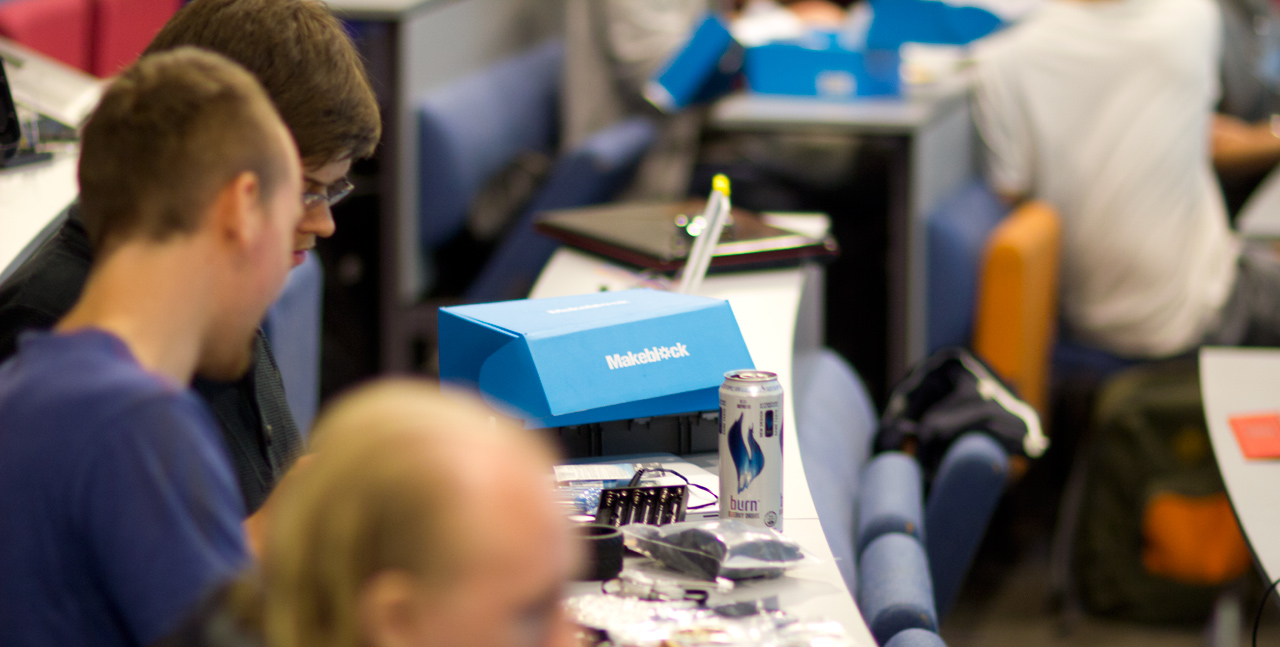
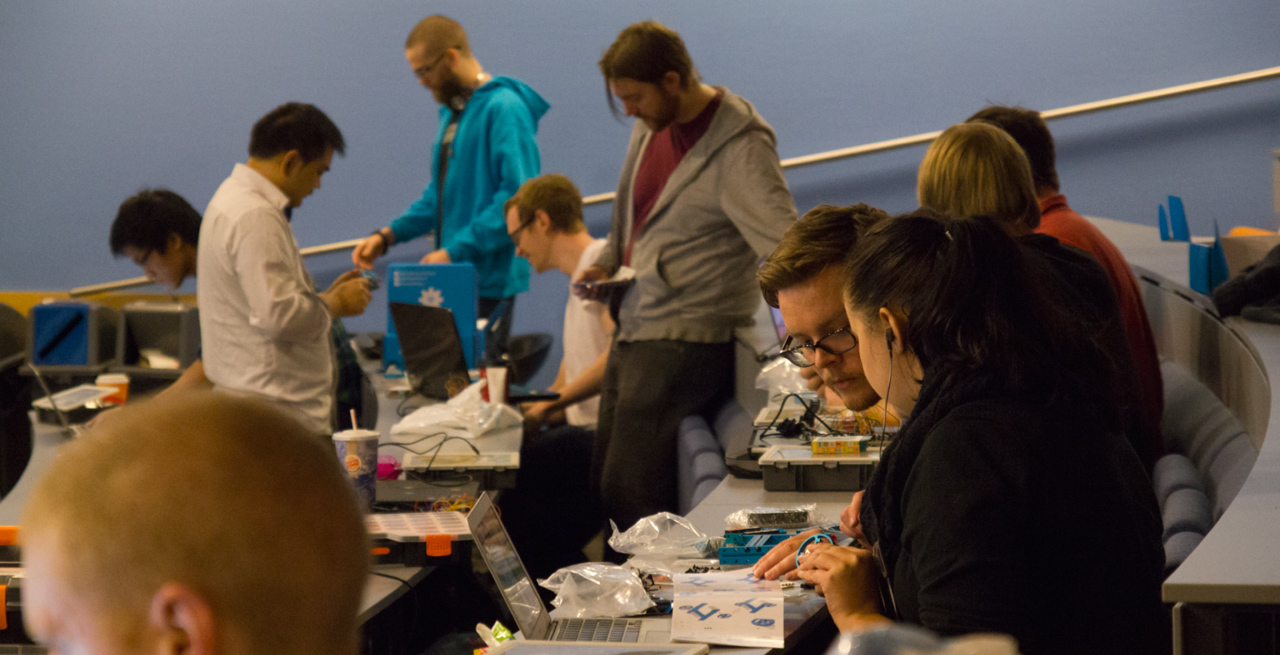
For my second year, I now have 34 students! More students = more kits. I was able to convince the headmaster that since the Makeblock kits could be reused across more years, we should spend the extra money. I split the students into 8 teams & we got started. The teams were split into two - one half focusing on building, the other on software & picking up batteries (not included).
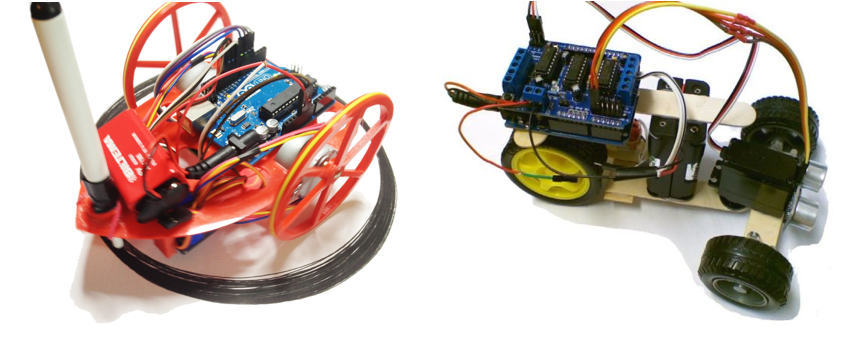
A nice thing about the kits is that they come with instructions for two different robots that each have their merit - a tracked vehicle or a wheel driven robot.
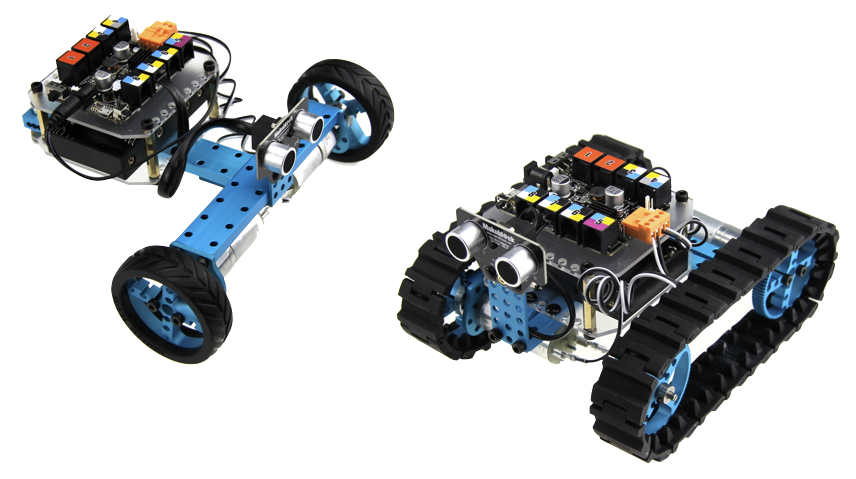
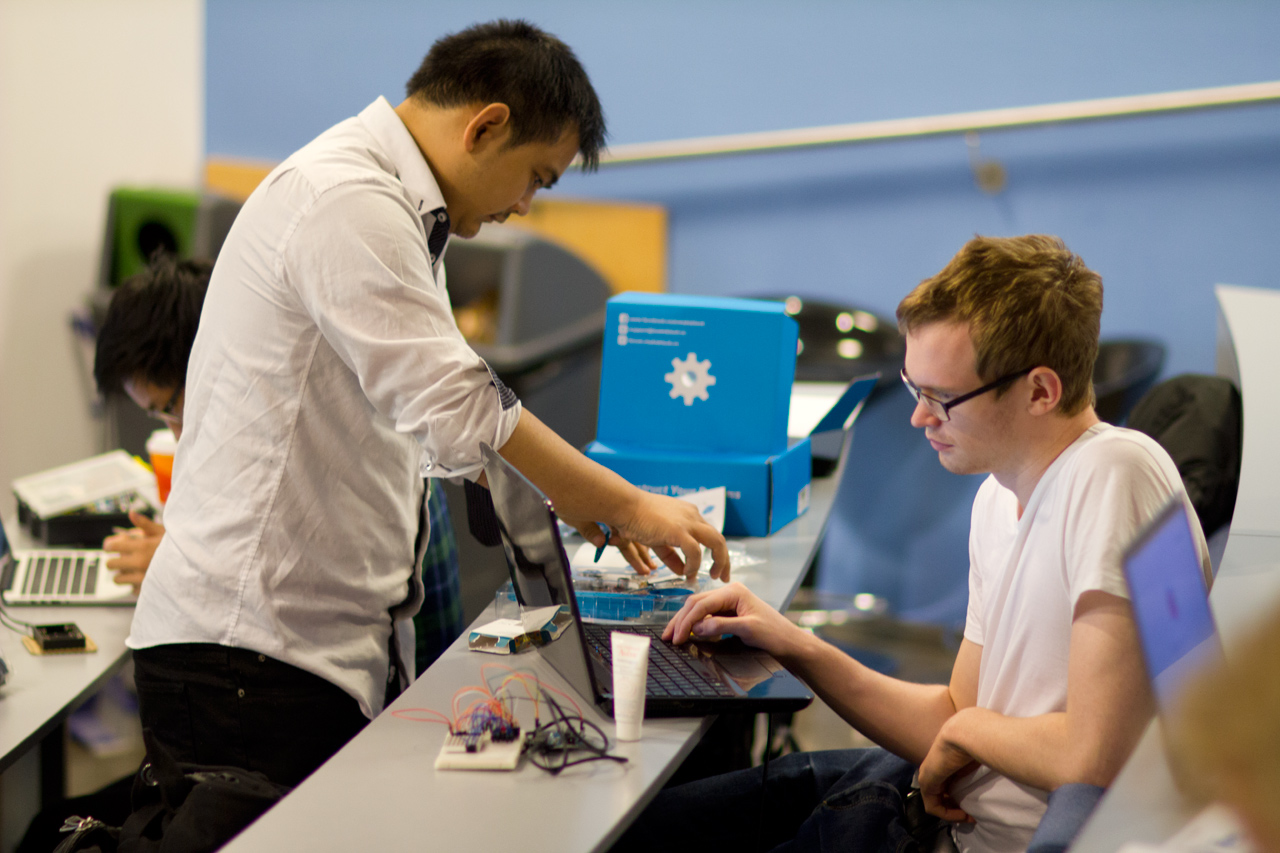
The students could of course have improvised and built other robots if they had more time, but these two are a good starting point. I had deviced a challenge in the form of a labyrinth that the robots had to navigate. A tracked vehicle will usually slip if you drive too fast, so driving slowly is key with this bot. The wheeled robot is easier to contol precisely, but no team selected that design initially. The “tank-design” is just much cooler looking I guess?
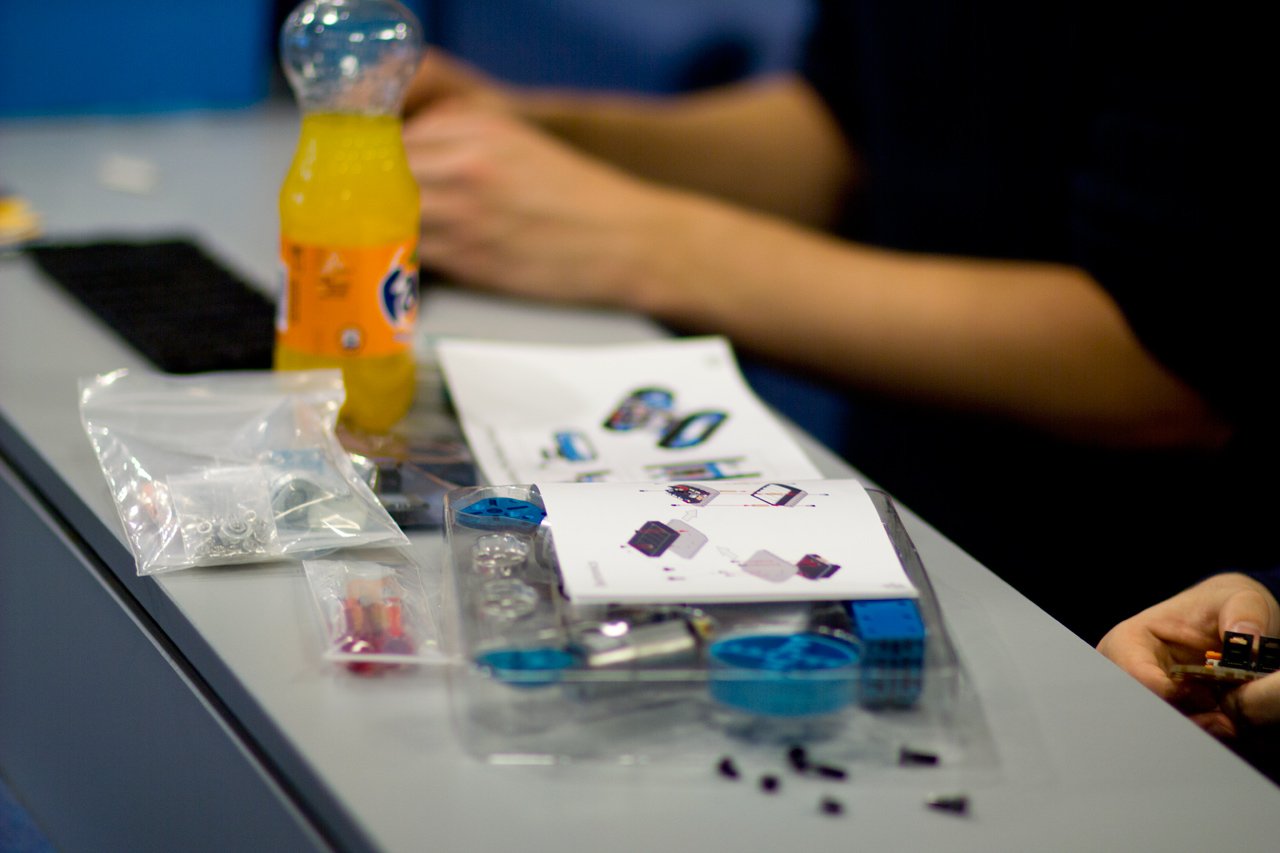
I’m very happy with choosing Makeblock over typical Arduino-style kits with plexi and tiny screws. The first team had their robot kit up and running in only an hour! There were practically no questions about how to build the bots and since the robot kits have their own Arduino with builtin motor drivers, there was no need to disassemble the robots in between classes. The only issue we had were a beam that was too short and an Arduino board that didn’t work 100%. This was no problem since we had a spare kit, so we used parts from that.
Here’s a short video from both the building and the competition (with some cheesy music from the Youtube video editor):
Summing up
As opposed to the previous year, the students quickly understood the difficulty of programming autonomous robots. This caused them to come up with various mechanisms using code to better detect the surroundings. Many tactics were tried and we all had great fun looking at the results. If this was a robotics course, we’d have much more time to dwelve into some proper problem solving. With the 4-5 hours we have available, it’s only a small introduction to a much larger topic. The students loved it though and some now even blame me for having given them a new hobby.
I achieved my main goal of getting more time dedicated to coding the robots, rather than building them. Nothing was destroyed and it’s now all nicely packaged for next years students to use the kits.